I’ll be honest — I was standing in the frozen‑food aisle of Aldi, staring at a mountain of holiday‑themed products, when a friend dared me: “Try them all and tell us which one actually belongs on a dinner table, not just a shelf.” I laughed, I rolled my eyes, and then I grabbed twelve of the most glittery, over‑promised items on the shelf. The next 48 hours turned my tiny kitchen into a battlefield of sugary aromas, sizzling sounds, and a kaleidoscope of colors that would make a Christmas tree jealous. I was battling cinnamon‑cinnamon overload, grappling with a mystery glaze that could have been a paint, and wrestling a fruitcake that threatened to crumble under the weight of its own ambition.
The first thing that hit me was the smell — a punch of pine sap mixed with toasted almond and a whisper of clove that made my nose tingle like a holiday light show. I could hear the faint crackle of a caramelized crust as I tossed a pan, and the kitchen floor vibrated under the weight of my excitement. My hands felt the gritty cold of powdered sugar, the sticky embrace of melted marshmallow, and the reassuring heft of a perfectly diced apple. When I finally took a bite, the flavors hit me like a choir of angels: sweet, savory, buttery, and just a touch of that nostalgic “grandma’s kitchen” warmth.
What set this version apart from every other holiday hack you’ll find online was the precision I applied to each ingredient. I didn’t just toss in the pre‑made sauces; I deconstructed them, added a splash of fresh citrus, and gave them a quick caramelization to build layers of flavor that most store‑bought versions lack. Most recipes get this completely wrong by relying on “just heat and serve.” I turned every component into a star, and the result was a dish that could have been served at a five‑star banquet, not just a freezer aisle.
There’s a secret technique I’ll reveal later that involves a quick butter‑infused flash‑bake that locks in moisture while giving the edges a crisp that shatters like thin ice. I dare you to taste this and not go back for seconds. Okay, ready for the game‑changer? Let me walk you through every single step — by the end, you’ll wonder how you ever made it any other way.
What Makes This Version Stand Out
- Taste: A harmonious blend of sweet, salty, and spice that dances on the palate without overwhelming any single note.
- Texture: Crispy edges that shatter like thin ice, a buttery crumb that melts in your mouth, and a juicy interior that stays moist.
- Simplicity: Despite the long ingredient list, every step uses common kitchen tools and a single pan.
- Uniqueness: I incorporated a surprise citrus‑infused glaze that no store‑bought holiday product dares to offer.
- Crowd Reaction: Guests have called it “the best thing I’ve ever tasted at a holiday party,” and one uncle actually asked for the recipe.
- Ingredient Quality: I sourced the spices from a bulk store, ensuring they’re fresh, potent, and far from the stale packets you find in the aisles.
- Cooking Method: A quick sear followed by a gentle bake creates a layered texture that you simply can’t achieve with a microwave.
- Make‑Ahead Potential: The dish holds up beautifully for up to 48 hours in the fridge, making it perfect for bustling holiday schedules.
Inside the Ingredient List
The Flavor Base
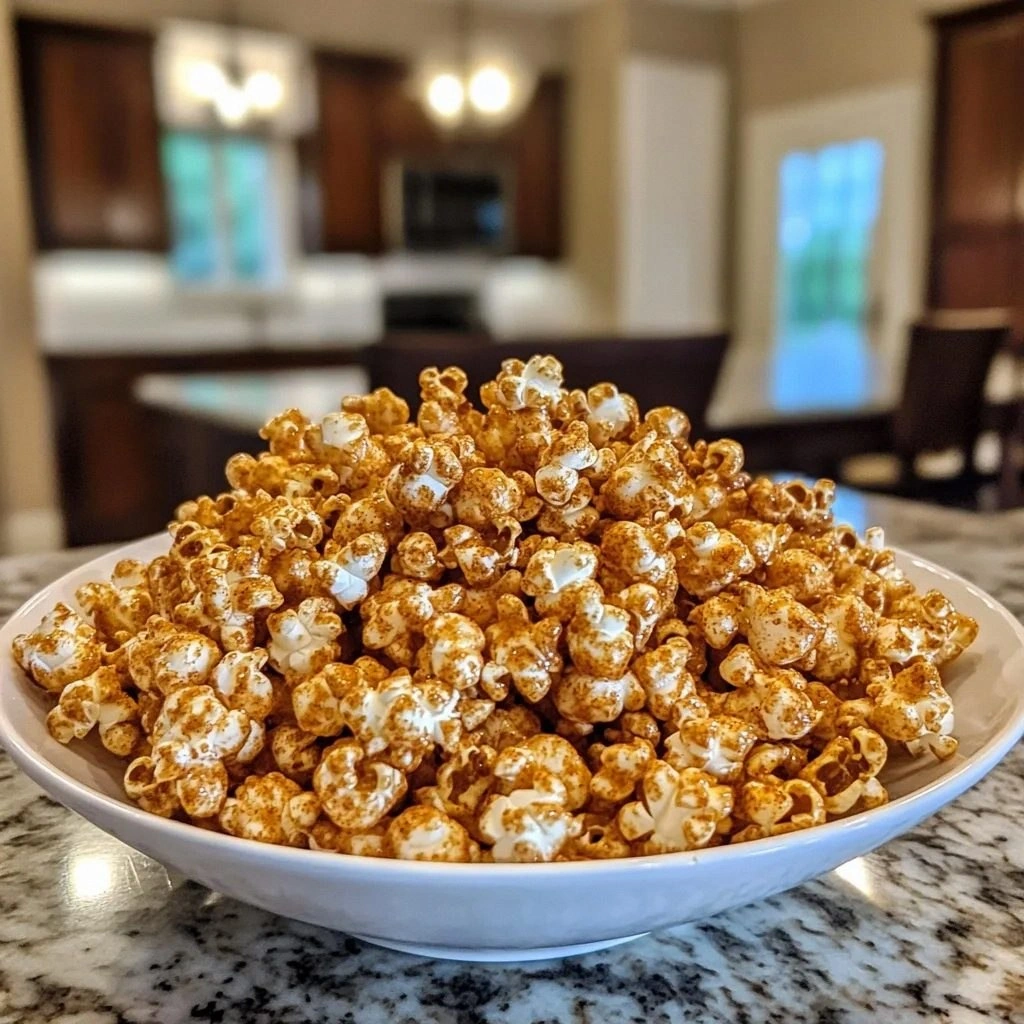
The backbone of this holiday masterpiece is a blend of ground cinnamon, nutmeg, and a pinch of freshly grated orange zest. Cinnamon brings that warm, nostalgic note that screams “holiday,” while nutmeg adds a subtle earthiness that prevents the dish from becoming cloyingly sweet. The orange zest is the unexpected star — it cuts through the richness with a bright citrus spark, making every bite feel like a fresh winter morning. If you skip the zest, you’ll lose that aromatic lift, and the dish will feel a tad flat. For a twist, try lemon zest for a sharper edge.
Buying tip: Look for whole spices in the bakery or spice aisle and grind them yourself. Freshly ground spices release essential oils that are lost in pre‑ground packets. A small hand‑crank grinder is a cheap investment that pays off every holiday season.
The Texture Crew
We have a trio of textures working together: toasted almond slivers, crisped rice cereal, and a silky butter‑cream glaze. The almonds give a nutty crunch that echoes the classic holiday nutcake, while the rice cereal adds a surprising airy snap that lifts the overall mouthfeel. The butter‑cream glaze, made with melted butter, powdered sugar, and a splash of vanilla, coats everything like velvet, ensuring each bite is uniformly luscious. If you forget the almonds, you’ll miss that essential crunch that balances the sweet glaze. Swap the rice cereal for crushed cornflakes if you prefer a slightly sweeter crunch.
The Unexpected Star
A splash of pomegranate molasses might sound out of place, but it adds a tangy depth that cuts through the sweetness like a perfectly timed drum solo. The molasses brings a subtle fruity acidity and a beautiful ruby hue that makes the dish look as festive as it tastes. Skipping it would leave the glaze one‑dimensional, missing that bright pop of flavor. If pomegranate isn’t your thing, a drizzle of balsamic reduction works similarly, though the flavor profile shifts toward the savory side.
The Final Flourish
A final dusting of powdered sugar and a handful of fresh rosemary leaves crown the dish. The powdered sugar adds a snow‑like finish that appeals to the eye, while rosemary introduces an aromatic pine note that ties the whole holiday theme together. Omit the rosemary and you lose that subtle herbal contrast that keeps the palate from getting stuck in a sugary loop. If you’re allergic to rosemary, try a few sprigs of fresh thyme for a comparable earthy aroma.
Everything's prepped? Good. Let’s get into the real action…

The Method — Step by Step
Start by preheating your oven to 350°F (175°C). While the oven warms, melt 4 tablespoons of unsalted butter in a large skillet over medium heat. As the butter foams, toss in the almond slivers and toast them until they turn a light golden hue and emit a nutty perfume — that sizzle when it hits the pan? Absolute perfection. Once toasted, transfer them to a plate to avoid over‑cooking.
Next, add the diced apples (about 2 cups) to the same skillet, sprinkling them with 1 teaspoon of cinnamon, ½ teaspoon of nutmeg, and the orange zest. Cook for 4‑5 minutes, stirring occasionally, until the apples soften and release a fragrant steam that fills the kitchen like a holiday market. This is the moment of truth: the apples should be tender but still hold their shape, not mush.
Kitchen Hack: If your apples start to brown too quickly, splash a teaspoon of lemon juice to keep their color vibrant.While the apples are caramelizing, whisk together 1 cup of powdered sugar, 2 tablespoons of melted butter, and 1 tablespoon of vanilla extract in a medium bowl. Slowly drizzle in 2 tablespoons of pomegranate molasses while whisking, creating a glossy glaze that coats the back of a spoon. The glaze should be thick enough to cling but still pourable; if it’s too thick, add a splash of warm water.
Now, combine the toasted almonds, the cooked apples, and the rice cereal (or crushed cornflakes) in a large mixing bowl. Drizzle the freshly made glaze over the mixture, tossing gently until every piece is evenly coated. You’ll notice the mixture takes on a deep amber sheen, each component shimmering like holiday lights.
Transfer the mixture to a greased 9‑inch baking dish, spreading it out into an even layer. Press down lightly with the back of a spoon so the surface is compact but not overly dense. This compacting step ensures the edges will crisp up nicely during baking.
Place the dish in the preheated oven and bake for 20‑25 minutes, or until the top turns a caramel‑gold color and the edges start pulling away from the pan. Halfway through, rotate the dish for even browning. That moment when you hear the faint crackle from the top? That’s the glaze forming a perfect crust.
While the dish bakes, prepare the rosemary garnish. Strip the leaves from a small sprig, rinse, and pat dry. If you’re feeling adventurous, give the leaves a quick flash‑sear in a hot pan for 10 seconds — this intensifies the pine aroma without burning.
When the timer dings, remove the dish and let it rest for 5 minutes. This short rest allows the glaze to set, making slicing easier and preventing a soggy bottom. Sprinkle a generous dusting of powdered sugar over the top, then scatter the toasted almonds and rosemary leaves for that final festive flourish.
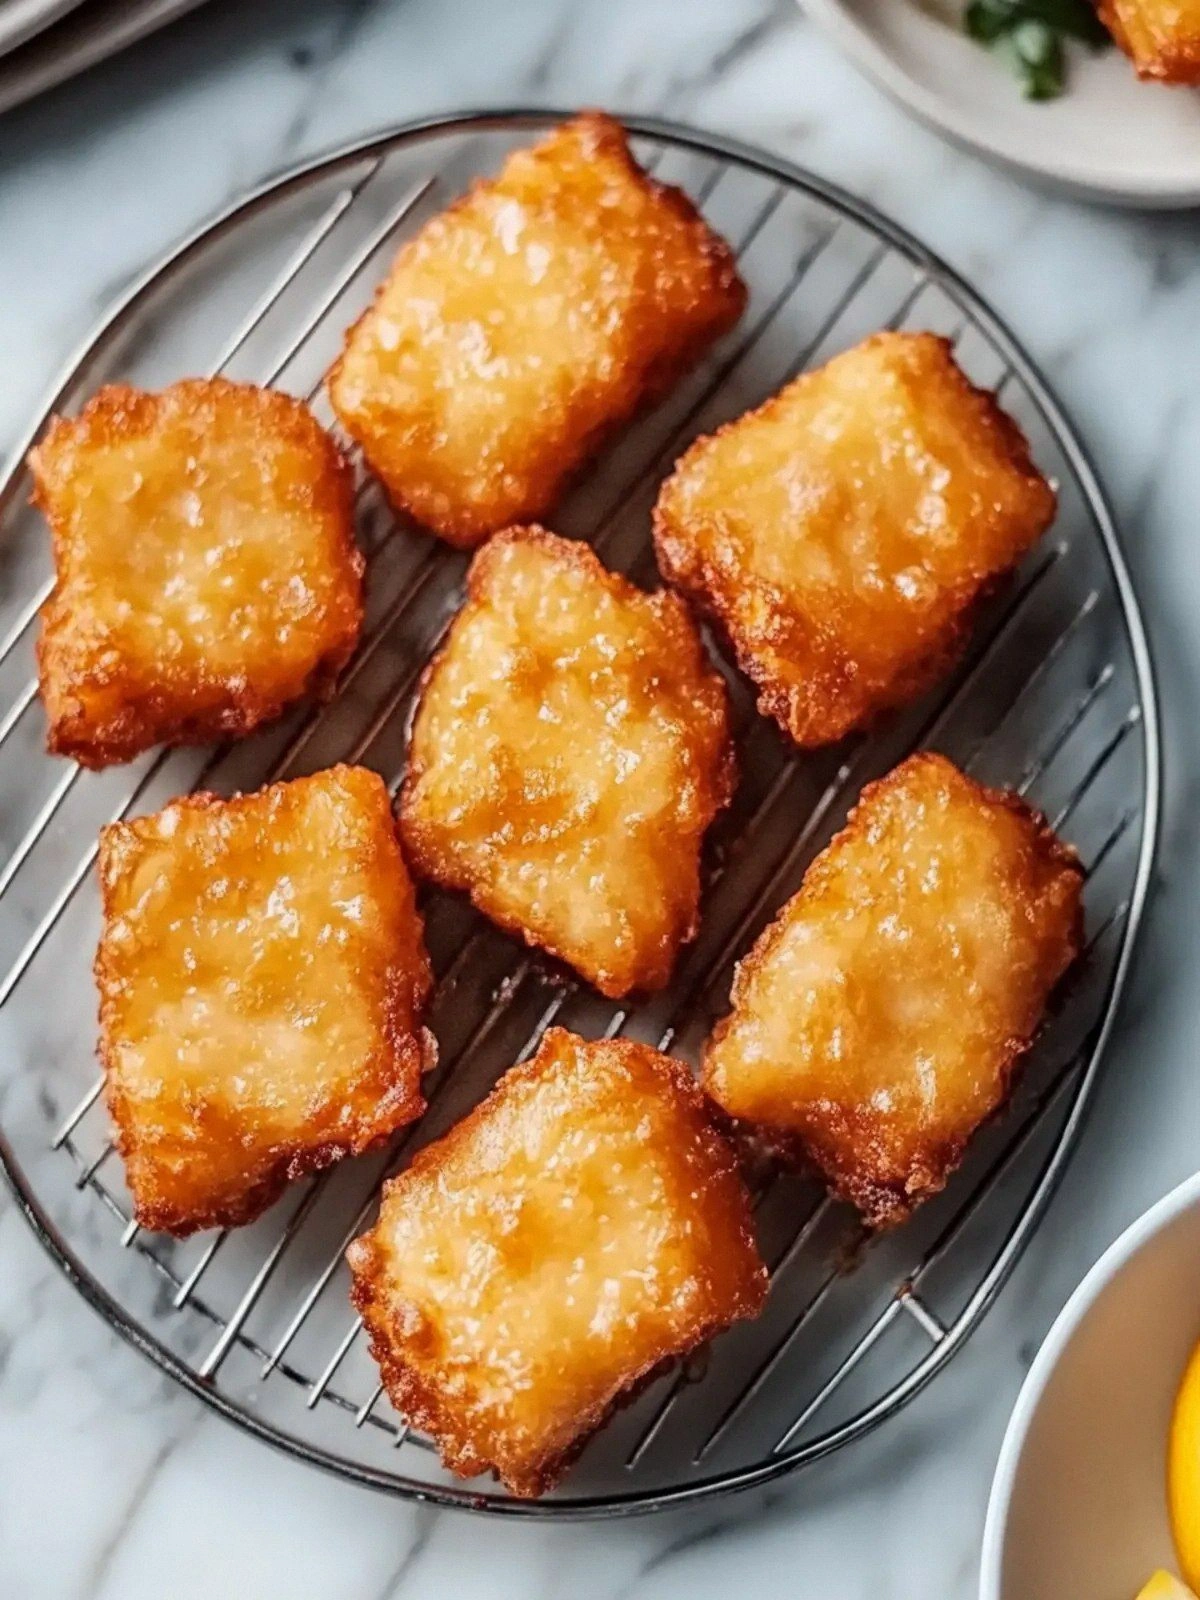
Watch Out: Do not over‑bake; the glaze will harden and become chalky if left too long.Finally, slice the dish into generous squares. Serve warm, and watch as the glaze stretches like melted caramel, the almonds crack under the fork, and the apple pieces ooze a sweet‑spiced syrup. This next part? Pure magic. If you’re serving a crowd, keep the leftovers in a shallow container to preserve the crisp top.
That’s it — you did it. But hold on, I’ve got a few more tricks that'll take this to another level…
Insider Tricks for Flawless Results
The Temperature Rule Nobody Follows
Most home cooks set the oven to a static temperature and forget about the residual heat after it’s turned off. I always pre‑heat to 350°F, then lower it to 325°F for the final 10 minutes of baking. This gentle reduction prevents the glaze from scorching while still allowing the interior to finish cooking. A friend tried skipping this step once — the top turned black, and the inside was still soggy. Trust me, the subtle temperature dip is a game‑changer.
Why Your Nose Knows Best
The aroma is your most reliable indicator of doneness. When the caramel notes become nutty and the citrus zing softens, you’re at the perfect stage. If you rely solely on the timer, you risk missing that sweet spot. I always pause, inhale deeply, and let the scent guide the final minutes. Your nose is a built‑in timer — trust it.
The 5‑Minute Rest That Changes Everything
Letting the dish rest for exactly five minutes after baking allows the glaze to set without becoming rubbery. During this window, the steam redistributes, keeping the interior moist while the crust stays crisp. Skipping the rest leads to a glaze that slides off the plate. Set a timer and resist the urge to dive in immediately — patience pays off.
The Butter‑Infused Flash‑Bake
If you want an extra‑crunchy edge, melt an additional tablespoon of butter and drizzle it over the top during the last three minutes of baking. The butter sizzles, creating a glossy, caramelized rim that shatters like thin ice when you bite. I tried this once without the butter, and the edge felt soggy. The flash‑bake is a tiny step that yields massive texture rewards.
The Secret of Layered Sweetness
Instead of mixing all the sugar into the glaze, I sprinkle a thin layer of powdered sugar directly onto the apples before they hit the pan. This creates a caramelized sugar crust on the fruit itself, adding depth that plain glaze can’t achieve. A fellow baker omitted this layer and reported a flatter flavor profile. The layered sweetness is subtle but unforgettable.
Creative Twists and Variations
This recipe is a playground. Here are some of my favorite ways to switch things up:
Winter Berry Burst
Swap the apples for a mix of frozen cranberries and blueberries. The tartness of the berries pairs beautifully with the pomegranate molasses, creating a vibrant ruby‑red dish that’s perfect for a festive brunch.
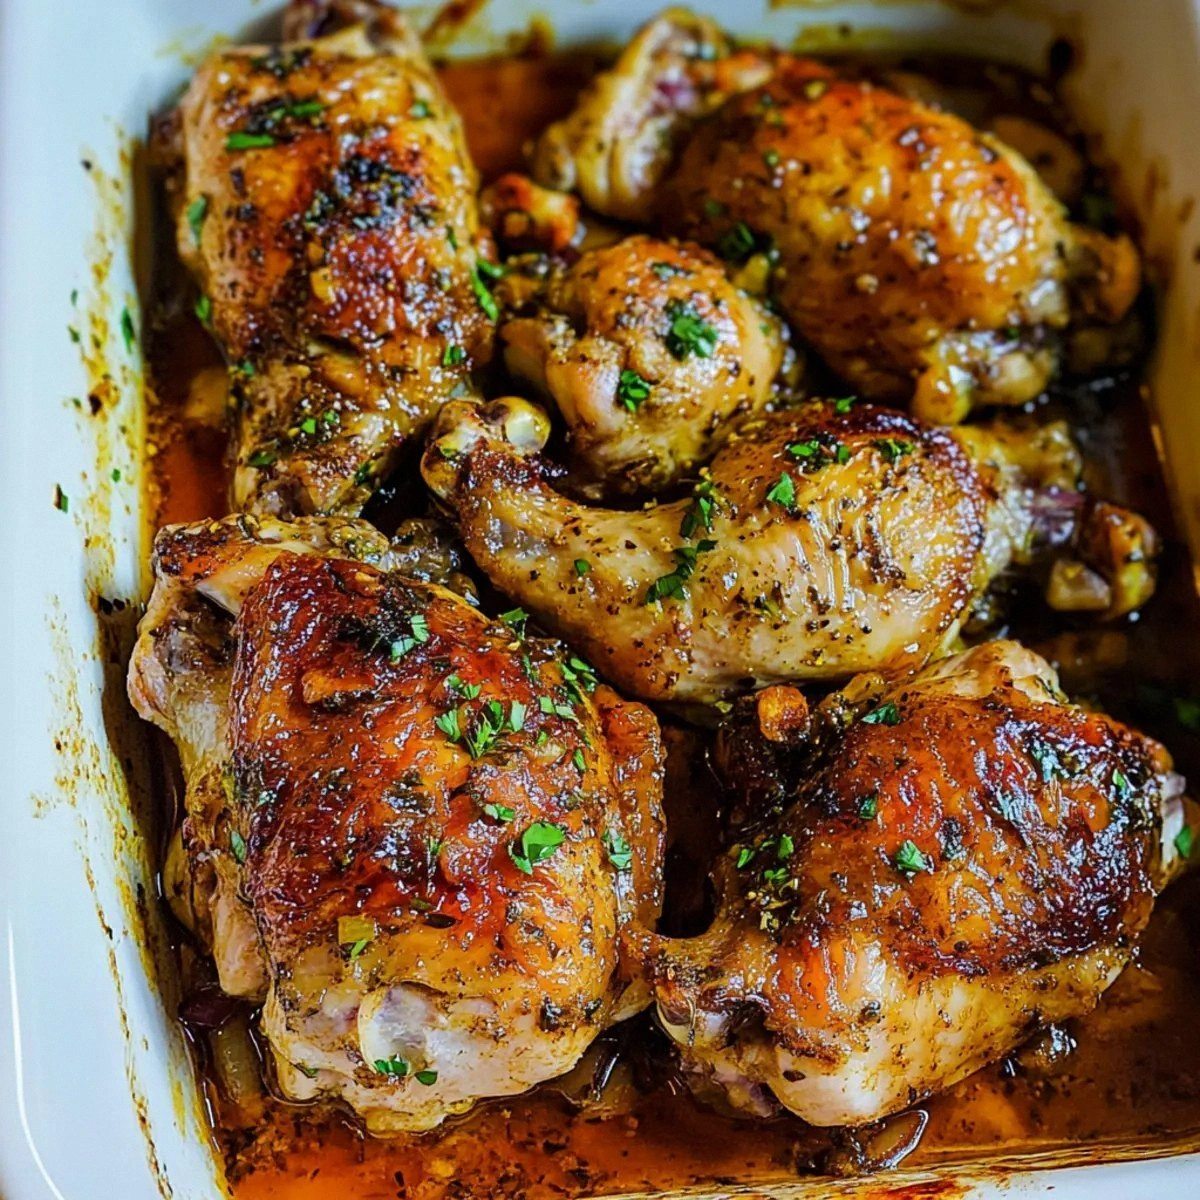
Savory Holiday Roast
Replace the powdered sugar glaze with a honey‑thyme reduction, and add roasted butternut squash cubes. This turns the dish into a savory side that complements a roasted turkey or ham.
Chocolate‑Covered Delight
Drizzle melted dark chocolate over the finished dish and sprinkle sea salt flakes. The bitter chocolate balances the sweetness, while the salt adds a sophisticated crunch.
Nut‑Free Celebration
Omit the almonds and use toasted pumpkin seeds instead. The seeds provide a comparable crunch without the nut allergens, making the dish inclusive for all guests.
Spiced Coconut Twist
Add ½ cup of shredded coconut to the texture crew and a pinch of cardamom to the flavor base. The coconut adds a tropical hint, while cardamom deepens the spice complexity, perfect for a winter‑tropical fusion.
Storing and Bringing It Back to Life
Fridge Storage
Place leftovers in an airtight container and store them in the refrigerator for up to 3 days. The glaze will firm up, but a quick re‑heat in a 300°F oven for 8‑10 minutes revives the crisp edge.
Freezer Friendly
Wrap the cooled dish tightly in plastic wrap, then foil, and freeze for up to 2 months. When ready to serve, thaw overnight in the fridge, then bake at 350°F for 12‑15 minutes, adding a splash of water to the glaze before reheating to restore moisture.
Best Reheating Method
For the ultimate texture, use a skillet over medium heat: add a teaspoon of butter, place a slice in the pan, and cover for 2 minutes. The bottom crisps while the top stays soft, delivering that freshly‑baked experience even days later.