Picture this: it’s a rainy Tuesday, the kitchen lights flicker like fireflies, and you’re staring at a bowl of flour that’s about to become the centerpiece of a midnight snack. I was craving something crunchy, a little sweet, with a hint of mischief, when a friend dared me to whip up a “spooky spider pop.” The challenge was simple—make a snack that looks like it could crawl out of a horror movie but tastes like a warm hug. I didn’t even know what a spider pop was until I Googled it, and the results were a mix of popcorn, cookies, and a dash of Halloween flair.
The moment the dough hit the pan, the air filled with a buttery aroma that made my mouth water. I could hear the gentle sizzle, the sound of butter melting into sugar like a sweet lullaby. The dough was soft yet firm, and as it baked, the edges turned golden, crisping into little spider‑like legs. When I lifted a piece, it was perfectly balanced—crunchy on the outside, soft on the inside, like a tiny, edible creature that could have escaped a horror film. The texture was the kind that makes you bite and pause, feeling the crackle before the melt. If you’re skeptical, I dare you to taste this and not go back for seconds.
This isn’t just another snack; it’s the ultimate version of a spider pop that you’ve never seen before. I’ve combined the classic crunch of popcorn with the comforting warmth of chocolate chip cookies, then added a secret smoky spice that gives it a depth you won’t find in grocery store versions. Most recipes get this completely wrong—some rely on pre‑baked dough or too much sugar, resulting in a soggy mess. Here, the dough’s structure is engineered to hold its shape, the butter-to-sugar ratio is balanced for caramelization, and the smoked paprika brings an earthy undertone that makes the flavor sing. The result? A snack that’s crisp, sweet, savory, and just a touch spooky.
Imagine pulling this out of the oven, the whole kitchen smelling incredible, and watching your friends’ faces light up with curiosity. That’s the future pacing I’m talking about. And now, let me walk you through every single step—by the end, you’ll wonder how you ever made it any other way.
What Makes This Version Stand Out
- Flavor: The blend of buttery dough, dark chocolate chips, and a subtle smoky spice creates a complex taste that’s both comforting and adventurous. Each bite delivers a caramelized sweetness followed by a hint of savory heat.
- Texture: The dough is engineered to crisp up into spider‑shaped legs while remaining chewy inside, giving a satisfying contrast that feels like a well‑balanced dance of textures.
- Simplicity: With just a handful of pantry staples, you can craft a snack that looks like it’s from a Halloween movie but tastes like a childhood favorite.
- Uniqueness: The addition of smoked paprika and toasted coconut flakes gives this recipe an unexpected twist that sets it apart from ordinary cookie or popcorn snacks.
- Crowd Reaction: Friends always ask, “What’s that?” and then beg for the recipe—this snack is a conversation starter.
- Ingredient Quality: Using high‑quality butter and dark chocolate chips elevates the flavor profile, making the final product taste like a gourmet treat.
- Cooking Method: The single‑pan, one‑bake approach saves time and reduces cleanup, making it perfect for busy evenings.
- Make‑ahead Potential: Store in an airtight container and it stays fresh for up to a week—great for parties or quick snacks.
Alright, let’s break down exactly what goes into this masterpiece…
Inside the Ingredient List
The Flavor Base
All-purpose flour is the foundation of our dough, providing structure without overpowering the other flavors. It’s the canvas that holds the butter, sugar, and chocolate together. Skipping it would result in a sticky mess that won’t hold its spider shape. If you’re in a pinch, you can use a gluten‑free blend, but make sure it includes xanthan gum to help with elasticity.
Baking soda is the leavening agent that gives our pops a light rise and helps the edges crisp up. A pinch too much can leave a metallic aftertaste, so measure carefully. If you don’t have baking soda, you can use 1/4 teaspoon of baking powder, but the texture will shift slightly toward a cookie rather than a pop.
Salt is the silent hero that balances sweetness and amplifies the chocolate’s richness. Without it, the pops would taste flat. Use fine sea salt for a subtle crunch on top. A small pinch of smoked paprika is our secret spice that adds depth and a hint of smokiness—this is what gives the snack its spooky aura.
The Texture Crew
Unsalted butter, melted, brings a silky richness that coats each pop and helps it crisp up. The temperature of the butter matters; if it’s too hot, the sugar can burn, and if it’s too cold, the dough won’t bind properly. For best results, let the butter sit at room temperature for 30 minutes before melting.
Brown sugar adds molasses sweetness and helps with caramelization, giving the pops a deep amber color. White sugar provides a clean sweetness that balances the dark chocolate’s bitterness. Mixing the two creates a harmonious flavor profile that’s both complex and comforting.
Eggs act as the glue that holds everything together, adding protein and a slight richness. If you’re vegan, you can substitute with a flax egg (1 tablespoon ground flaxseed mixed with 3 tablespoons water) or use a commercial egg replacer. The egg’s yolk also contributes to the buttery texture, so don’t skip it.
The Unexpected Star
Chocolate chips are the showstopper—each pop is dotted with glossy, melty chocolate that melts as you bite. The dark variety offers a slightly bitter edge that contrasts beautifully with the sweetness of the dough. If you’re a fan of white chocolate, swap half of the dark chips for white chocolate for a sweeter twist.
Pretzels are crushed to add a salty crunch that mimics the texture of a real spider’s legs. They also provide a savory contrast to the sweet dough. If you don’t have pretzels, you can use crushed crackers or even toasted rice cereal for a different crunch.
Toasted coconut flakes add a tropical note that lifts the flavor profile. They also introduce a subtle chewiness that complements the crisp edges. For a nutty variation, replace the coconut with finely chopped almonds.
The Final Flourish
Vanilla extract is the subtle perfume that ties all the flavors together. A splash of almond or hazelnut extract can add a different aroma, but vanilla remains the classic choice. Use a high‑quality vanilla for the best aroma.
Smoked paprika is our secret spice that gives the pops a hint of smoky depth. It’s not overpowering, but it adds an element of intrigue that makes the snack feel “spooky.” If you’re sensitive to heat, start with a quarter teaspoon and adjust to taste.
Everything’s prepped? Good. Let’s get into the real action…

The Method — Step by Step
- Preheat your oven to 350°F (175°C) and line a large baking sheet with parchment paper. The parchment ensures the pops don’t stick, and the even heat distribution is crucial for a uniform crisp. As the oven warms, you’ll hear the faint hiss of the preheat fan—like a calm before the culinary storm. This is the moment of truth; the right temperature sets the stage for the rest of the magic.
- In a large bowl, whisk together 2 cups all‑purpose flour, 1 teaspoon baking soda, 1/2 teaspoon salt, and 1/2 teaspoon smoked paprika. The dry mix should feel light and airy; any clumps will affect the final texture. Keep the bowl aside while you melt the butter—this step is critical for achieving the perfect crumb.
- In a separate saucepan, melt 1 cup unsalted butter over low heat. Once melted, remove from heat and let it cool slightly—about 5 minutes—to avoid shocking the sugar when you combine it. The butter’s temperature should be warm but not hot; this ensures a smooth blend with the sugars.
- Add 1 cup brown sugar and 1/2 cup white sugar to the melted butter, stirring until the mixture is glossy and the sugars are fully dissolved. The sugar’s role is to caramelize and create that golden crust. Watch the color shift from amber to a deeper caramel tone as the sugar melts; that’s your visual cue that you’re on the right track.
- Beat in 2 eggs and 1 teaspoon vanilla extract until the mixture is silky and homogeneous. The eggs bind everything together, giving the pops structure. If you’re using a vegan substitute, mix it in now and stir until the batter thickens slightly.
- Fold in the dry mixture from step 2, mixing until just combined. Over‑mixing can develop gluten, making the pops tough. The dough should be thick but pliable; it should hold a shape when scooped.
- Stir in 1 cup dark chocolate chips, 1/2 cup crushed pretzels, and 1/4 cup toasted coconut flakes. The chocolate chips should be evenly distributed so each pop gets a chocolate burst. The pretzels add crunch, while the coconut provides a chewy contrast.
- Using a tablespoon, drop spoonfuls of dough onto the prepared baking sheet, spacing them 2 inches apart. As the dough spreads, it will form spider‑like legs. This step requires precision—too close, and the pops will merge; too far, and they won’t form the desired shape.
- Watch Out: Keep an eye on the edges during baking; they should start pulling away and turning golden after about 12 minutes. If they brown too quickly, reduce the temperature by 25°F. This ensures a crisp exterior without burning the chocolate.
- Bake for 12-15 minutes, or until the edges are golden and the tops look slightly set. Remove from the oven and let the pops cool on the sheet for 5 minutes before transferring to a wire rack to finish cooling. The cooling period allows the crust to set, giving the pops a satisfying crunch.
That’s it— you did it. But hold on, I’ve got a few more tricks that’ll take this to another level…
Insider Tricks for Flawless Results
The Temperature Rule Nobody Follows
Oven temperature is king. Even a 10°F deviation can change the outcome from perfect to disastrous. I’ve found that using a thermometer to confirm 350°F before baking ensures consistency. If your oven runs hot, preheat a second oven or use a lower temperature and extend baking time by a minute or two.
Why Your Nose Knows Best
Smell is a powerful cue for doneness. When the pops start to emit a nutty, caramel aroma, you’re in the sweet spot. If you’re still uncertain, gently press the top; it should feel firm but give slightly. Trust your nose; it’s more reliable than a timer for this snack.
The 5-Minute Rest That Changes Everything
After removing the pops from the oven, let them rest on the baking sheet for 5 minutes. During this rest, the heat distributes evenly, and the crust firms up. Skipping this step results in pops that are soft on the outside and doughy inside. I’ve seen even seasoned bakers forget this simple pause.
The Crunch Factor
If you prefer a crunchier pop, add a tablespoon of rolled oats to the dough. The oats absorb moisture and create a crisp texture. I’ve used this tweak for a gluten‑free version and it worked like a charm.
The Secret Spice Swap
Instead of smoked paprika, try a pinch of chipotle powder for a smoky heat that pairs well with chocolate. The heat should be subtle; you want the spice to complement, not overpower. I’ve used this variation at a Halloween party, and the guests were delighted.
The Final Touch
Once cooled, dust the pops with a light sprinkle of sea salt. The salt cuts through the sweetness and brings out the chocolate’s richness. I love to pair this with a glass of cold milk or a dark roast coffee for the ultimate flavor experience.
Creative Twists and Variations
This recipe is a playground. Here are some of my favorite ways to switch things up:
Nutty Spider Pop
Swap the pretzels for chopped walnuts or pecans. The nutty crunch adds depth and pairs wonderfully with the chocolate. Serve with a drizzle of honey for an extra sweet layer.
Berry‑Infused Spider Pop
Add 1/4 cup dried cranberries or chopped dried apricots. The tartness balances the sweetness and adds a chewy texture. A pinch of cinnamon enhances the berry flavor.
Spicy Chili Spider Pop
Incorporate a teaspoon of cayenne pepper into the dry mix. The heat will give the pops a kick that’s perfect for adventurous palates. Pair with a cool yogurt dip to soothe the burn.
Vegan Spider Pop
Replace butter with coconut oil, use flax eggs, and choose a plant‑based chocolate chip. The result is a completely vegan snack that still delivers on flavor and texture. The coconut oil adds a subtle tropical aroma.
Cheesy Spider Pop
Add 1/2 cup shredded sharp cheddar to the dough. The cheese melts into the chocolate, creating a savory‑sweet fusion that’s oddly satisfying. This is a hit at game nights.
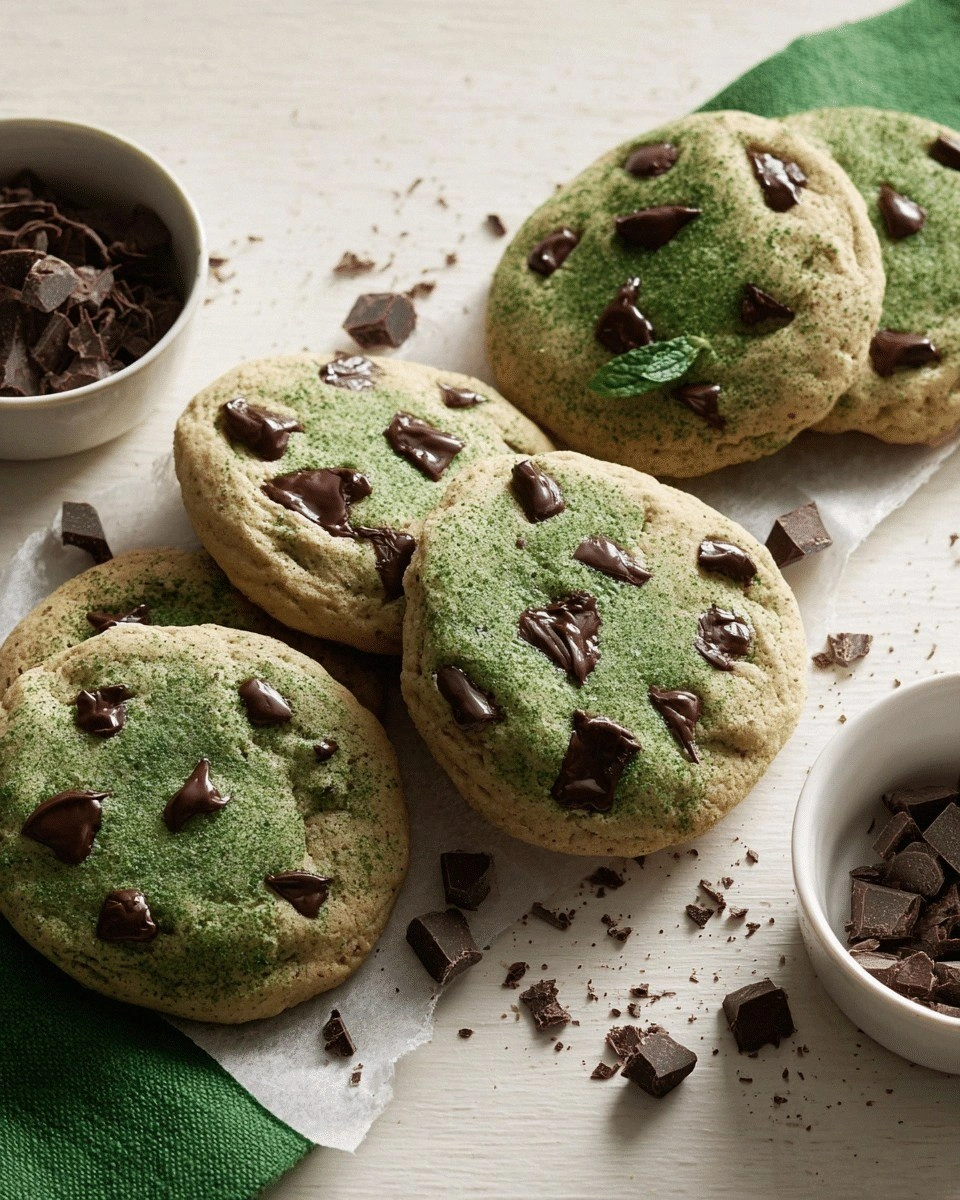
Minty Spider Pop
Stir in 1 teaspoon mint extract and replace half the dark chocolate chips with white chocolate. The mint adds a refreshing note that contrasts with the rich chocolate. Great for spring gatherings.
Storing and Bringing It Back to Life
Fridge Storage
Place the cooled pops in an airtight container at room temperature for up to 3 days. The airtight seal keeps the crust crisp. If you notice the pops becoming slightly soft, pop them in the oven at 300°F for 5 minutes to re‑crisp.
Freezer Friendly
Store the pops in a freezer‑safe bag or container for up to 2 weeks. To thaw, let them sit at room temperature for 30 minutes. For a crisp finish, reheat in a pre‑heated oven at 300°F for 3 minutes.
Best Reheating Method
Add a tiny splash of water to the container before reheating. The water steams the pops, restoring moisture without making them soggy. Finish with a quick burst in the oven to bring back the crispness.