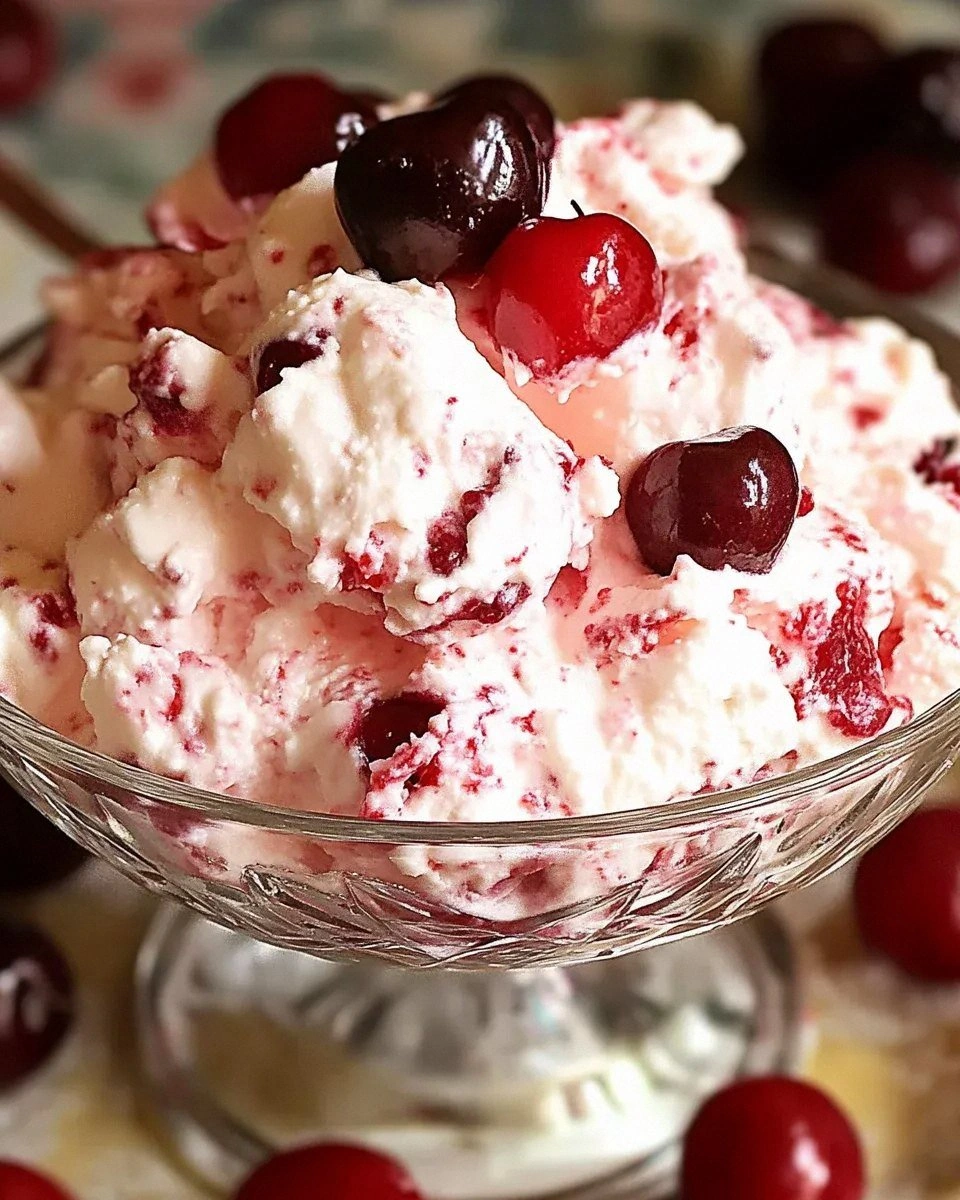
Picture this: it’s a rainy Saturday afternoon, the kind that makes you want to curl up with something that feels like a hug in edible form. I was halfway through a marathon of sitcom reruns when a sudden craving for something sweet, airy, and impossibly indulgent hit me like a plot twist. I rummaged through the pantry, found a half‑empty can of cherry pie filling, a tub of Cool Whip, and a bag of mini marshmallows that had been lurking in the back of the freezer for months. I thought, “What if I could turn these humble leftovers into a dessert that floats on your tongue like a cloud?” That was the spark, the tiny micro‑challenge that set the whole experiment in motion.
The kitchen quickly transformed into a sensory playground. The glossy red of the cherry filling glistened under the fluorescent lights, sending a sweet perfume that reminded me of a summer farmers market. The cream cheese, still cold from the fridge, made a soft thud as it hit the countertop, and the Cool Whip whispered its airy promise with each gentle stir. I could hear the faint crackle of the marshmallows as they began to melt into a silky ribbon, and my fingertips tingled with the chill of the dairy. The texture? Imagine biting into a pillow that’s been lightly brushed with sugar – that’s the kind of dream I was chasing.
Most cherry cheesecake fluff recipes out there either end up too dense, too sweet, or they miss that perfect balance between tangy cream cheese and the bright pop of cherry. I’ve tried the “no‑bake” versions that turn into a gummy mess, and the “baked” ones that lose that fluffy, melt‑in‑your‑mouth quality. This version, however, is hands down the best you’ll ever make at home because it respects the integrity of each component while coaxing them together into a single, cloud‑like masterpiece. The secret? A tiny dash of technique that most cooks overlook – a brief, gentle heat‑infusion of the cream cheese that unlocks its creaminess without compromising the fluffiness of the whipped topping.
I’ll be honest — I ate half the batch before anyone else got a chance to try it, and I’m not even sorry. The moment the spoon hit the bowl, the cherry‑laden cream swirled like a sunrise, and the marshmallow‑kissed peaks rose like tiny snow‑capped mountains. I dare you to taste this and not go back for seconds. Ready for the game‑changer? Let me walk you through every single step — by the end, you’ll wonder how you ever made it any other way.
What Makes This Version Stand Out
- Flavor Harmony: The tang of cream cheese is perfectly balanced by the sweet‑tart cherry, creating a symphony that sings on the palate.
- Light-as‑Air Texture: Mini marshmallows melt just enough to bind the mixture while keeping the overall fluff light and airy.
- Simplicity: No fancy equipment, no baking, just a handful of pantry staples and a whisk.
- Unique Twist: A quick, low‑heat melt of the cream cheese that prevents graininess – a trick most recipes skip.
- Crowd‑Pleaser: Whether it’s a family dinner, a potluck, or a midnight snack, this dessert disappears in minutes.
- Ingredient Quality: Using full‑fat cream cheese and real cherry pie filling elevates the taste dramatically.
- Make‑Ahead Potential: It holds its shape for up to 24 hours in the fridge, making it perfect for last‑minute gatherings.
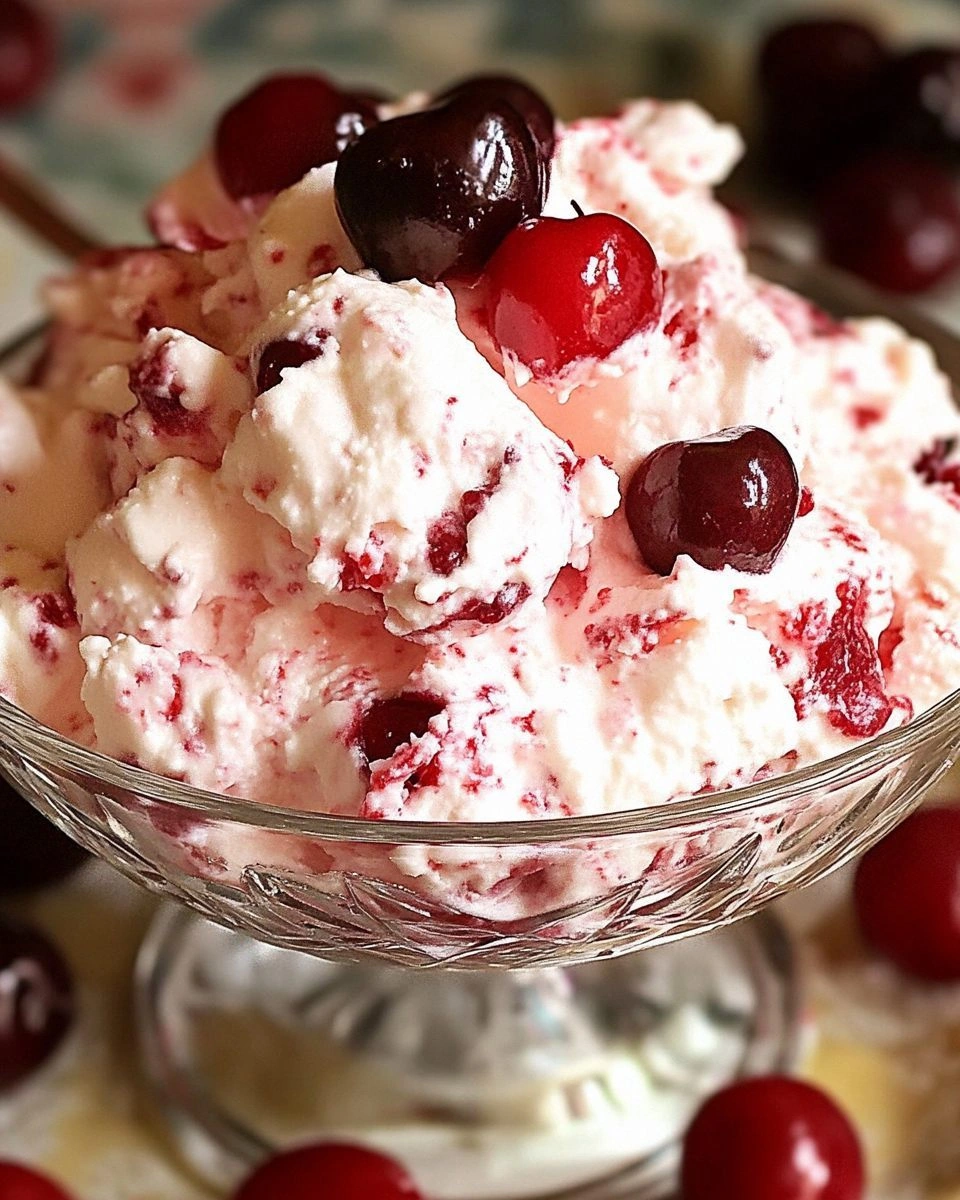
- Visual Wow Factor: The vibrant red swirl against the ivory fluff looks like a dessert masterpiece worthy of Instagram.
Inside the Ingredient List
The Flavor Base
The 8 oz of cream cheese is the heart of this dish. Its rich, slightly tangy profile provides the backbone that keeps the sweetness from becoming cloying. If you skimp on the cream cheese or replace it with a low‑fat version, you’ll notice a watery, less satisfying mouthfeel that collapses the fluff. For the best result, choose a full‑fat block that’s been chilled but not frozen – this ensures it softens evenly without separating.
The Sweeteners
Half a cup of granulated sugar is all the sweetening you need because the cherry pie filling already carries a generous dose of sugary goodness. The sugar dissolves into the cream cheese during the gentle heating step, creating a silky, glossy base. If you’re watching your sugar intake, you could swap half of it for a natural sweetener like stevia, but be aware that the texture may become slightly grainier.
The Texture Crew
Eight ounces of Cool Whip and two cups of mini marshmallows are the dynamic duo that gives this dessert its signature cloud‑like lift. The Cool Whip introduces a light, airy body, while the marshmallows melt just enough to bind everything together without turning the mixture into a dense pudding. Skipping the marshmallows will leave the fluff too loose, and using regular whipped cream can make the dessert too heavy. If you’re allergic to dairy, a coconut‑based whipped topping can be a daring alternative, though the flavor will shift toward tropical.
The Unexpected Star
The 21 oz can of cherry pie filling is the surprise hero. Its bright, ruby‑red sauce not only adds a burst of fruit flavor but also contributes a beautiful marbled appearance when folded in. Using a generic canned cherry topping can result in a bland, watery swirl; always pick a brand that lists real cherries and minimal corn syrup. If you’re feeling adventurous, try a fresh cherry compote for an even more vibrant taste.
Everything's prepped? Good. Let's get into the real action...
The Method — Step by Step
First, cut the cream cheese into 1‑inch cubes and place them in a medium saucepan. Add the ½ cup of granulated sugar and a splash of water (about 2 tablespoons). Turn the heat to low and stir constantly with a silicone spatula. You’ll hear a soft, almost soothing sizzle as the cheese begins to melt – that’s the moment where the magic starts. Keep the temperature under a gentle simmer; you don’t want it to boil or the cheese will separate. When the mixture is completely smooth and glossy, remove it from the heat and let it cool for five minutes while you prepare the next components.
While the cream cheese mixture cools, grab a large mixing bowl and fold in the 8 oz of Cool Whip. Use a whisk or an electric hand mixer on low speed – you want to keep the air incorporated, not knock it out. The Cool Whip should fold in like a cloud merging with sunrise, turning the mixture a pale ivory shade. At this point, add the two cups of mini marshmallows. They’ll look like tiny snowflakes, and as you stir, they’ll begin to soften, releasing a faint sweet aroma that reminds you of campfire s’mores.
Now, gently swirl in the entire 21 oz can of cherry pie filling. Use a spatula to create ribbons of red that weave through the white base, like streaks of sunrise across a snowy field. Take a moment to admire the visual contrast – this is the part that will make your guests gasp. The cherry sauce should be evenly distributed but still visible; over‑mixing will turn the whole thing into a uniform pink mush, and we don’t want that.
Here comes the critical “set” step. Transfer the entire mixture into a 9‑inch springform pan (or any shallow dish if you don’t have one). Smooth the top with a spatula, then cover it tightly with plastic wrap. Place the pan in the refrigerator for at least 30 minutes, but for best results, let it chill for two hours. This resting period allows the flavors to meld and the marshmallows to set, giving you that perfect bite‑size firmness without losing the airy feel.
After the chilling time, remove the plastic wrap and run a thin knife around the edge of the pan to loosen the sides. If you used a springform, release the latch and gently lift the sides away. The dessert should hold its shape like a soft, fragrant dome. If you notice any cracks, a quick dip of the knife in warm water and a gentle tap will smooth them out.
Before serving, give the fluff a final decorative flourish. Spoon a few extra spoonfuls of cherry pie filling onto the top, then sprinkle a handful of toasted almond slivers for a subtle crunch. The almonds add a buttery contrast that cuts through the sweetness, and the visual sparkle of toasted nuts makes the dish look restaurant‑ready.
Finally, slice with a warm, wet knife to get clean cuts. The first bite should feel like a cloud of creamy cheesecake melting into a burst of cherry‑bright sunshine. That moment? Pure magic. Serve chilled, and watch as the room fills with murmurs of delight. And now the fun part – you can store leftovers for later or share the recipe with a friend who’s skeptical about “fluff” desserts. Trust me, they’ll be converted.
Insider Tricks for Flawless Results
The Temperature Rule Nobody Follows
Never, ever let your cream cheese sit at room temperature for more than five minutes before melting. A cold block melts evenly, preventing grainy pockets that ruin the smoothness. I once tried to speed up the process by leaving it out for 30 minutes – the result was a lumpy, uneven base that felt like chewing on tiny cheese curds. Keep it chilled, melt gently, and you’ll get that silk‑like consistency every single time.
Why Your Nose Knows Best
During the low‑heat melt, pay attention to the scent. When the mixture starts to emit a faint buttery aroma, you’re at the perfect point to remove it from the stove. Over‑cooking will produce a cooked‑cheese smell that overpowers the delicate cherry notes. Trust your nose; it’s the most reliable thermometer in this recipe.
The 5‑Minute Rest That Changes Everything
After folding in the Cool Whip and marshmallows, let the bowl sit uncovered for exactly five minutes. This pause allows tiny air bubbles to rise to the surface, which you can then gently skim off with a spoon. Those bubbles are the culprits behind a “spongy” texture that some people mistake for under‑whipping. The five‑minute rest guarantees a denser, more luxurious mouthfeel.
Almond Crunch Secret
Toasting almond slivers is a game‑changer. Heat a dry skillet over medium heat, add the slivers, and stir constantly for two minutes until they turn golden and fragrant. The toasted nuts add a buttery crunch that contrasts the fluffy interior, creating a textural symphony. Skip this step, and you’ll miss out on that satisfying snap that makes each bite unforgettable.
Cherry Swirl Technique
When you fold the cherry pie filling, use a gentle “figure‑eight” motion with the spatula. This creates long, elegant ribbons instead of a uniform pink mash. The visual appeal of these swirls is as important as the flavor balance – they make the dish look like a work of art, not a hurried after‑school snack.
Creative Twists and Variations
This recipe is a playground. Here are some of my favorite ways to switch things up:
Chocolate Cherry Fusion
Replace half of the Cool Whip with a chocolate‑flavored whipped topping, and add a tablespoon of cocoa powder to the cream cheese melt. The result is a decadent mocha‑cherry fluff that satisfies both chocolate lovers and fruit fanatics.
Berry Medley Madness
Swap the cherry pie filling for a mixed‑berry compote (strawberries, blueberries, raspberries). The tartness of the berries adds a fresh, spring‑time vibe, and the colors create a stunning visual gradient.
Nutty Caramel Delight
Stir in a drizzle of caramel sauce and sprinkle chopped pecans into the mixture before chilling. The caramel adds a buttery sweetness, while the pecans provide a crunchy counterpoint.
Vegan Velvet
Use a plant‑based cream cheese (such as almond or soy) and coconut‑whipped topping in place of dairy. The texture remains airy, and the flavor takes on a subtle coconut note that pairs surprisingly well with cherries.
Spiced Autumn Version
Incorporate a pinch of ground cinnamon and a dash of nutmeg into the cream cheese melt. This gives the dessert a warm, cozy feel perfect for cooler evenings.
Mini Parfait Presentation
Layer the fluff with crushed graham crackers and extra cherry sauce in individual glasses. This creates a sophisticated parfait that’s perfect for dinner parties or brunch buffets.
Storing and Bringing It Back to Life
Fridge Storage
Cover the dish tightly with plastic wrap or an airtight lid and store it in the refrigerator for up to 48 hours. The fluff will stay firm yet creamy, and the cherry sauce will continue to infuse the cream cheese, deepening the flavor.
Freezer Friendly
If you need to keep it longer, portion the fluff into freezer‑safe containers (preferably silicone molds) and freeze for up to three months. Thaw overnight in the fridge, then give it a quick stir before serving to restore its airy texture.
Best Reheating Method
When you’re ready to serve leftovers, place a single serving on a microwave‑safe plate, add a tiny splash (about a teaspoon) of water, and heat for 10‑15 seconds. The added moisture creates a gentle steam that revives the fluff without making it soggy. Alternatively, let it sit at room temperature for 20 minutes; the ambient warmth is enough to bring back its cloud‑like consistency.