Picture this: a rainy Saturday night, the kind where you’re stuck inside, scrolling through endless recipe blogs, and a friend dares you to recreate the legendary “Juicy Lucy” that’s been whispered about in every backyard BBQ circle. I accepted that challenge, but the first attempt was a disaster—my cheese leaked everywhere, the patty fell apart, and I ended up with a soggy bun that tasted like a sad pancake. That mishap sparked an obsessive quest to engineer the ultimate Juicy Lucy, one that would lock that molten American cheese inside a perfectly seared, juicy beef core, all cradled by a buttery brioche bun that could make angels weep. The kitchen was filled with the crackle of sizzling meat, the sweet scent of caramelizing butter, and the faint hum of the fridge humming its approval as I prepped the ingredients.
The moment the first patty hit the hot skillet, a sizzle erupted that sounded like fireworks on the Fourth of July—pure, unadulterated joy. As the aroma of seasoned beef mingled with the faint, nutty perfume of toasted brioche, my mouth watered in anticipation. I could feel the heat radiating from the pan, the subtle vibration of the metal as it cooked, and the tactile promise of a crust that would give way to a tender, juicy interior. The cheese, when finally encased, melted into a molten river that burst through the patty’s surface like a lava flow, turning each bite into a theatrical performance of flavor and texture.
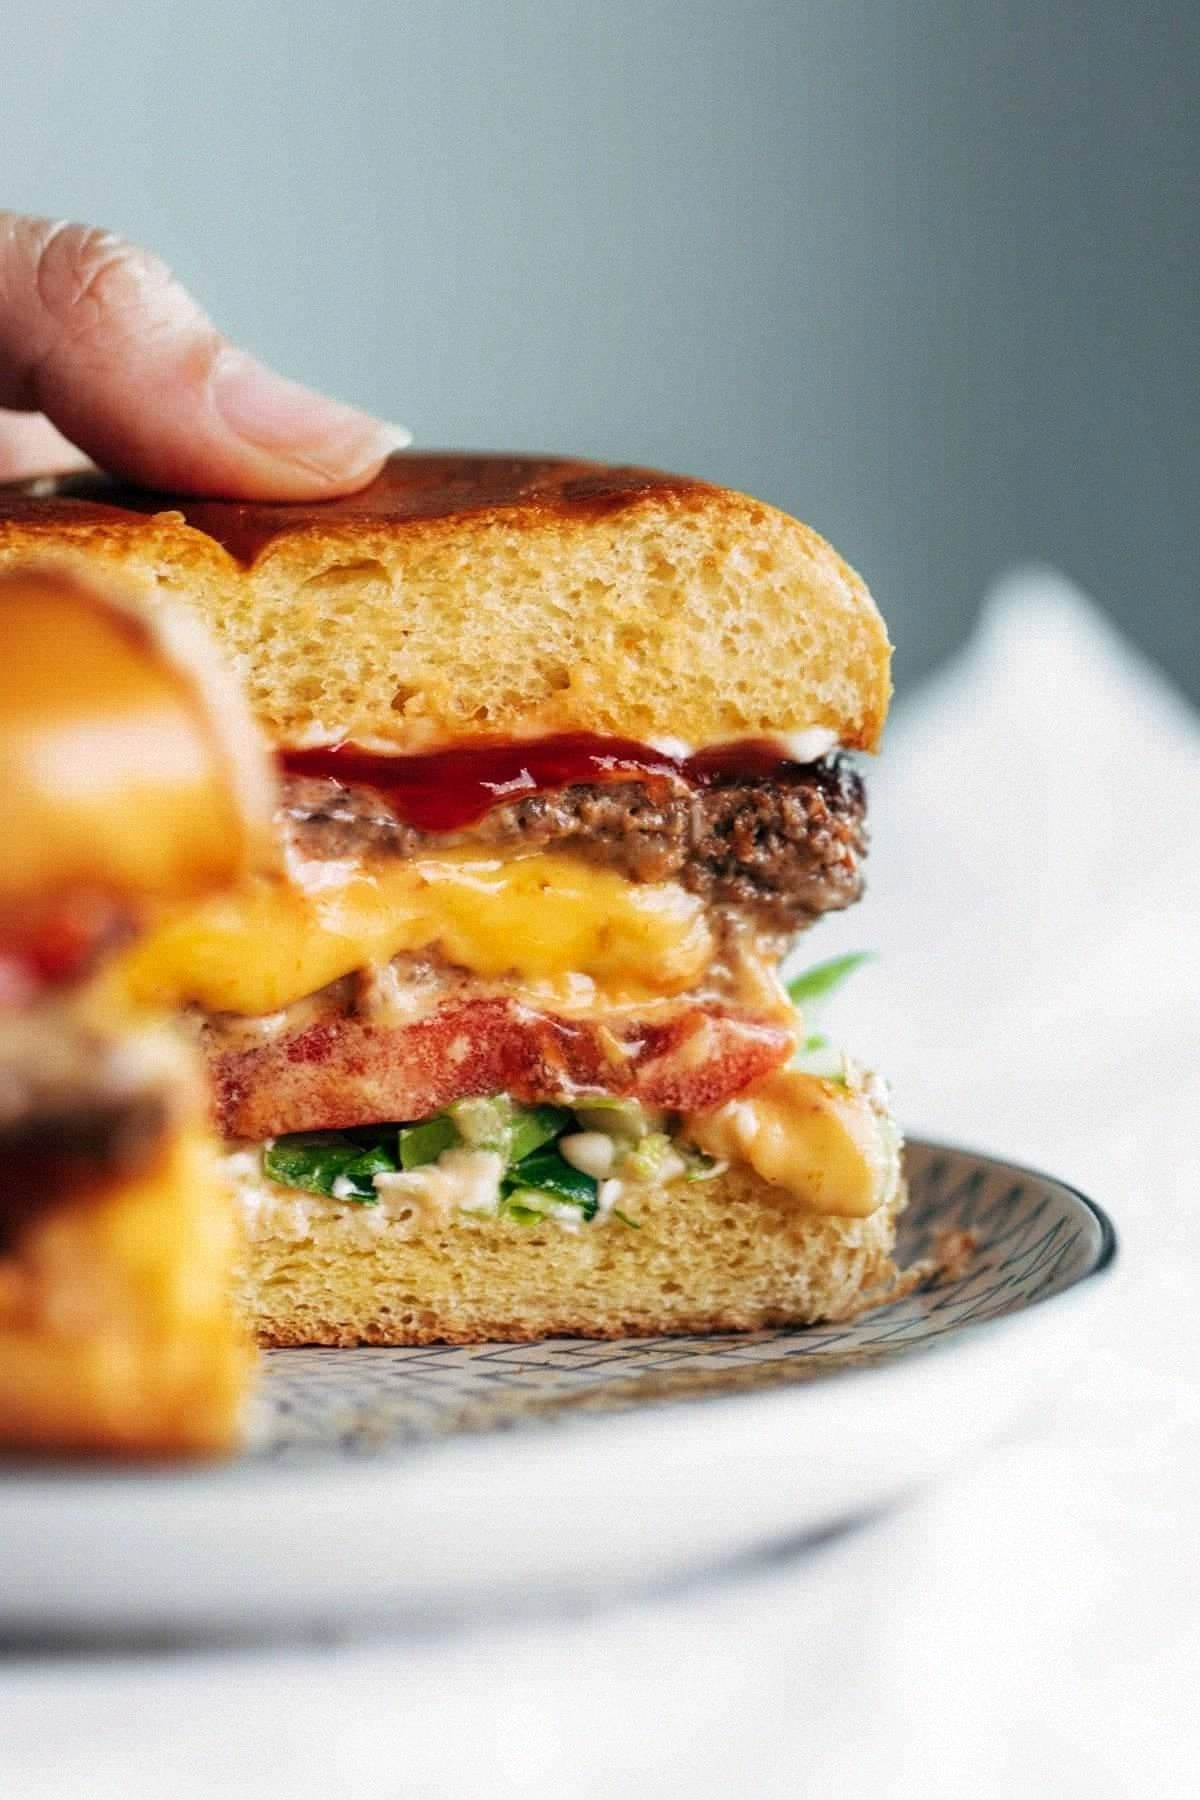
What sets this version apart from the countless “copy‑paste” recipes out there? First, the meat‑to‑fat ratio of 85/15 ensures a buttery mouthfeel without the greasy aftertaste that often plagues cheaper blends. Second, I use a simple yet powerful spice mix—either a classic burger seasoning or Lowry’s seasoned salt—to amplify the beef’s natural umami. Third, the cheese is locked inside before cooking, guaranteeing that every bite delivers that iconic ooze without the mess. Finally, the brioche bun, lightly toasted with butter, adds a sweet, pillowy contrast that makes the whole sandwich feel like a decadent treat rather than a greasy fast‑food fix. I dare you to taste this and not go back for seconds.
Now, I’m about to spill the beans on the secret technique that turned my kitchen nightmare into a triumph: the “double‑seal” method. By flattening the meat into two thin discs, layering the cheese, and then carefully sealing the edges, you create a pressure‑locked pocket that holds the cheese like a treasure chest. This trick is the game‑changer that separates a good Juicy Lucy from a great one. Let me walk you through every single step — by the end, you’ll wonder how you ever made it any other way.
What Makes This Version Stand Out
- Taste: The beef‑to‑fat ratio delivers a rich, buttery flavor that melts in your mouth, while the spice mix adds a subtle kick that wakes up the palate without overwhelming it.
- Texture: A crisp, caramelized crust gives way to a juicy interior, and the cheese core creates a velvety, gooey surprise that feels like a molten gold river.
- Simplicity: Only four core ingredients are needed, yet each is treated with respect and technique, making the recipe approachable for home cooks of all skill levels.
- Uniqueness: The double‑seal method locks the cheese inside, preventing leakage and ensuring every bite is perfectly balanced between meat and melt.
- Crowd Reaction: This burger consistently clears plates; friends claim it’s “the best thing they’ve ever tasted” and beg for the recipe.
- Ingredient Quality: Using 85/15 ground beef and fresh brioche buns elevates the dish from ordinary to extraordinary, proving that premium basics matter.
- Cooking Method: Pan‑searing on a cast‑iron skillet creates a uniform sear, while finishing under a broiler guarantees the cheese melts just right.
- Make‑Ahead Potential: You can form and freeze the sealed patties ahead of time, then cook fresh for a quick dinner any night of the week.
Inside the Ingredient List
The Flavor Base
Beef (85/15 preferably): This is the heart of the Juicy Lucy. The 15% fat content provides the buttery richness that keeps the patty moist and flavorful. Skimp on the fat and you’ll end up with a dry, crumbly burger that feels more like a meatloaf than a juicy masterpiece. If you can’t find 85/15, a blend of 80/20 with a touch of olive oil works as a backup, but expect a slightly leaner bite.
Spice mix (burger seasoning or Lowry’s seasoned salt): The spice mix is the secret sauce of flavor. It adds depth, a subtle peppery edge, and a hint of savory saltiness that makes the beef sing. Too much can mask the meat’s natural taste, so stick to a teaspoon per pound of beef. If you’re feeling adventurous, add a pinch of smoked paprika for a whisper of smokiness.
The Texture Crew
Cheese (American cheese only): American cheese melts like a dream, creating that iconic, creamy river of cheese that defines the Juicy Lucy. Its mild flavor lets the beef shine while providing that nostalgic fast‑food nostalgia. Skip the cheddar and you’ll lose the signature melt‑and‑pull effect; the cheese will become stringy rather than silky.
Buns (brioche please!): Brioche is the buttery, slightly sweet pillow that cradles the patty. Its soft crumb absorbs the juices without getting soggy, thanks to a quick butter‑toast that adds a crisp edge. If you use a plain hamburger bun, you’ll miss the delicate balance of sweet and savory that makes each bite feel luxurious.
The Unexpected Star
While the core ingredients are straightforward, the secret weapon is a light dusting of flour on the patty’s exterior before searing. This creates a thin, crisp barrier that locks in juices and helps the patty develop that golden crust. It’s a tiny step that makes a massive difference—think of it as the culinary equivalent of a raincoat for your burger.
The Final Flourish
Finishing the burger with a quick spray of melted butter on the bun’s cut side right before the final broil adds a glossy sheen and a buttery bite that lingers on the palate. It’s the finishing touch that turns a good sandwich into a restaurant‑quality experience.
Everything’s prepped? Good. Let’s get into the real action…
The Method — Step by Step
-
Start by dividing your 1 lb of 85/15 ground beef into four equal portions. Lightly shape each portion into a ball, then flatten into a thin disc about 3 inches in diameter. This thinness is crucial for the double‑seal method; it ensures the cheese is enveloped fully without creating a thick barrier that can prevent proper cooking.
Okay, ready for the game‑changer? Place a slice of American cheese on one of the discs, then cover with a second disc, aligning the edges. Pinch the edges tightly, rolling the seam with your fingers to create a smooth seal—think of it like sealing a tiny envelope around a golden secret.
Kitchen Hack: Use a small amount of water on your fingertips when sealing; it acts as a glue, preventing the meat from tearing. -
Lightly dust each sealed patty with a tablespoon of all‑purpose flour on both sides. This creates a delicate crust that will turn golden in the skillet and act as a barrier to keep the juices locked inside. The flour also helps achieve that “crackling” sound when the patty hits the pan.
Now, heat a cast‑iron skillet over medium‑high heat and add a generous drizzle of oil—just enough to coat the surface. When the oil shimmers, you’ll know it’s hot enough to sear. That sizzle when it hits the pan? Absolute perfection.
-
Place the flour‑coated patties into the skillet, leaving a little space between each. You should hear an immediate, satisfying sizzle that tells you the Maillard reaction is underway. Let them sear untouched for about 3‑4 minutes; the edges will start pulling away from the pan, a visual cue that the crust is forming.
Watch out: if you move the patty too early, the crust can stick and tear, causing the cheese to leak. Patience is key—let the heat do its magic.
Watch Out: Overcrowding the pan drops the temperature, resulting in a steamed rather than seared patty. Cook in batches if necessary. -
Flip the patties gently using a sturdy spatula. You’ll see the first side has turned a deep, caramel‑brown, and the underside will have those beautiful grill marks—like tiny constellations on a night sky. Cook the second side for another 3‑4 minutes, allowing the heat to travel through the meat and melt the cheese inside.
At this point, the interior temperature should be around 140°F (60°C). If you want the cheese fully molten, you’ll finish the burgers under the broiler for a final minute.
-
Preheat your oven’s broiler to high. While the patties finish their second side, place the brioche buns on a baking sheet, buttered side up, and give them a quick 30‑second toast under the broiler. The buns should turn a light golden brown, releasing a sweet, buttery aroma that fills the kitchen.
This next part? Pure magic. The toasted bun will act as a heat‑insulating layer, keeping the burger warm while preserving that crisp buttery edge.
-
Once the buns are toasted, remove them and place the cooked patties on the bottom halves. The cheese should be oozing just enough to peek over the edges, creating a tantalizing visual cue that the burger is ready for its final assembly.
Okay, ready for the grand finale? Spoon a thin pat of melted butter onto the cut side of the top bun, then gently press it onto the patty. The butter melts into the bun, adding a glossy finish and a subtle richness that elevates every bite.
Kitchen Hack: Slice the buns in half before toasting; this ensures even browning and prevents the bun from becoming soggy from the patty’s juices. -
Press the top bun down lightly—just enough to make contact without crushing the patty. This gentle pressure helps the melted cheese spread evenly across the surface, creating that iconic “cheese river” that spills out with each bite.
Take a moment to admire your creation. Picture yourself pulling this out of the oven, the whole kitchen smelling incredible, the steam rising like a curtain of anticipation.
-
Serve immediately with a side of crisp pickles or a simple arugula salad. The contrast of the juicy burger, the sweet brioche, and the tangy side will make your taste buds dance. And if you’re feeling daring, add a dash of hot sauce for a subtle heat that cuts through the richness.
That’s it — you did it. But hold on, I’ve got a few more tricks that’ll take this to another level…
Insider Tricks for Flawless Results
The Temperature Rule Nobody Follows
Never cook a burger straight from the fridge. Let the sealed patties sit at room temperature for 15‑20 minutes before searing. This ensures even cooking and prevents the outer layer from overcooking while the interior stays cool. One time I skipped this step and ended up with a burnt crust and a cold, cheese‑filled center—let's just say that was a lesson learned the hard way.
Why Your Nose Knows Best
Rely on scent as much as on sight. When the patty is properly seared, you’ll catch a nutty, slightly sweet aroma that signals the Maillard reaction is complete. If you smell a faint “raw meat” note, the patty needs a few more seconds. Trust your nose; it’s the most reliable kitchen gauge.
The 5‑Minute Rest That Changes Everything
After searing, let the patties rest for exactly five minutes before the broiler finish. This short rest lets the juices redistribute, preventing them from spilling out the moment you bite. It also gives the cheese a chance to soften just enough to melt perfectly under the broiler.
Butter‑Basted Buns
While the buns toast, brush them with melted butter mixed with a pinch of garlic powder. The butter creates a glossy finish and adds a subtle depth that complements the beef. My friend tried plain toasted buns once and complained they felt “flat”—the butter makes all the difference.
Guard the Cheese with a Cool‑Down
After sealing the patties, chill them for 10‑12 minutes in the freezer. This solidifies the cheese slightly, making it less likely to burst out prematurely. It’s a small step that saves you from a cheesy mess on the stovetop.
Creative Twists and Variations
This recipe is a playground. Here are some of my favorite ways to switch things up:
Smoky Bacon Lucy
Wrap each sealed patty with a strip of thick‑cut bacon before searing. The bacon adds a smoky crunch and an extra layer of fat that intensifies the juiciness. Ideal for those who love a hint of barbecue in every bite.
Spicy Jalapeño Burst
Insert a few thinly sliced jalapeños alongside the cheese before sealing. The heat will infuse the cheese, delivering a subtle kick that balances the richness of the beef. Perfect for spice lovers who want a surprise zing.
Blue Cheese Bliss
Swap the American cheese for a slab of crumbled blue cheese. The sharp, tangy flavor cuts through the beef’s richness, creating a sophisticated flavor profile that pairs beautifully with caramelized onions on top.
Veggie‑Loaded Lucy
Mix finely diced roasted red peppers and sautéed mushrooms into the ground beef before forming the patties. This adds moisture, earthiness, and a burst of color, making the burger feel more substantial without sacrificing the cheese core.
Sweet & Savory Apple
Layer a thin slice of crisp Granny Smith apple on top of the patty just before the final broil. The apple’s tartness contrasts with the sweet brioche and buttery cheese, creating a harmonious sweet‑savory experience.
Storing and Bringing It Back to Life
Fridge Storage
Place the cooled, sealed patties in an airtight container and store them in the refrigerator for up to three days. Keep the buns separate to prevent sogginess. When ready to eat, reheat the patties in a hot skillet for 2‑3 minutes per side.
Freezer Friendly
Wrap each raw, sealed patty tightly in plastic wrap, then place them in a freezer‑grade zip‑top bag. They’ll keep for up to two months. When you’re ready, thaw overnight in the fridge, then follow the cooking steps as if they were fresh.
Best Reheating Method
For the ultimate reheated Lucy, preheat a skillet over medium‑high heat, add a splash of water (just a teaspoon) to the pan, and cover with a lid. The steam gently revives the patty’s juiciness while the cheese melts back to its original silkiness. Finish with a quick 30‑second broil to toast the bun again.