I was standing in my kitchen, half‑heartedly scrolling through endless frosting recipes, when my roommate shouted from the living room, “I dare you to make something that tastes like a childhood summer day!” I laughed, grabbed a handful of orange zest, and thought, “Why not turn that nostalgic orange creamsicle memory into a frosting that could make even the most seasoned baker weep with joy?” The result? A buttercream so silky it slides over a cake like a sunset‑kissed ocean, and a flavor so bright it could convince a grumpy toddler that vegetables are fun. Imagine the scent of freshly‑zested orange swirling with sweet vanilla, the way it hits your nose before it even touches your tongue – that’s the moment you’ll recognize you’ve stumbled onto something legendary.
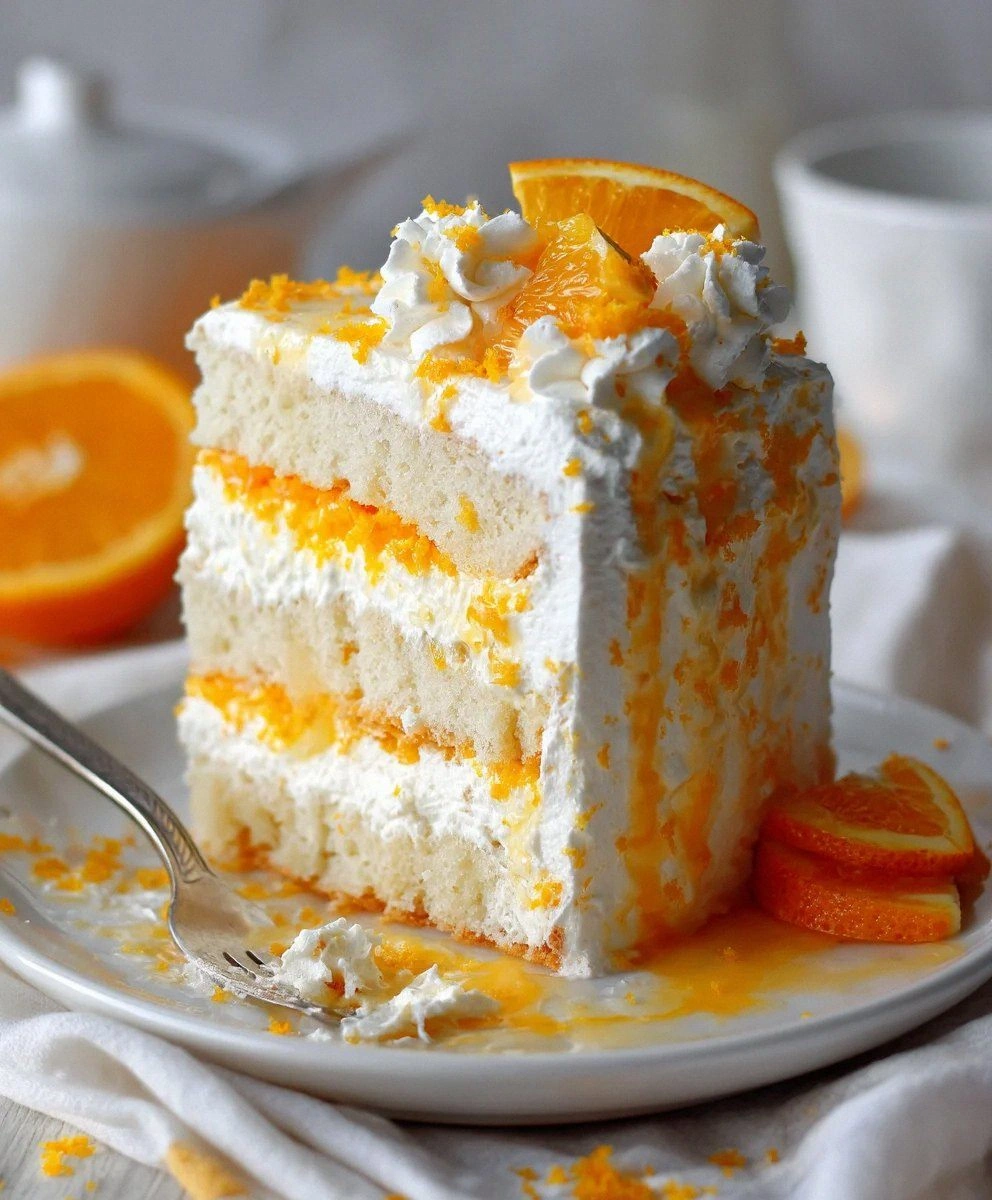
Picture this: you’re pulling a freshly‑baked vanilla cake out of the oven, the kitchen air humming with a warm, buttery perfume. You slice a piece, and the crumb is soft, airy, and just begging for a blanket of frosting. You spread the orange creamsicle buttercream, and it glistens like a glassy pond at sunrise. The first bite is a perfect collision of creamy, buttery richness and a citrusy zing that dances on the palate, followed by a lingering vanilla hug that makes you close your eyes and sigh. That’s not a dream – that’s the reality you’ll create when you follow this recipe.
Most recipes out there either skimp on the orange flavor or drown the butter in a sugary swamp. This version, however, balances the citrus and the sweet with the precision of a master chemist. The secret? A dash of orange zest for aromatic punch, freshly‑squeezed juice for authentic flavor, and a whisper of cream cheese that adds a subtle tang while keeping the texture buttery smooth. And yes, I’m about to reveal a little trick involving a chilled mixing bowl that most bakers overlook – it’s the difference between a frosting that holds its shape and one that turns into a soupy mess.
Okay, ready for the game‑changer? I’m going to walk you through every single step — by the end, you’ll wonder how you ever made frosting any other way. I dare you to taste this and not go back for seconds. Let’s dive in.
What Makes This Version Stand Out
- Taste: The orange flavor is bright but never artificial; it’s the real thing, thanks to fresh zest and juice.
- Texture: Silky, spread‑ready, and stable – it holds its peaks without cracking.
- Simplicity: Only six core ingredients, all pantry‑friendly, no fancy equipment required.
- Uniqueness: The tiny addition of cream cheese gives a subtle tang that most buttercreams miss.
- Crowd Reaction: Guests swear they’ve never tasted anything like it; it becomes the centerpiece of any celebration.
- Ingredient Quality: Using real orange zest and high‑quality butter transforms a simple frosting into a masterpiece.
- Method: A chilled bowl and a slow‑add sugar technique keep the frosting airy.
- Make‑Ahead Potential: It stores beautifully in the fridge for up to a week, and even freezes without losing flavor.
Inside the Ingredient List
The Flavor Base
Unsalted butter – the backbone of any good buttercream. I use a full cup of room‑temperature butter because it creates a creamy emulsion that can trap air. If you skip the butter or use a low‑fat substitute, the frosting will feel greasy and lack that luxurious mouthfeel. Swap tip: European‑style butter (82% fat) makes the frosting richer, but regular butter works just fine.
The Sweetness Engine
Powdered sugar – the fine, snow‑like sugar that dissolves instantly, giving the frosting its smooth finish. I measure three cups for a balanced sweetness; more sugar makes it stiff, less makes it runny. Pro tip: Sift the sugar twice to avoid any gritty pockets. Swap tip: For a slightly less sweet version, replace ¼ cup with confectioners’ malt powder.
The Citrus Burst
Fresh orange zest – the aromatic oil that lives in the outer peel, delivering that unmistakable creamsicle aroma. A tablespoon of zest is enough; too much can become bitter. Buying tip: Choose oranges that feel heavy for their size and have a bright, dimpled skin – that means they’re juicy and full of zest.
Orange juice – freshly squeezed, not from a carton. Two tablespoons bring the zing without watering down the butter. If you use bottled juice, you’ll lose the bright, floral notes that make this frosting sing.
The Unexpected Star
Cream cheese – a half‑cup softened cream cheese adds a whisper of tang that cuts through the sweetness, keeping the flavor from becoming cloying. Skipping it will give you a traditional buttercream, but you’ll miss the signature “creamsicle” depth.
The Final Flourish
Vanilla extract – a teaspoon of pure vanilla grounds the orange, creating a harmonious duet. Salt – a pinch (¼ teaspoon) amplifies all the flavors, making the orange pop. If you’re on a low‑sodium diet, you can reduce it, but don’t eliminate it entirely.
Everything's prepped? Good. Let’s get into the real action…
The Method — Step by Step
-
1.
Start by chilling your stand‑mixing bowl and beaters for at least ten minutes. While they’re cooling, cut the butter into small cubes and let it sit at room temperature for about five minutes – you want it soft but not melted. The cold bowl will keep the butter from getting too warm when you start adding sugar, which is the secret to a stable frosting.
Kitchen Hack: If you don’t have a stand mixer, a hand‑held electric whisk works fine – just make sure the bowl is metal and pre‑chilled. -
2.
Add the softened butter to the chilled bowl and beat on medium speed until it’s pale and fluffy, about 2‑3 minutes. You’ll notice the color lightening and a faint, buttery perfume filling the kitchen – that’s the first sign you’re on the right track.
-
3.
Slowly sprinkle in the powdered sugar, one cup at a time, beating on low speed. Pause after each addition to scrape down the sides. The mixture will look grainy at first, then gradually turn silky. This slow addition prevents the sugar from “blasting” the butter and creating a gritty texture.
Watch Out: Adding all the sugar at once can cause the butter to separate, resulting in a curdled frosting that’s impossible to rescue. -
4.
Once the sugar is fully incorporated, increase the mixer speed to medium‑high and beat for another 2 minutes. The frosting should become light, airy, and increase in volume – think of a cloud that’s just about to burst.
-
5.
Add the softened cream cheese and beat until fully blended. The mixture will become a shade darker, and you’ll notice a subtle tang emerging. This is where the magic really starts – the cream cheese adds body without sacrificing the butter’s richness.
-
6.
Stir in the orange zest, orange juice, vanilla extract, and the pinch of salt. As soon as the zest hits the bowl, a bright citrus aroma floods the kitchen – that’s the moment you know you’ve nailed the flavor profile. Beat for another minute until everything is glossy and well‑combined.
Kitchen Hack: If the frosting looks a bit thick, add a teaspoon of warm milk or a splash of orange juice to loosen it; if it’s too thin, add a little more powdered sugar. -
7.
Taste the frosting. This is the moment of truth – the orange should be bright but not overpowering, the butter creamy, and the tang of cream cheese just audible. If you need more zing, add a few extra drops of orange juice; if you crave more sweetness, a spoonful of powdered sugar will do.
-
8.
Now spread the frosting onto your cooled cake or cupcakes. Use an offset spatula for a smooth finish; the frosting should glide like melted butter on a hot pan. If you’re piping, the consistency should hold its peaks for at least 30 minutes before softening.
That’s it — you did it. But hold on, I’ve got a few more tricks that’ll take this to another level…
Insider Tricks for Flawless Results
The Temperature Rule Nobody Follows
Never let your butter get too soft. If the butter is too warm, the sugar will melt into a syrup and you’ll lose the airy texture. Keep the butter just soft enough to press a finger into it without leaving a dent. I keep a small bowl of ice water nearby to cool the butter quickly if it starts to get warm during mixing.
Why Your Nose Knows Best
When you add the orange zest, stop and inhale deeply. Your nose can detect whether the zest is fresh or past its prime. Fresh zest will release a burst of citrus; stale zest smells flat and a little bitter. Trust that nose – it’s the ultimate quality control.
The 5‑Minute Rest That Changes Everything
After you finish mixing, let the frosting sit for five minutes at room temperature before spreading. This short rest allows the fat molecules to settle, making the frosting smoother and easier to work with. I once tried to pipe the frosting immediately and it was too stiff – the rest saved me from a disastrous piping session.
The Cream Cheese Whisper
Soften the cream cheese in the microwave for just 5‑10 seconds. This prevents lumps and ensures a uniform texture. If you forget this step, you’ll end up with tiny white specks that look like snowflakes – not the look you’re aiming for.
The Final Sweep
Before you start spreading, give the bowl a quick final whisk on low speed for 10 seconds. This eliminates any air pockets that might cause the frosting to “bubble” on the cake surface.
Creative Twists and Variations
This recipe is a playground. Here are some of my favorite ways to switch things up:
Blood Orange Blitz
Swap regular orange juice for freshly squeezed blood orange juice and add a teaspoon of raspberry puree. The deep pink hue and slightly tart flavor make it perfect for a summer soirée.
Vanilla Bean Dream
Add the seeds from a vanilla bean and reduce the orange zest by half. The result is a buttery vanilla frosting with a whisper of citrus – ideal for wedding cakes.
Spiced Citrus
Incorporate a pinch of ground cinnamon and a dash of nutmeg with the orange zest. This warm twist is perfect for autumn desserts, pairing beautifully with pumpkin or carrot cake.
Minty Fresh
Blend a tablespoon of finely chopped fresh mint into the frosting after adding the orange juice. The mint adds a refreshing contrast that works wonderfully on chocolate cupcakes.
Coconut Cream Fusion
Replace half of the butter with coconut oil and add a tablespoon of shredded coconut. This gives a tropical vibe and a subtle coconut aroma that pairs well with pineapple or mango cakes.
Storing and Bringing It Back to Life
Fridge Storage
Place the frosting in an airtight container and store it in the refrigerator for up to 7 days. Before using, let it come to room temperature for about 30 minutes, then give it a quick whisk to restore its silkiness.
Freezer Friendly
You can freeze the frosting for up to 3 months. Store it in a freezer‑safe zip‑top bag, flattening it for even thawing. Thaw overnight in the fridge, then bring to room temperature and beat for a minute.
Best Reheating Method
If the frosting feels stiff after refrigeration, add a tiny splash (about a teaspoon) of orange juice or warm milk and beat on low speed. The added moisture creates steam that revives the texture without diluting the flavor.