I was standing in my kitchen, half‑asleep, when the toaster popped and a stray whiff of toasted bread hit my nose. Suddenly, a voice from the back of my mind shouted, “You need something sweet, something buttery, something that makes you forget the day’s chaos.” I grabbed a loaf of King’s Hawaiian Sweet Bread, because why not start with the most indulgent, golden‑crowned bread on the planet? The moment those soft, pineapple‑kissed slices hit the counter, I knew I was on the brink of a culinary epiphany. I dared myself to turn that humble loaf into a show‑stopping Danish that could out‑shine any bakery’s display case.
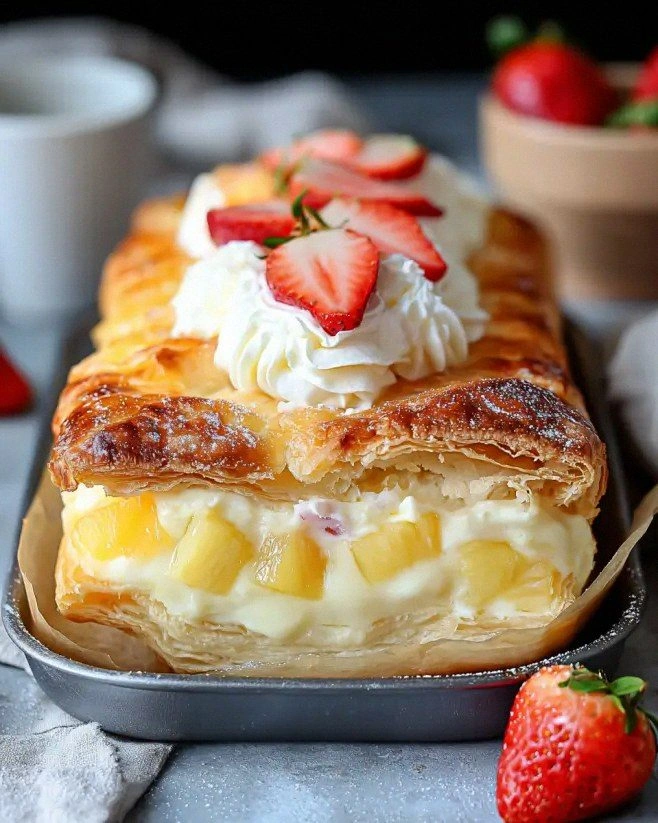
Picture this: the oven humming like a low‑frequency choir, the kitchen filling with a scent that’s part vanilla, part caramel, and part nostalgic beach vacation. The crust of the Danish begins to turn a perfect amber, the cheese filling bubbling just enough to tease you, and a light dusting of powdered sugar settles like fresh snow on a tropical island. My heart was pounding as I lifted the tray, the steam rising in lazy curls that smelled like a warm hug. I took a bite, and the creamy cheesecake met the sweet, slightly toasted bread in a collision that felt like fireworks on a summer night.
Most recipes out there either skimp on the buttery crunch or drown the delicate flavor of King’s Hawaiian in a sea of over‑sweetened frosting. This version, however, respects the bread’s natural sweetness while adding a velvety cheesecake layer that’s as smooth as silk. The secret? A dash of sour cream that adds a whisper of tang, and a careful balance of cinnamon and vanilla that elevates the flavor without stealing the spotlight. I’ll be honest — I ate half the batch before anyone else got a chance to try it, and that’s the kind of confession that tells you just how addictive this treat really is.
So, are you ready for the game‑changer? I’m about to walk you through every single step — from selecting the perfect loaf to achieving that flawless golden top that cracks just enough to reveal the creamy interior. By the end, you’ll wonder how you ever made a Danish any other way. Let’s dive in, and I dare you to taste this and not go back for seconds.
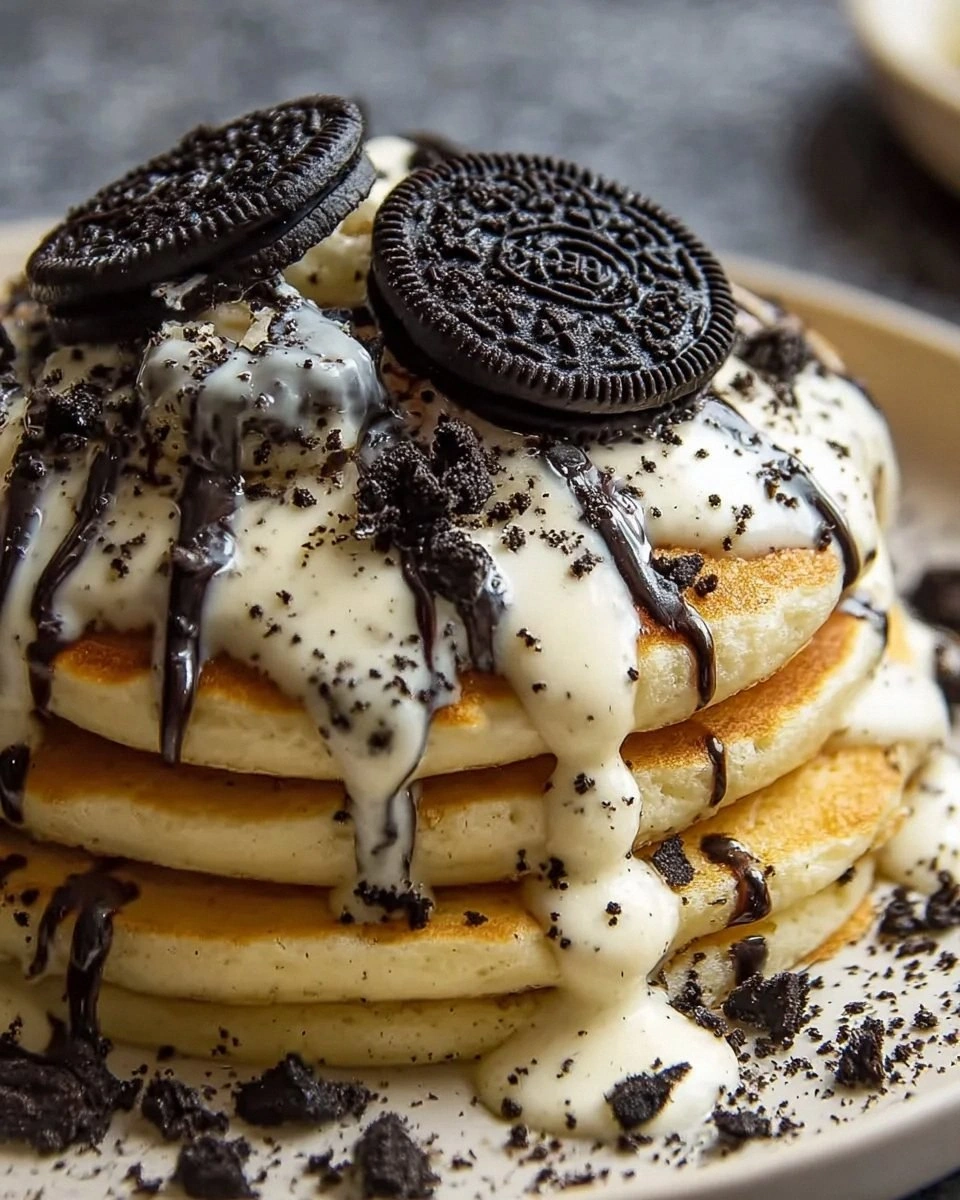
What Makes This Version Stand Out
- Taste: The marriage of sweet Hawaiian bread and tangy cheesecake creates a flavor profile that dances on the palate like a tropical salsa.
- Texture: A crisp, buttery crust gives way to a silky, melt‑in‑your‑mouth filling, delivering a contrast that’s pure bliss.
- Simplicity: Only ten ingredients, all of which you likely have on hand, mean you spend less time hunting and more time devouring.
- Uniqueness: Using King’s Hawaiian Sweet Bread as the base is a twist most recipes miss, turning a simple loaf into a gourmet canvas.
- Crowd Reaction: Expect gasps, “What’s in this?” questions, and inevitable requests for the recipe before the first bite is even finished.
- Ingredient Quality: The premium butter‑rich bread and full‑fat cream cheese guarantee richness without artificial shortcuts.
- Cooking Method: A single‑sheet bake ensures even browning, while a quick chill locks in the perfect crumb structure.
- Make‑Ahead Potential: Assemble the night before, bake in the morning, and you’ve got a breakfast hero ready to wow.
Alright, let's break down exactly what goes into this masterpiece...
Inside the Ingredient List
The Flavor Base
The star of this recipe is the King’s Hawaiian Sweet Bread. Its subtle pineapple aroma and buttery crumb set the stage for everything that follows. If you skip this bread, you lose the signature sweet‑savory balance that makes the Danish sing. You can substitute brioche or a soft milk bread, but expect a milder flavor and a slightly denser texture. When shopping, look for a loaf that’s still soft to the touch; a stale loaf will absorb too much moisture and become gummy.
The Texture Crew
Cream cheese provides the luscious body of the filling. Using full‑fat cream cheese is non‑negotiable; low‑fat versions become grainy and won’t melt into that dreamy consistency. Granulated sugar sweetens the mixture while helping to achieve a smooth texture. If you prefer a less sweet version, you can shave the sugar down to ⅓ cup, but the balance will shift. Egg acts as a binder, giving the filling structure so it holds together when sliced. For a richer mouthfeel, you could add a second egg yolk, but keep the total liquid in check.
The Unexpected Star
Sour cream is the secret weapon that adds a subtle tang and keeps the filling from becoming overly sweet. It also contributes to a softer crumb once baked. If you’re out of sour cream, Greek yogurt (plain, full‑fat) works as a 1:1 swap, though the flavor will be a tad more tart. Cinnamon brings a warm spice note that pairs beautifully with the tropical sweetness of the bread. A pinch of salt amplifies every other flavor, proving that even a tiny amount can make a massive difference.
The Final Flourish
Powdered sugar is dusted on top after baking, giving the Danish a delicate snow‑kissed finish that contrasts the golden crust. It also adds a glossy sheen that looks picture‑perfect on Instagram. Finally, a splash of milk helps loosen the batter just enough to spread evenly without becoming runny. If you want a richer glaze, replace the milk with a tablespoon of heavy cream; the result will be a silkier surface.
Everything's prepped? Good. Let's get into the real action...
The Method — Step by Step
-
Preheat your oven to 350°F (175°C). While the oven warms up, line a baking sheet with parchment paper; this prevents sticking and makes cleanup a breeze. The heat should feel like a gentle summer breeze, not an aggressive blast, ensuring the Danish bakes evenly. I always set a timer for the preheat so I don’t waste precious minutes waiting.
-
Slice the King’s Hawaiian Sweet Bread into 1‑inch thick rounds, then flatten each slice with a rolling pin until it’s about ¼‑inch thick. This step is pure magic because it creates a surface that can hold the filling without sagging. If the bread resists flattening, give it a quick 10‑second microwave zap; the heat makes it pliable. Watch the dough transform from a dense loaf to a delicate canvas.
Kitchen Hack: Place a piece of parchment under the bread while rolling; it prevents sticking and makes cleanup faster. -
In a large mixing bowl, combine the softened cream cheese, granulated sugar, and vanilla extract. Beat with an electric mixer on medium speed until the mixture is smooth and glossy, resembling a cloud that’s about to burst. Scrape down the sides frequently to avoid any white streaks. This is the moment where the filling starts to look like a dream.
-
Add the egg, sour cream, ground cinnamon, and salt to the bowl. Mix on low speed just until everything is incorporated; you don’t want to over‑beat, or the filling will become too airy and may crack during baking. The aroma of cinnamon should start to fill the kitchen, a subtle reminder that something delicious is on its way.
-
Gently fold in the milk, which will loosen the batter just enough to spread easily over the bread slices. The batter should have a thick‑but‑pourable consistency, like a lazy river of vanilla‑tinged silk. If it looks too thick, add a splash more milk, but be cautious—too much will make the Danish soggy.
Kitchen Hack: Use a silicone spatula to spread the batter; it gives you better control and reduces waste. -
Place each flattened bread round onto the prepared baking sheet, leaving a small gap between them. Spoon a generous dollop of the cheesecake batter onto the center of each slice, then use the back of a spoon to spread it toward the edges, leaving a thin border of bread exposed. This border will turn into a crunchy rim that shatters like thin ice when you bite into it.
-
Slide the sheet into the preheated oven and bake for 18‑22 minutes, or until the edges of the bread turn a deep golden brown and the filling is set but still slightly wobbling in the center. Watch Out: If you over‑bake, the cheesecake will dry out and lose its creamy texture.
Watch Out: Opening the oven door too early can cause the tops to collapse; trust the timer and resist the urge to peek. -
When the timer dings, remove the tray and let the Danishes cool on the sheet for 5 minutes. Then, dust each one generously with powdered sugar using a fine mesh sieve. The powdered sugar should melt slightly into the warm surface, creating a glossy glaze that looks like a fresh snowfall on a tropical island.
-
Transfer the finished Danishes to a wire rack to cool completely. This prevents steam from making the bottom soggy. Once cooled, serve warm or at room temperature. Picture yourself pulling this out of the oven, the whole kitchen smelling incredible, and the first bite melting like butter on a hot pancake. I dare you to taste this and not go back for seconds.
That's it — you did it. But hold on, I've got a few more tricks that'll take this to another level...
Insider Tricks for Flawless Results
The Temperature Rule Nobody Follows
Never bake a cheesecake filling straight from the fridge. Let it sit at room temperature for at least 15 minutes before mixing. This prevents temperature shock that can cause cracks. A friend once tried skipping this step and ended up with a filling that resembled a broken pancake; not pretty.
Why Your Nose Knows Best
Trust the aroma. When the edges of the bread turn a deep caramel color and you can smell a faint nutty scent, the Danishes are ready. Relying on a timer alone can be misleading; ovens vary. The scent is your secret weapon for perfect browning every single time.
The 5‑Minute Rest That Changes Everything
After baking, let the Danishes rest for exactly five minutes before dusting with powdered sugar. This short pause lets the filling settle, preventing it from oozing out when you sprinkle the sugar. If you rush this step, you’ll end up with a sugary mess rather than a clean, elegant finish.
Silky Smooth Without a Mixer
If you don’t have an electric mixer, a sturdy whisk and a bit of elbow grease will do the trick. The key is to keep the cream cheese at room temperature and to whisk vigorously in small bursts. It’s a workout, but the payoff is a lump‑free filling that feels like it was whipped by a professional.
The Golden Crust Secret
Brush the exposed bread border with a thin layer of melted butter before baking. This creates a glossy, buttery sheen that deepens the color and adds a subtle crunch. I swear the crust becomes so irresistible that even the powdered sugar seems like an afterthought.
Creative Twists and Variations
This recipe is a playground. Here are some of my favorite ways to switch things up:
Tropical Coconut Splash
Add ¼ cup shredded coconut to the cheesecake batter and sprinkle toasted coconut on top after baking. The extra coconut amplifies the island vibe and adds a pleasant chew.
Berry Burst
Fold in ½ cup fresh raspberries or blueberries into the batter before spreading. The berries burst during baking, creating tiny pockets of tartness that contrast the sweet bread.
Chocolate Lovers’ Dream
Stir 2 tablespoons of melted dark chocolate into the batter and drizzle a chocolate ganache over the finished Danishes. This adds depth and satisfies any chocolate cravings.
Spiced Autumn
Swap the cinnamon for a blend of pumpkin spice and add a pinch of nutmeg. The result is a warm, comforting flavor perfect for cooler months.
Savory Sunrise
Replace the powdered sugar with a light dusting of grated Parmesan and a drizzle of honey. This sweet‑savory combo pairs beautifully with a morning coffee.
Storing and Bringing It Back to Life
Fridge Storage
Place the cooled Danishes in an airtight container and refrigerate for up to 3 days. The cream cheese filling stays fresh, and the bread retains its softness. For best texture, let them sit at room temperature for 10 minutes before serving.
Freezer Friendly
Wrap each Danish individually in plastic wrap, then place them in a zip‑top freezer bag. They’ll keep for up to 2 months. When you’re ready to enjoy, thaw overnight in the fridge and reheat briefly.
Best Reheating Method
Preheat your oven to 300°F (150°C), place the Danishes on a parchment‑lined tray, and warm for 8‑10 minutes. Add a tiny splash of water to the tray before reheating; the steam will revive the crumb, making it as if it just came out of the oven.