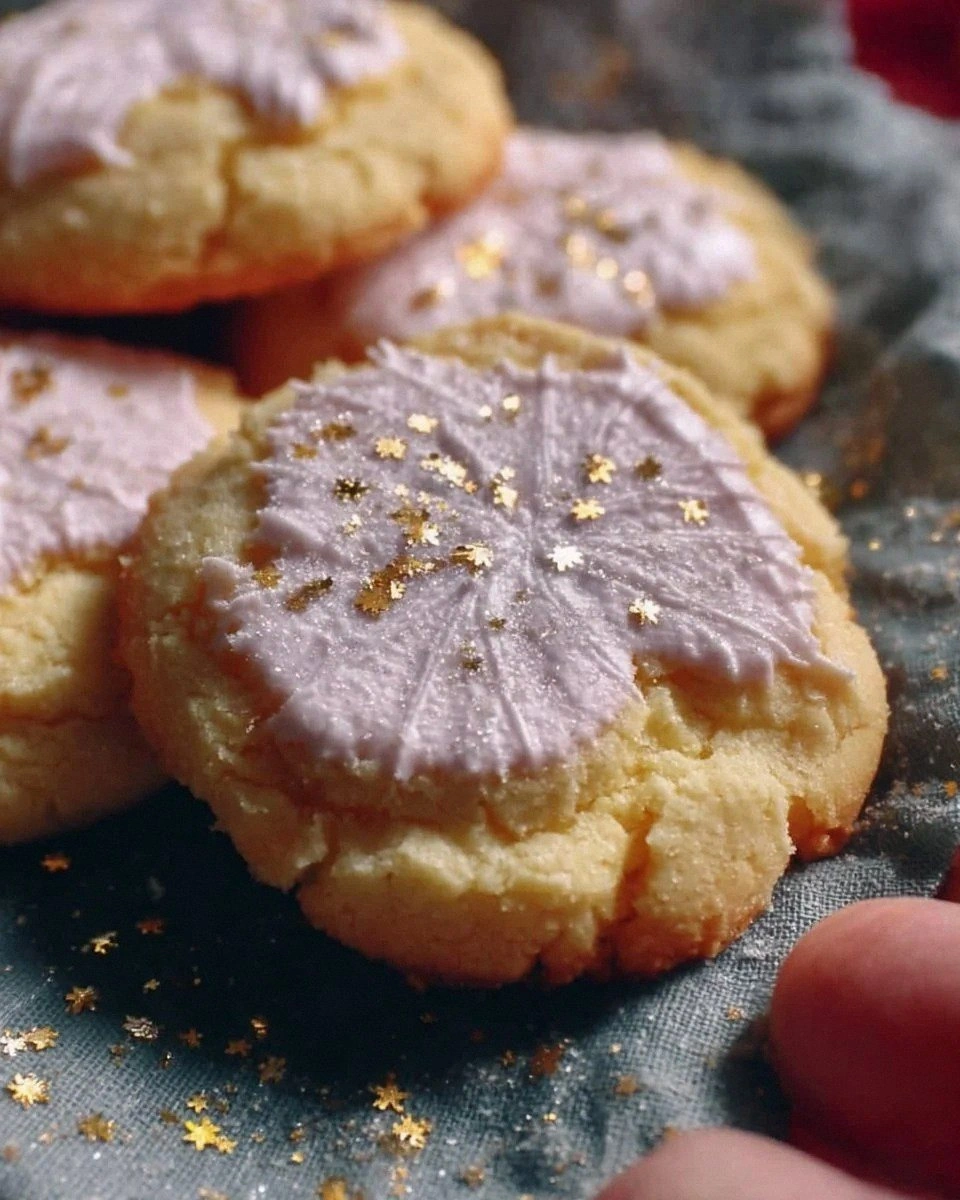
I still remember that night when the kitchen turned into a battleground: a cracked mixer, a stubborn frosting that refused to hold its shape, and a friend who dared me to make something that would melt hearts and jaws alike. I stared at the bowl, the raw egg whites waiting like blank canvases, and thought, “If this is how you’re going to fail, I’ll show you how to win.” The smell of vanilla and butter was already drifting through the air, promising a silky finish that could turn even the most skeptical into believers.
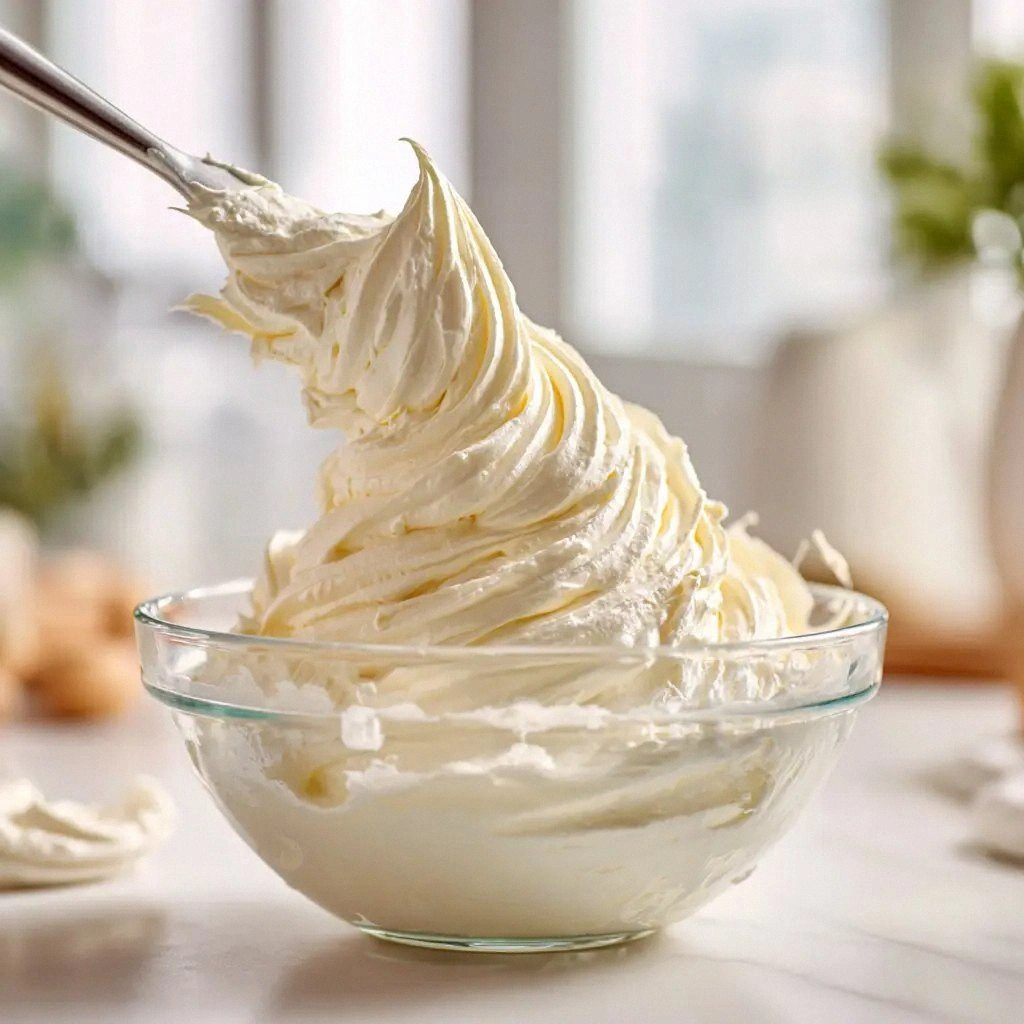
Picture this: a swirl of white, airy meringue that glistens under the kitchen lights, a touch of vanilla that whispers sweet secrets, and butter that melts into a velvety coat as smooth as a jazz sax solo. The sound of the whisk is rhythmic, almost hypnotic, as the sugar dissolves into the whites, turning the mixture from cloud to liquid gold. The texture feels light on the tongue yet sturdy enough to hold a whole cake, and the aroma is a comforting hug that makes the whole house feel like a bakery.
What makes this Swiss Meringue Buttercream stand out? It’s not just the technique—though mastering the bain-marie is a game-changer—but the way each ingredient sings in harmony. The result is a frosting that stays glossy and firm at room temperature, resists melting like a fortress, and is forgiving if you’re a first‑timer or a seasoned pro. I dare you to taste this and not go back for seconds; the first bite will have you questioning why you ever settled for anything else.
And let’s drop a teaser: the secret lies in the gentle heat that coax sugar into dissolving without scorching the whites, and in the precise timing of adding butter when the meringue has cooled just enough to accept it without breaking. You’ll discover a method that feels almost like a dance, where every beat is intentional. If you’ve ever struggled with a too‑runny buttercream, you’re not alone—and I’ve got the fix. Stay with me here—this is worth it.
What Makes This Version Stand Out
- Texture: The Swiss method creates a buttercream that is light yet stable, resisting sagging even on a hot day. It feels like a cloud that holds its shape.
- Taste: Pure vanilla and butter combine to give a clean, buttery sweetness that lets the sugar shine without overpowering.
- Versatility: Works for cupcakes, cakes, cupcakes, and even as a filling for macarons, giving you a single recipe that covers multiple desserts.
- Make‑ahead: You can whip up the entire batch and store it in the fridge for up to a week; it reclaims its original consistency with a quick stir.
- Visual Appeal: The glossy finish is a showstopper, turning any plain cake into a gallery piece.
- Ingredient Quality: Using unsalted butter and pure vanilla extract elevates the flavor, making each bite feel premium.
- Time Efficiency: While it might seem long, the method is quick once you get the rhythm, and the result is worth every minute.
- Safety: The technique eliminates the risk of over‑whipping or under‑whipping that plagues other buttercream recipes.
Alright, let's break down exactly what goes into this masterpiece…
Inside the Ingredient List
The Flavor Base
Pure Vanilla Extract (2 tsp): This is the backbone of the buttercream’s aroma. Vanilla’s natural sweetness balances the sharpness of sugar and the richness of butter. If you’re on a budget, a splash of vanilla bean paste works wonders, though it may add a slightly different nuance. Skipping vanilla turns the buttercream into a bland butter‑sugar combo that’s hard to love.
The Texture Crew
Unsalted Butter (2 cups): Butter is the star that gives the frosting its body. Choosing unsalted allows you to control the salt level, which is crucial for preventing a metallic aftertaste. If you’re allergic to dairy, try a high‑quality dairy‑free butter substitute; just ensure it’s at room temperature before adding.
Granulated Sugar (1.5 cups): Sugar dissolves into the egg whites, creating the meringue’s structure. The finer the sugar, the smoother the finish. If you’re using a coarse sugar, consider pulsing it in a blender to achieve a more uniform texture. Skipping sugar or reducing it drastically will leave you with a rubbery, under‑sugared buttercream.
The Unexpected Star
Large Egg Whites (5): Egg whites are the foundation of the meringue, providing lift and stability. Freshness matters; older eggs may produce a weaker foam. If you’re vegan, a commercial egg white powder can substitute, but the flavor will differ slightly.
The Final Flourish
Salt (1/4 tsp): A pinch of salt cuts through the sweetness and enhances the butter’s flavor. It also helps stabilize the meringue. Too much salt, however, can make the frosting taste briny. If you’re on a low‑sodium diet, you can omit it, but you’ll lose a subtle depth.
Everything's prepped? Good. Let's get into the real action…
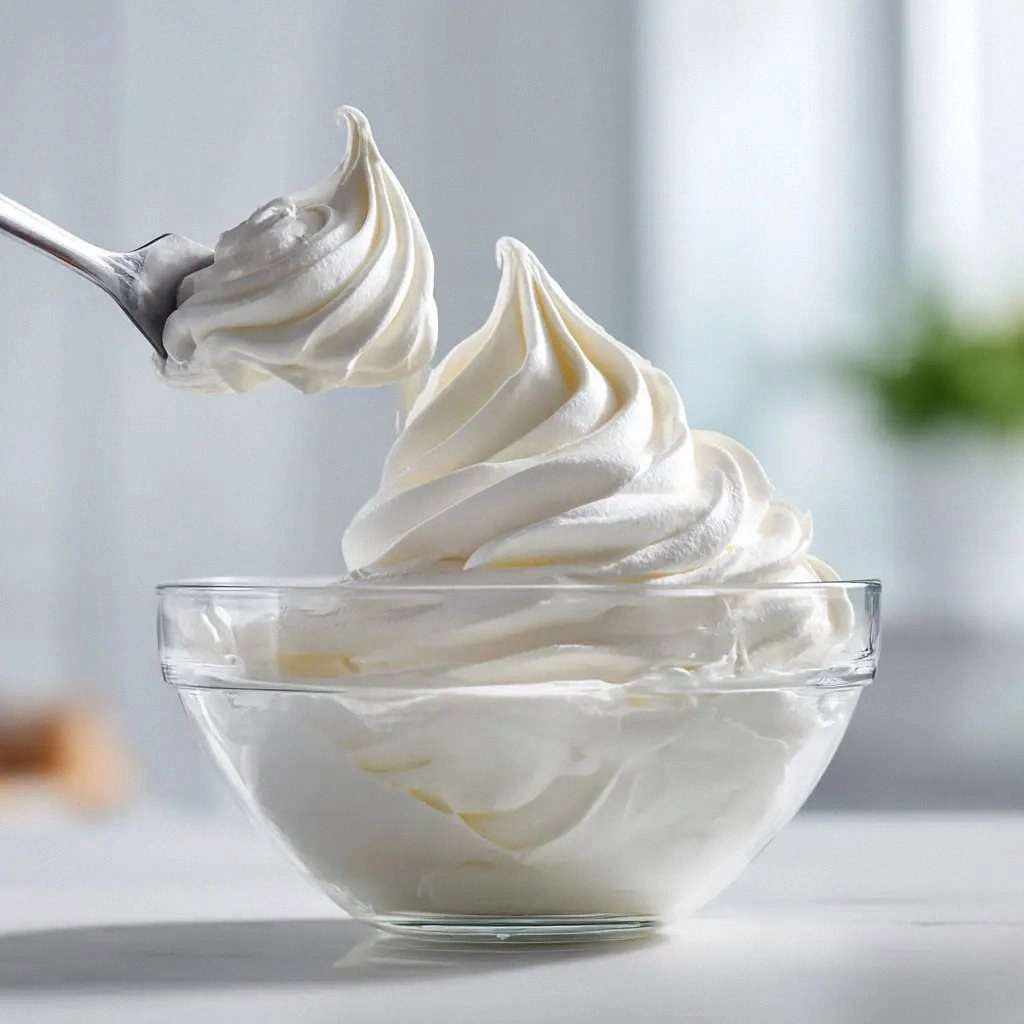
The Method — Step by Step
- Set up the bain‑marie: Fill a saucepan with about an inch of water and bring it to a gentle simmer. Place a heat‑proof stainless steel or glass bowl on top, ensuring it sits snugly without touching the water. This gentle heat will coax the sugar into dissolving without scorching the whites. Remember, the water should bubble gently, not boil vigorously, or you risk over‑whipping.
- Combine egg whites and sugar: In the bowl over the simmering water, whisk the egg whites and granulated sugar together until the mixture is glossy and reaches 140°F (60°C). The sugar must dissolve completely; any granules will create a gritty texture. Use a thermometer for precision—over‑whipping leads to a stiff, dry meringue. The goal is a smooth, glossy liquid that still holds a faint sheen.
- Whisk to a glossy peak: Once the temperature hits 140°F, remove the bowl from heat and whisk vigorously until the mixture thickens to a glossy, slightly viscous consistency. It should hold a soft peak when you lift the whisk. Watch out—if you whisk too long, the meringue can become dry and grainy. The right balance is a silky, buttery base that will accept the butter smoothly.
- Cool the meringue: Let the glossy mixture sit at room temperature for 10 minutes. This cooling step ensures the meringue is not too hot when you start adding butter, preventing the butter from melting into a sauce. The mixture should feel slightly warm to the touch but not hot. A quick stir helps even out any temperature pockets.
- Introduce butter, one cube at a time: Add the first cube of butter, beat on low speed until fully incorporated. Then add the second cube, followed by the third, and finally the fourth. Each addition should be fully absorbed before the next is added. This incremental approach guarantees a stable, airy buttercream. If you skip a step, the frosting may split or become greasy.
- Add vanilla and salt: Once the butter is fully incorporated, fold in the pure vanilla extract and pinch of salt. Beat on medium speed until the buttercream is silky and smooth. The salt balances the sweetness and enhances the butter’s flavor. If you prefer a sweeter frosting, reduce the salt slightly—just remember to taste first.
- Check consistency: The buttercream should be thick enough to hold a piping tip but still spreadable. If it’s too stiff, add a splash of milk or cream (one teaspoon at a time). If too runny, let it sit in the fridge for 10 minutes; it will thicken as the butter firms up.
- Use or store: Apply immediately to your cake or cupcakes, or cover and refrigerate for up to a week. When ready to use again, give it a quick whisk or stir to restore its silky texture. If it’s been in the fridge for a while, a tiny splash of warm water can help bring it back to life.
That's it — you did it. But hold on, I've got a few more tricks that'll take this to another level…
Insider Tricks for Flawless Results
The Temperature Rule Nobody Follows
Many bakers think a quick whisk after the sugar dissolves is enough, but the meringue must reach exactly 140°F (60°C). If you’re in a hurry, use a thermometer and set a timer for 3 minutes after the water starts simmering. The sugar will dissolve faster at this precise temperature, ensuring a smooth, glossy finish that holds its shape.
Why Your Nose Knows Best
Before adding butter, give the mixture a quick sniff. A faint caramel scent indicates the sugar has fully dissolved and the meringue is ready. If it smells raw, give it a few more minutes on the heat; a burnt scent means you’ve over‑whipped and risked separation.
The 5-Minute Rest That Changes Everything
After beating the meringue, let it rest for 5 minutes before adding butter. This pause allows the mixture to cool slightly, which prevents the butter from melting into a sauce. I once skipped this step and ended up with a greasy frosting that clung to the spoon. The rest is a small price for a flawless texture.
Beat with the Right Speed
Start on low speed when adding butter to avoid splattering. Once the butter is fully incorporated, increase to medium or high for a silky finish. High speed can incorporate air, but too high a speed can break the meringue’s structure, resulting in a dry frosting.
Use the Right Bowl
A stainless steel or glass bowl works best for the bain‑marie because they conduct heat evenly. Plastic bowls can warp or melt under the steam, compromising the meringue’s consistency. If you don’t have a double boiler, a heat‑proof bowl that sits above a simmering pot is the next best thing.
Creative Twists and Variations
This recipe is a playground. Here are some of my favorite ways to switch things up:
Chocolate‑Infused Buttercream
Stir in 1/4 cup of melted dark chocolate after the butter is fully incorporated. The chocolate adds depth and a slight bitterness that balances the sweetness. Use a high‑cocoa chocolate for a more pronounced flavor.
Lemon Zest Surprise
Add 2 teaspoons of fresh lemon zest after the vanilla. The citrus brightens the buttercream, making it ideal for spring cakes or lemon‑fruit desserts. The zest’s oils give a subtle zing that lingers.
Espresso‑Enhanced
Whisk in 1 teaspoon of instant espresso powder after the meringue is ready. The coffee flavor pairs beautifully with chocolate or almond cakes, turning the frosting into a decadent treat.
Almond‑Butter Cream
Replace half of the butter with almond butter for a nutty twist. The almond butter adds a silky texture and a subtle nut flavor that works well with vanilla or carrot cakes.
Coconut Cream Upgrade
Swap the unsalted butter for coconut cream (2 cups). The result is a tropical, slightly sweet frosting that’s perfect for beach‑themed parties or tropical fruit cakes.
Salted Caramel Drizzle
After piping the buttercream, drizzle a homemade salted caramel sauce over the top. The caramel adds a buttery sweetness and a salty finish that’s irresistible. Keep the caramel warm so it flows easily.
Storing and Bringing It Back to Life
Fridge Storage
Cover the buttercream tightly with plastic wrap, pressing it into the surface to avoid a crust. Store in the refrigerator for up to 7 days. When you’re ready to use it again, let it sit at room temperature for 15 minutes, then whisk briefly to restore its silky consistency.
Freezer Friendly
For longer storage, freeze the buttercream in a freezer‑safe container. It will keep for up to 3 months. Thaw overnight in the refrigerator, then let it sit at room temperature for 30 minutes. Whisk until smooth before using.
Best Reheating Method
If the buttercream has become too stiff after refrigeration, add a splash of warm water (about 1 teaspoon) and whisk. This steams the frosting back to its original silky texture. Avoid microwaving, as uneven heat can cause the butter to separate.