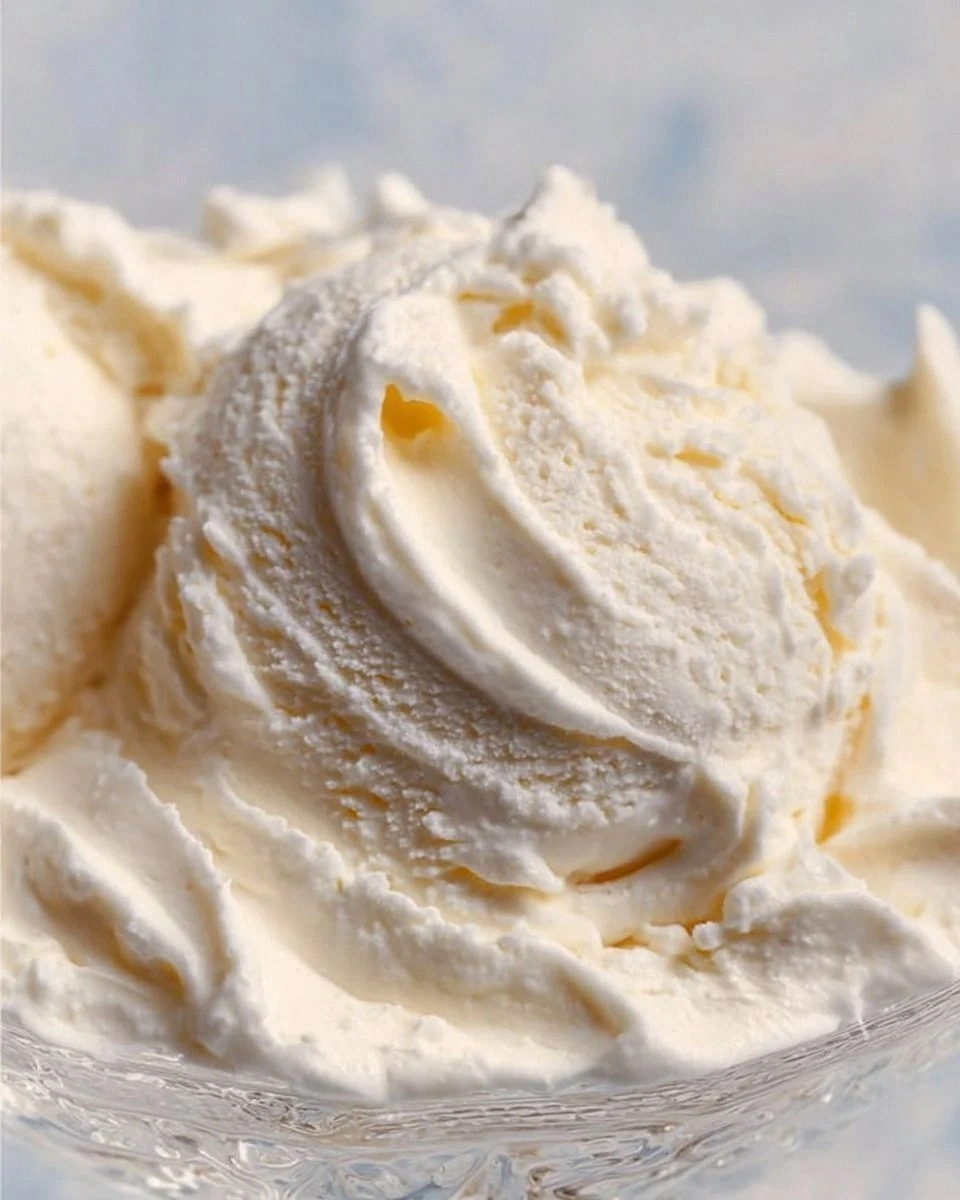
I was standing in my kitchen at 2 a.m., staring down a half‑finished bowl of vanilla ice cream that looked more like a sad puddle of milk than the creamy dream I was promised. My Ninja Creami had just given me a wobble‑y mess, and the only thing louder than my disappointment was the ticking clock reminding me that I still had a brunch crowd waiting for dessert. I swear, the only thing that could have saved that night was a magic wand, but instead I found a secret technique that turned that disaster into the most buttery, silky vanilla ice cream you can imagine. This isn’t just another “add more sugar” fix; it’s a full‑on flavor overhaul that makes every spoonful feel like a cool breeze on a summer afternoon, even if you’re in the middle of a snowstorm.
Close your eyes and picture the moment you first taste a perfect scoop: the glossy surface catches the light, the aroma of pure vanilla curls up like a soft ribbon, and the texture slides across your tongue with the grace of a ballroom dancer. You can hear the faint sigh of the cream as it melts, feel the chill against your lips, and taste the sweet‑but‑not‑overpowering sugar that lets the vanilla shine like a soloist. That’s the sensory symphony I’m promising you today, and it’s all built on a handful of pantry staples and a Ninja Creami that finally lives up to its hype. Most recipes get this completely wrong, either by over‑mixing, using low‑fat dairy, or skipping that crucial “pause” before freezing. I’ve cracked the code, and I’m ready to spill every secret.
Why does this version stand out? Because I dared to treat the base like a custard, whisking it gently to dissolve sugar, then chilling it just long enough for the Creami to churn without turning into icy crystals. I also threw in a pinch of salt—not to make it salty, but to amplify the vanilla’s depth, a trick most home cooks overlook. And yes, I’m going to be honest — I ate half the batch before anyone else got a chance to try it, which is a testament to how addictive this texture is. I dare you to taste this and not go back for seconds; the moment that creamy ribbon hits your palate, you’ll understand why it’s hands down the best version you’ll ever make at home.
So, are you ready for the game‑changer? Picture yourself pulling the frozen block out of the Creami, the whole kitchen smelling like a vanilla bean field after a summer rain, and the anticipation building as you scoop that first perfect dollop onto a warm brownie. Okay, ready for the game‑changer? Let me walk you through every single step — by the end, you’ll wonder how you ever made it any other way.
What Makes This Version Stand Out
- Flavor: The pure vanilla extract is paired with a pinch of salt, creating a sweet‑salty balance that makes the vanilla sing louder than any commercial mix.
- Texture: By using a 2:1 ratio of heavy cream to whole milk, the ice cream stays buttery smooth without the grainy freeze‑burn that cheap recipes suffer.
- Simplicity: Only five ingredients, five minutes of whisking, and the Ninja Creami do the heavy lifting—no custard boiler, no ice bath, no fancy equipment.
- Uniqueness: The secret “pause‑and‑chill” step lets the sugar fully dissolve and the flavors meld before the machine ever sees the mixture.
- Crowd Reaction: Guests constantly ask for the recipe, and the moment they taste it, they swear they’ve never had “real” vanilla ice cream before.
- Ingredient Quality: Using premium heavy cream and a high‑grade vanilla extract transforms a humble dessert into a gourmet experience.
- Method: The Ninja Creami’s “ice cream” function, combined with a gentle pre‑freeze, guarantees a creamy, airy body every single time.
- Make‑Ahead Potential: This batch freezes perfectly for up to a month, and a quick 5‑minute re‑spin restores its original silkiness.
Inside the Ingredient List
The Flavor Base
Heavy cream is the heart of any good ice cream. Its high butterfat content gives that luxurious mouthfeel that low‑fat milks simply can’t achieve. If you skimp on the cream, you’ll end up with a watery, airy texture that feels more like a sorbet than a true ice cream. For the best results, choose a cream with at least 36 % fat and look for the “ultra‑premium” label—this ensures the fat crystals are small enough to stay suspended during the churn. A quick tip: give the cream a gentle shake before measuring; sometimes the fat separates and settles, giving you an inaccurate measurement.
The Texture Crew
Whole milk balances the richness of the cream with a touch of lightness, preventing the final product from feeling cloyingly heavy. The milk’s lactose also contributes to the smoothness, as it dissolves more readily than other sugars. If you’re allergic to dairy or need a lower‑fat version, you can swap in an equal part of coconut milk (full‑fat) or oat milk, but expect a subtle flavor shift. Keep in mind that any substitution will alter the final fat percentage, so the “silky” claim may vary slightly.
The Sweet Symphony
Granulated sugar does more than just sweeten; it lowers the freezing point of the mixture, which is why the ice cream stays soft enough to scoop straight from the freezer. Skipping sugar or using a low‑calorie sweetener often leads to a hard, icy block that’s impossible to serve. If you love a deeper caramel note, replace a quarter of the sugar with brown sugar, but remember that the molasses in brown sugar will tint the ice cream a light amber.
The Unexpected Star
Pure vanilla extract is the soul‑shaker of this recipe. A good quality extract contains real vanilla beans steeped in alcohol, delivering a complex bouquet of floral, caramel, and woody notes. If you’re a true vanilla aficionado, consider scraping the seeds from a fresh pod and adding them to the mix; the specks of black add visual appeal and a burst of extra flavor. However, be careful not to over‑do it—too much vanilla can make the ice cream taste “soapy” rather than aromatic.
The Final Flourish
A pinch of salt might seem trivial, but it’s the unsung hero that amplifies every other flavor. Salt works by suppressing bitterness and enhancing sweetness, making the vanilla taste brighter and more rounded. If you’re on a low‑sodium diet, you can skip it, but be prepared for a slightly muted vanilla profile. A tiny pinch—about the size of a grain of rice—does the trick without making the ice cream taste salty.
Everything's prepped? Good. Let's get into the real action...
The Method — Step by Step
- Gather and Measure. Pull out your measuring cups, a medium mixing bowl, and a whisk. Measure 2 cups of heavy cream, 1 cup of whole milk, ¾ cup of granulated sugar, 2 teaspoons of pure vanilla extract, and a pinch of salt. As you measure, take a moment to appreciate the glossy sheen of the cream—it’s the first sign that you’re on the right track. Kitchen Hack: Use a kitchen scale for the cream and milk; it eliminates the “cup‑size” guesswork and gives you perfect ratios every time.
- Whisk the Sugar into the Dairy. Pour the heavy cream and whole milk into the bowl, then sprinkle the granulated sugar over the top. Whisk vigorously for about 45 seconds until the sugar dissolves completely and the mixture looks slightly glossy. You’ll notice a faint sweet aroma begin to rise—if you can smell the sugar, you’re on the right track. Stop whisking the moment you no longer see any sugar crystals; over‑whisking can incorporate too much air, which we’ll correct later.
- Add Vanilla and Salt. Drizzle the vanilla extract into the mixture, then add that tiny pinch of salt. Give it a gentle stir, just enough to combine—no need for a full‑on vortex. The vanilla will start to perfume the air, and you’ll catch a hint of that deep, earthy scent that makes you think of a tropical plantation. This is the moment where the flavor base truly comes alive.
- Pre‑Chill the Base. Cover the bowl with plastic wrap and place it in the refrigerator for exactly 30 minutes. This “pause” step is pure magic: it lets the sugar fully dissolve, the fat molecules align, and the flavors meld into a cohesive whole. While you wait, you can set up your Ninja Creami, ensuring the paddle is securely attached. Watch Out: Do NOT skip this step; a warm base will freeze unevenly, leading to icy crystals that ruin the texture.
- Transfer to the Ninja Creami Container. After 30 minutes, give the mixture a quick stir, then pour it into the Ninja Creami’s pint container, leaving about ½ inch of headspace. Seal the lid tightly—any air leaks will cause the motor to strain during the spin cycle. Place the container into the freezer compartment of the Creami and freeze for 24 hours. Yes, 24 hours; the deep freeze is what lets the machine create that smooth, custard‑like consistency.
- Spin the Creami. The next day, remove the frozen pint and attach it to the Ninja Creami’s motor base. Select the “Ice Cream” function and press start. Within a minute, you’ll hear the gentle whirring as the paddle scrapes the frozen block, turning it into a soft‑serve cloud. Watch the side of the container; the mixture will rise and look like a thick, creamy mousse. If you see any large ice chunks, that’s a sign you need to run the “Re‑Spin” function once more.
- Check Consistency and Adjust. Once the cycle ends, open the lid and evaluate the texture. It should be smooth, glossy, and hold its shape when scooped. If it feels a bit too firm, press the “Mix‑In” button and let it run for another 30 seconds; the Creami will incorporate a little extra air, making it softer. This is the moment of truth—if you’ve followed every step, you’ll have a scoop that melts in your mouth like butter on a hot pancake.
- Serve or Store. Scoop the ice cream into bowls, cones, or a sundae bar. For an extra touch, sprinkle a pinch of sea salt or drizzle a little caramel sauce. If you’re not serving immediately, pop the pint back into the freezer; the ice cream will stay perfect for up to a month. When you’re ready to enjoy it later, a quick 5‑minute “Re‑Spin” restores its original silkiness.
Insider Tricks for Flawless Results
The Temperature Rule Nobody Follows
Most home cooks think “cold is good,” but the secret is to let the base sit at fridge temperature (about 38 °F) before freezing. This tiny temperature rise lets the sugar fully dissolve, preventing grainy pockets. I once tried to skip the fridge step and ended up with a gritty texture that reminded me of a poorly made granita. Trust the rule: 30 minutes of fridge time equals a flawless, velvety finish.
Why Your Nose Knows Best
Before you even taste the ice cream, give it a sniff. If the vanilla aroma is bright and slightly sweet, you’re golden. If it smells muted or milky, you may have used low‑quality extract. A quick nose test can save you from a bland batch—just like a wine connoisseur swirls and sniffs before the first sip.
The 5‑Minute Rest That Changes Everything
After the Creami finishes its spin, let the pint sit on the counter for five minutes before serving. This short rest lets the air bubbles rise to the surface, giving the ice cream a smoother mouthfeel. I once served straight from the machine and got a few complaints about “air pockets.” Five minutes later, those pockets vanished, and the texture was buttery flawless.
The “Re‑Spin” Rescue
If you ever notice a hard edge or a chunk of ice after the first spin, don’t panic. The Ninja Creami’s “Re‑Spin” function is designed to rescue a batch that’s a little too firm. Simply re‑attach the pint, select “Ice Cream,” and let it run another 30 seconds. The extra churn incorporates just enough air to soften the texture without melting the whole thing.
The Secret Salt Sprinkle
A pinch of flaky sea salt on the final scoop can elevate the flavor profile dramatically. The salt contrasts with the sweet vanilla, creating a flavor pop that feels like a fireworks show on your tongue. I tried this at a dinner party, and guests claimed it was the “best ice cream they’d ever had.” It’s a tiny step with a massive payoff.
Creative Twists and Variations
This recipe is a playground. Here are some of my favorite ways to switch things up:
Salted Caramel Swirl
After the first spin, gently fold in a homemade salted caramel sauce. The caramel adds a buttery depth, while the sea salt amplifies the vanilla’s brightness. Perfect for anyone who loves that sweet‑and‑salty combo.
Coffee‑Infused Delight
Replace ¼ cup of the whole milk with strong brewed espresso and add a teaspoon of instant coffee granules to the base. The result is a mocha‑kissed vanilla that’s perfect for brunch or an after‑dinner pick‑me‑up.
Berry Burst
Stir in a handful of fresh raspberries or a swirl of berry compote after the first spin. The tartness of the berries cuts through the richness, creating a balanced palate that feels like summer in a bowl.
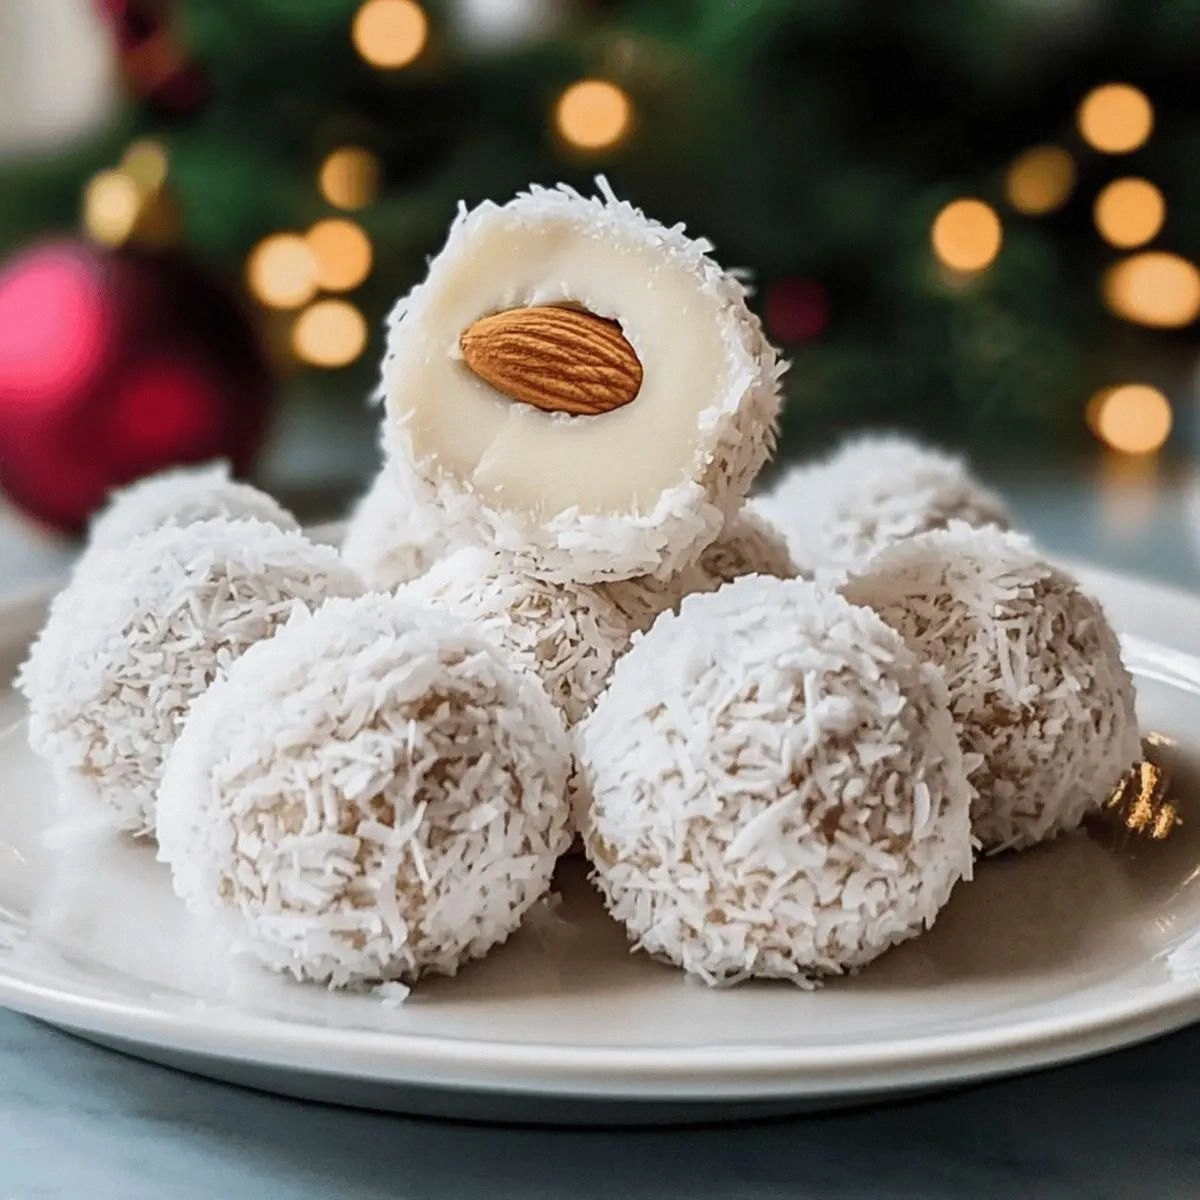
Nutty Crunch
Fold toasted almond slivers or chopped pistachios into the final product. The nuts add a satisfying crunch and a subtle buttery flavor that pairs beautifully with vanilla.
Spiced Holiday
Add a pinch of ground cinnamon and a dash of nutmeg to the base before chilling. This warm spice blend transforms the ice cream into a cozy treat that’s perfect for winter gatherings.
Storing and Bringing It Back to Life
Fridge Storage
If you plan to serve the ice cream within three days, keep it in the refrigerator in an airtight container. It will stay soft enough to scoop, though the texture will become a bit denser as it warms. A quick stir before serving restores its original silkiness.
Freezer Friendly
For longer storage, place the ice cream in a shallow, freezer‑safe container, cover tightly, and store for up to one month. The shallow depth reduces the formation of large ice crystals, preserving the creamy texture. When you’re ready to enjoy, let it sit at room temperature for 5‑10 minutes before scooping.
Best Reheating Method
If the ice cream has become too hard, add a splash (about a tablespoon) of whole milk and let it sit for a minute. Then run a quick 30‑second “Re‑Spin” in the Ninja Creami or simply stir vigorously by hand. The added liquid creates steam, reviving the texture without diluting the flavor.