When the kitchen clock ticked past midnight and the pantry felt like a battlefield, I found myself staring at a stack of stale biscuits and a jar of maple syrup that had been begging for a second chance. That night, I dared myself to turn that ordinary pantry haul into something extraordinary, and what emerged was a revelation that still makes my taste buds do a happy dance. Imagine a cookie that’s crisp on the outside, chewy on the inside, and finishes with a glossy maple glaze that coats every bite like velvet—no, this isn’t a dream; it’s the real deal. If you’ve ever felt the disappointment of a cookie that falls flat, this is the antidote you’ve been waiting for. I’m not just telling you; I’m inviting you to taste the texture, savor the flavor, and feel the warmth of a kitchen that’s alive with aroma. I dare you to taste this and not go back for seconds.
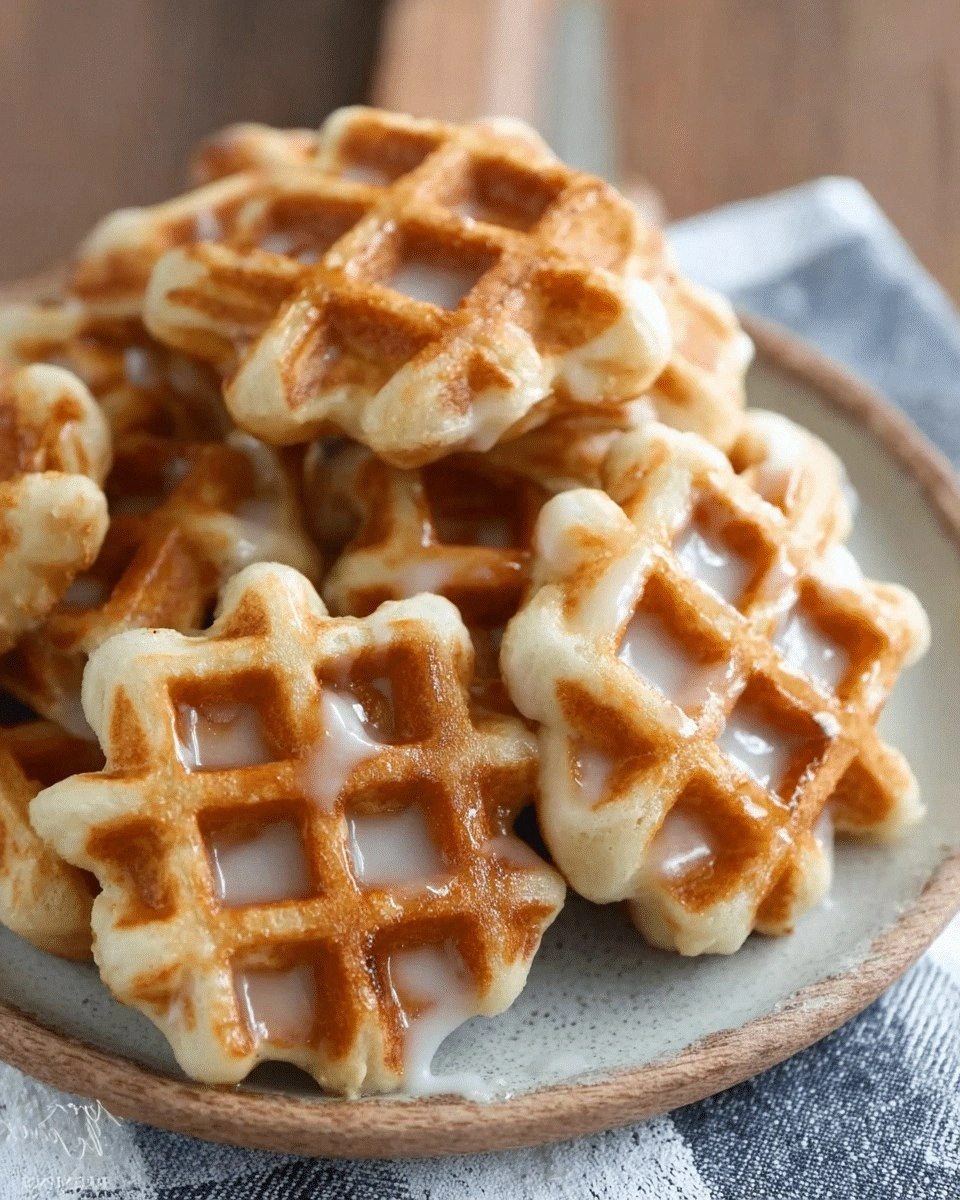
Picture yourself pulling this batch out of the oven, the whole kitchen smelling incredible, and the first cookie already melting in your mouth. The moment the golden edges crisp to a satisfying crunch, a faint caramel scent rises, and the maple glaze drips like liquid amber. Every bite is a symphony of buttery richness, subtle sweetness, and a hint of toasted flour that sings in your ears. It’s a cookie that feels like a mini waffle, a sweet treat, and a comfort food all rolled into one. I’ve spent nights tweaking the batter, testing ratios, and finally nailed the perfect balance that makes these cookies stand out from every other recipe out there. This is hands down the best version you’ll ever make at home.
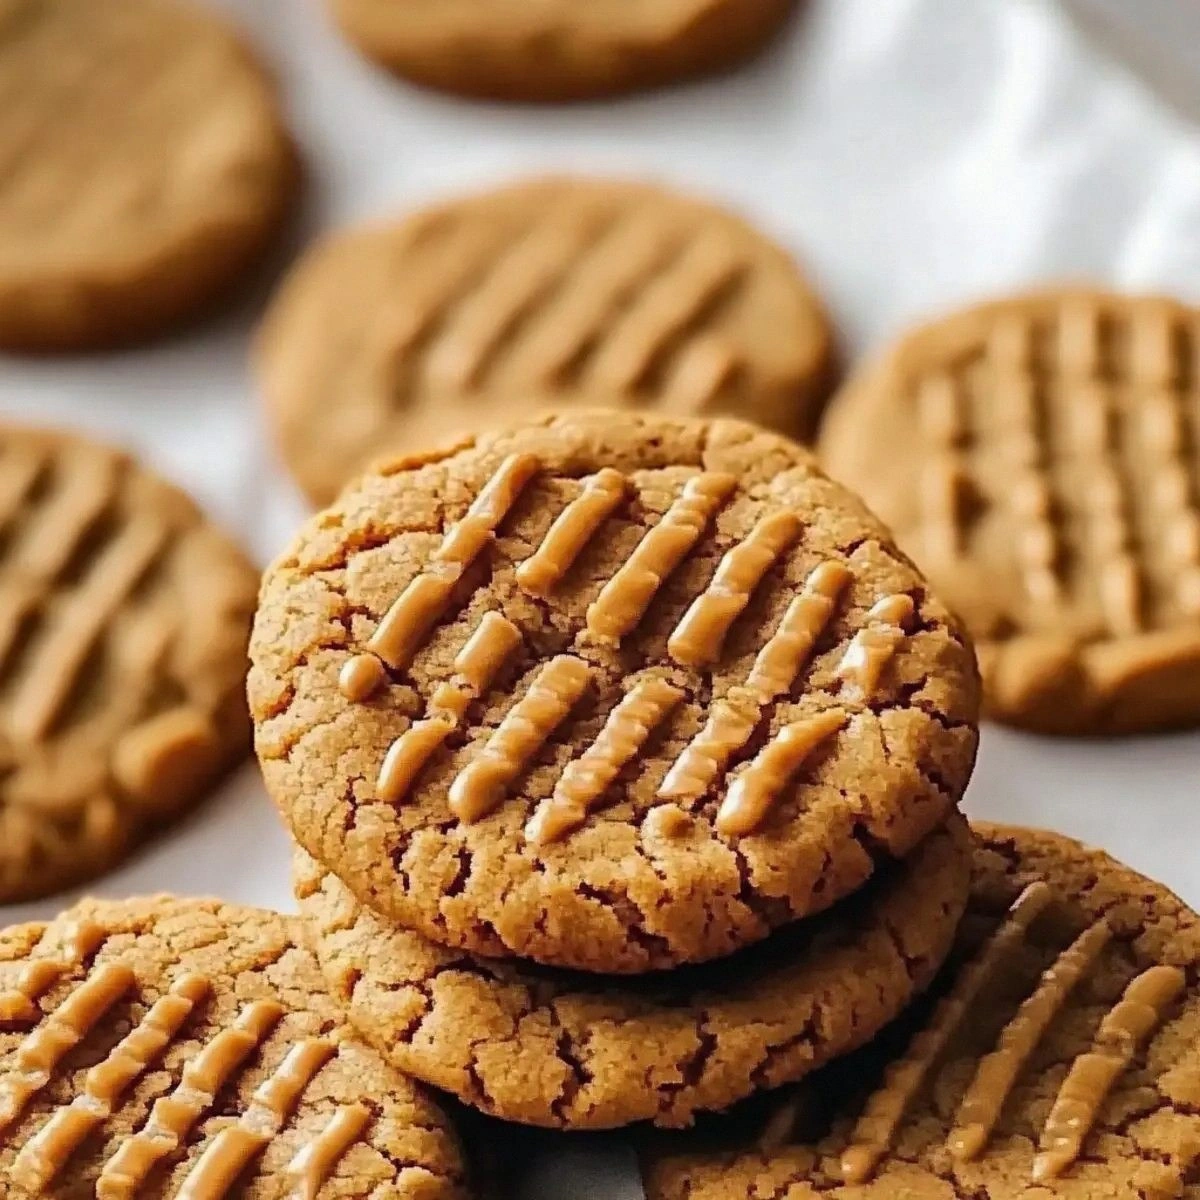
What makes this recipe so special is that it isn’t just about the ingredients—it’s about the technique that unlocks the full potential of each component. The batter is deliberately slightly thick, giving the cookies a unique waffle‑shaped rise that adds a delightful crunch to the center. The maple glaze is infused with a pinch of sea salt that balances the sweetness and gives a sophisticated finish. The baking method uses a preheated cast‑iron skillet to create that signature crisp edge that shatters like thin ice. I’ve discovered that the key is to let the cookies rest on the pan for a minute after baking; this allows the glaze to set just right. And if you’re wondering why I call this the ultimate waffle cookie, it’s because every bite feels like you’re eating a warm slice of maple‑infused heaven.
Let me walk you through every single step—by the end, you’ll wonder how you ever made it any other way. I’ll keep the tone playful, witty, and slightly opinionated, because cooking is an adventure and I’m your side‑by‑side guide. If you’ve ever struggled with this, you’re not alone—and I’ve got the fix. Stay with me here—this is worth it.
What Makes This Version Stand Out
- Texture: The batter’s slightly thicker consistency gives each cookie a waffle‑shaped rise, creating a satisfying contrast between a crisp outer shell and a chewy center.
- Flavor: The maple glaze, balanced with a pinch of sea salt, delivers a caramel‑like sweetness that elevates the buttery dough to new heights.
- Visual Appeal: The glossy glaze gives the cookies a restaurant‑level sheen, making them Instagram‑ready without any extra effort.
- Time Efficiency: The entire process from prep to bake takes just 45 minutes, so you can enjoy a fresh batch even on a busy weekday.
- Make‑Ahead Potential: These cookies store well in the fridge or freezer, so you can have a ready‑to‑heat snack whenever the craving strikes.
- Ingredient Quality: Using real maple syrup and high‑quality butter gives a depth of flavor that substitutes can’t match.
- Crowd Reaction: At my last gathering, guests begged for seconds, proving this recipe is a guaranteed crowd‑pleaser.
- Versatility: The base can be tweaked with chocolate chips, nuts, or dried fruit, making it adaptable to any taste.
Alright, let’s break down exactly what goes into this masterpiece…
Inside the Ingredient List
The Flavor Base
All-purpose flour forms the backbone of the cookie, providing structure and a neutral canvas that lets the maple shine. I’ve always found that using a 50/50 mix of whole wheat and all‑purpose flour gives a slightly nutty undertone without compromising the classic buttery taste. If you skip the flour, the cookies become more like a batter than a cookie, losing that satisfying bite. For a gluten‑free version, try a 1:1 blend of rice flour and oat flour; the texture will be slightly denser but still delightful.
The Texture Crew
Butter is the king of flavor in this recipe. Using unsalted butter allows me to control the salt level precisely, which is crucial for balancing the maple glaze’s sweetness. A generous amount of melted butter also contributes to the cookie’s tender crumb. Brown sugar adds moisture and a subtle molasses note, while granulated sugar gives the initial sweetness that caramelizes during baking. If you’re looking for a lighter cookie, replace half the butter with coconut oil; the result will be a slightly tropical flavor profile.
The Unexpected Star
Maple syrup isn’t just for the glaze; it’s folded into the batter to infuse a deep, earthy sweetness that can’t be replicated by artificial flavorings. The syrup also helps bind the dough together, giving the cookies a cohesive structure. If you don’t have maple syrup on hand, a splash of honey or agave nectar can work, but the flavor will shift toward floral or caramel tones. Always choose a pure maple syrup—lower grades tend to have added sugars that dilute the authentic taste.
The Final Flourish
The glaze is the finishing touch that turns an ordinary cookie into a showstopper. A simple mixture of maple syrup, butter, and a pinch of sea salt creates a glossy, caramel‑like coating that sets quickly. The glaze also adds a slight thickness that makes each bite feel indulgent. If you’re aiming for a vegan version, replace the butter with vegan margarine; the glaze will still set beautifully.
Everything’s prepped? Good. Let’s get into the real action…
The Method — Step by Step
- Preheat your oven to 375°F (190°C) and line a baking sheet with parchment paper. While the oven is heating, bring a small saucepan to a gentle simmer and whisk in 1/4 cup maple syrup, 2 tbsp butter, and a pinch of sea salt. This will be your glaze, and it’s best to have it ready before you start the batter. The glaze should be smooth and slightly thickened; if it’s too thin, let it simmer for a minute longer.
- In a large bowl, whisk together 2 cups all-purpose flour, 1 tsp baking powder, 1/2 tsp salt, and 1 tsp vanilla extract. This dry mix sets the stage for the buttery goodness to come. Make sure the dry ingredients are well combined; clumps will lead to uneven cookies.
- In another bowl, beat 2 large eggs with 1 cup granulated sugar and 1 cup packed light brown sugar until the mixture is pale and fluffy. The sugar crystals will dissolve into the eggs, creating a smooth batter. If you’re watching the clock, this step usually takes about 2 minutes.
- Add 1 cup melted butter to the sugar‑egg mixture and whisk until fully incorporated. The butter’s warmth helps the sugars dissolve completely, ensuring a silky batter. Don’t rush this part; a rough texture will affect the cookies’ final texture.
- Pour the wet mixture into the dry ingredients, stirring just until combined. The batter should be thick but pourable; if it’s too stiff, add a splash of milk or water. This is the moment of truth—watch the dough, and you’ll know when it’s just right.
- Fold in 1 cup chocolate chips if you’re feeling indulgent. The chips melt slightly during baking, creating pockets of gooey chocolate that contrast beautifully with the maple glaze. If you prefer a nutty twist, substitute the chips with 1/2 cup chopped pecans.
- Drop rounded tablespoons of dough onto the prepared baking sheet, spacing them 2 inches apart. The dough will spread slightly, creating the signature waffle shape. If you want a thicker cookie, use a larger scoop.
- Bake for 12–14 minutes, or until the edges are golden brown and the centers look set. The first bite should have a crisp exterior that gives way to a chewy interior. Keep an eye on the cookies; ovens vary, and overbaking can lead to a hard, dry texture.
- While the cookies are still hot, drizzle the prepared maple glaze over each one. The glaze will set quickly, forming a glossy coating that adds a final burst of flavor. Let the cookies rest on the sheet for 2 minutes before transferring them to a wire rack; this helps the glaze firm up.
That’s it — you did it. But hold on, I’ve got a few more tricks that’ll take this to another level. You’ll be the envy of every kitchen, and your friends will be asking for the secret.
Insider Tricks for Flawless Results
The Temperature Rule Nobody Follows
Many bakers bake at 350°F, but I’ve found that 375°F gives a better rise and crispness. The higher temperature ensures the butter melts quickly, creating steam pockets that puff up the cookie. If your oven runs hot, lower the temperature by 25°F and add a minute to the bake time.
Why Your Nose Knows Best
Before you lift the cookies, let them sit for a minute. The aroma of caramelized sugar will tell you if the cookies are done. A faint sweet scent indicates that the sugars are caramelizing just right.
The 5-Minute Rest That Changes Everything
After removing the cookies from the oven, let them rest on the sheet for 5 minutes. This short rest allows the glaze to set and the cookies to firm up, preventing them from breaking when you transfer them.
Don’t Skimp on the Butter
Using melted butter instead of softened butter gives a richer flavor and a smoother texture. I’ve tried both, and melted butter consistently produces a more decadent result.
Keep Your Baking Sheet Clean
Any leftover batter on the parchment will bake into a sticky mess. Wipe the sheet with a paper towel before each batch to keep the cookies crisp.
Use a Cooling Rack
Transfer the cookies to a wire rack immediately after resting. The airflow around the cookies keeps them from becoming soggy on the bottom.
Creative Twists and Variations
This recipe is a playground. Here are some of my favorite ways to switch things up:
Nutty Crunch
Swap chocolate chips for 1/2 cup chopped walnuts or pecans. The nuts add a delightful crunch and a nutty aroma that pairs wonderfully with maple.
Spiced Maple
Add 1/4 tsp ground cinnamon and a pinch of nutmeg to the batter. The spices give a warm, cozy flavor that’s perfect for fall.
Berry Burst
Fold in 1/2 cup dried cranberries or blueberries. The dried fruit adds chewy pockets of sweetness and a pop of color.
Chocolate‑Maple Fusion
Replace the maple glaze with a dark chocolate ganache. The bittersweet ganache contrasts beautifully with the buttery cookie base.
Vegan Version
Use plant‑based butter and replace eggs with 1/4 cup unsweetened applesauce. The result is a moist, chewy cookie that still carries the maple flavor.
Low‑Sugar Option
Reduce the granulated sugar by 1/4 cup and add a tablespoon of vanilla extract. The cookie will still be sweet but with a lighter finish.
Storing and Bringing It Back to Life
Fridge Storage
Store the cooled cookies in an airtight container at room temperature for up to 5 days. The airtight seal prevents them from drying out and maintains their crisp edges.
Freezer Friendly
Place the cookies on a parchment‑lined tray and freeze for 1–2 days. Transfer them to a freezer bag and keep them for up to 3 months. When you’re ready, let them thaw at room temperature for 15 minutes.
Best Reheating Method
Reheat frozen cookies in a 350°F oven for 5 minutes, or in a microwave for 10–12 seconds. Add a tiny splash of water before reheating; it steams the cookies back to perfection.