Picture this: I was halfway through a midnight snack run, eyes glazed from too much coffee, when my kitchen exploded into a chocolaty storm. The moment I cracked a bag of cocoa, the air thickened with a scent so rich it could have been a velvet curtain pulled aside to reveal a secret banquet. I stared at the mess of flour, butter, and sugar, and thought, “Why settle for a plain cookie when you can make a hot cocoa‑infused masterpiece?” My friends had been teasing me for weeks, daring me to create the ultimate chocolate treat, and I decided it was time to answer that challenge. I dare you to taste this and not go back for seconds—trust me, the first bite is a revelation. The result is hands down the best version you'll ever make at home, a cookie that feels like a hug in chocolate form. Let me walk you through every single step—by the end, you'll wonder how you ever made it any other way.
The first thing that struck me about this recipe is its unapologetic indulgence. Imagine biting into a cookie that has the depth of a latte, the sweetness of marshmallow clouds, and the crunch of chocolate chips that melt into a glossy glaze. The texture is a dance of chewy center and slightly crisp edges that shatter like thin ice when you press them. The flavor profile is a symphony: deep cocoa undertones, caramelized sugar whispers, and a buttery finish that lingers like a warm blanket. Most recipes get this completely wrong by underbaking or overmixing, but here the balance is perfect. Picture yourself pulling this out of the oven, the whole kitchen smelling incredible, and the anticipation building as the first cookie slides onto the cooling rack. If you've ever struggled with chocolate cookies that come out dry or too cakey, you're not alone—and I've got the fix.
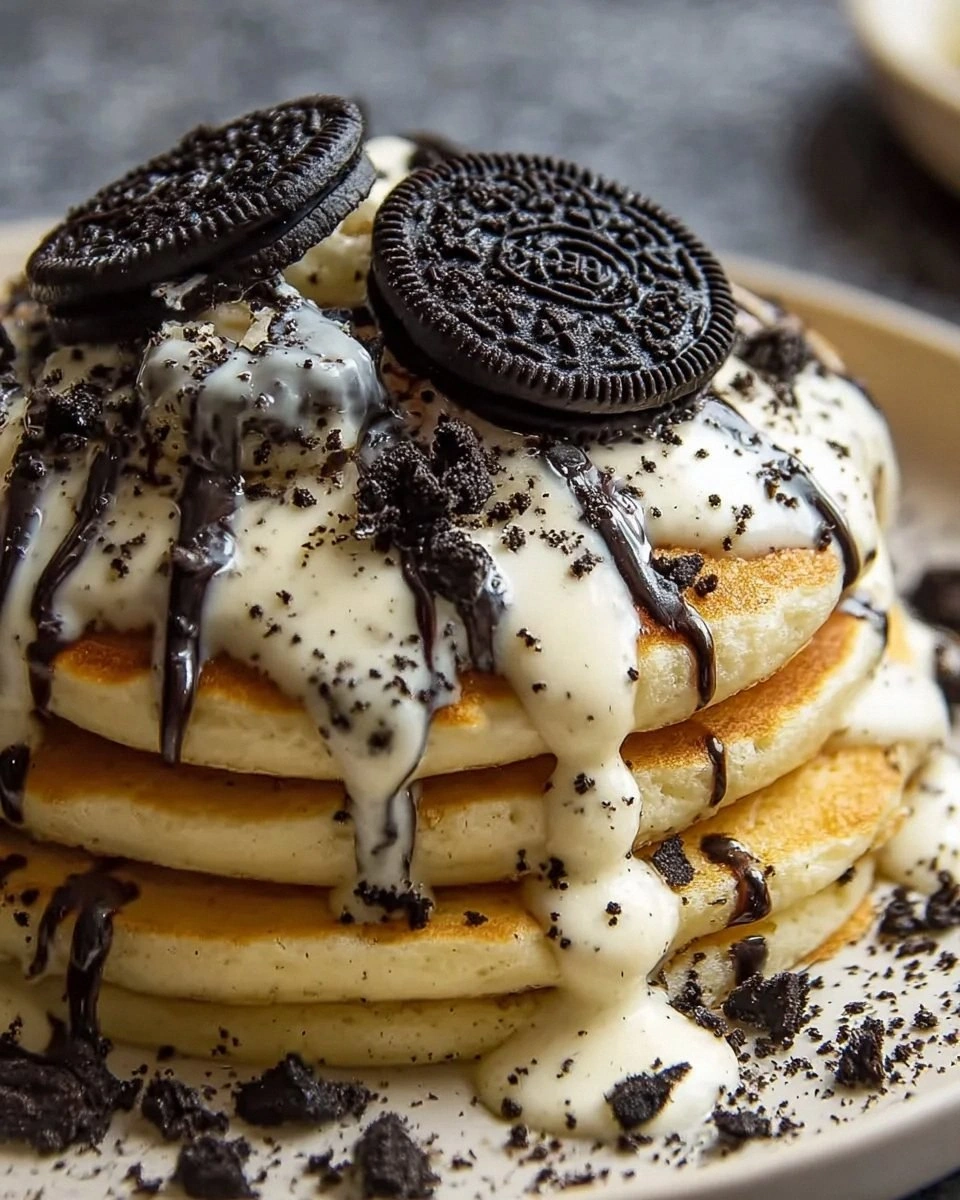
What makes this version stand out is the combination of simple ingredients executed with precise timing. The cocoa powder is unsweetened, so it brings pure, unfiltered flavor without the sugar that masks the chocolate’s soul. Butter is at room temperature, so it emulsifies with the sugars and creates a light, airy batter that still holds together. Marshmallows are folded in last, giving those iconic pockets of goo that ooze out when you bite. The chocolate chips are high‑quality, so they melt into a glossy drizzle that coats each cookie like velvet. Heavy cream is used as a finishing drizzle, adding a silky sheen that turns every bite into a decadent experience. The holiday sprinkles add a pop of color and a playful crunch that feels like a celebratory confetti.
The technique that sets this apart is the “two‑stage mixing” method. First, you cream the butter and sugars until the mixture is light and airy, a technique that incorporates air and sets the foundation for a chewy center. Then you add the dry ingredients in two separate stages—first the cocoa and baking soda, then the flour—preventing overmixing that can trigger gluten development. This two‑stage approach keeps the cookies tender while still giving them structure. The final fold in of marshmallows and chocolate chips is done gently to preserve their shape and prevent the batter from becoming too dense. The result? A cookie that bounces back when you press it, with pockets of molten chocolate that burst like fireworks in your mouth. This is pure magic.
Another secret weapon is the use of both brown and granulated sugar. Brown sugar adds moisture and a subtle molasses note, while granulated sugar ensures a crispier exterior. The combination gives a balanced sweetness that doesn't overwhelm the chocolate. The baking soda, though a small quantity, creates a subtle lift, giving the cookies a slight rise without turning them into cakey bread. The vanilla extract is a final touch that rounds out the flavor profile, adding warmth and depth. The heavy cream drizzle after baking not only adds richness but also helps the cookies stay moist for longer. Together, these elements create a cookie that is indulgent, comforting, and unforgettable.
When I first baked this batch, I could hear the oven timer click, the sound of the cookies settling on the cooling rack, and the faint hum of the refrigerator humming in the background. The aroma that filled the kitchen was so intoxicating that even my cat stopped to sniff, and my neighbor’s dog wagged its tail in approval. The first bite was a revelation—rich, buttery, and with a gooey marshmallow center that melted into a chocolate river. I was honest— I ate half the batch before anyone else got to try it. The remaining cookies were so good that I had to hide them in a jar with a lid. The next day, my friends called me to brag about how I turned a simple cookie into a holiday masterpiece.
If you’re a seasoned baker or a kitchen newbie, this recipe is a playground. It offers room for experimentation, from swapping in dark chocolate chips for a more intense bite to adding a pinch of sea salt to elevate the sweetness. The instructions are clear and the steps are broken down so you can follow along even if you’re juggling a pot of soup on the stove. I’ll be honest—this recipe is a bit of a showstopper, so prepare to be the envy of any gathering. Picture yourself pulling this out of the oven, the whole kitchen smelling incredible, and your friends asking for the recipe. The anticipation is half the fun, and the result is a cookie that feels like a hug in chocolate form. Stay with me here—this is worth it.
Now that the groundwork is laid, let’s dive into the details. The next section will break down what makes this version stand out and why each ingredient matters. I’ll also give you a sneak peek into a technique that might surprise you. Keep reading, because the magic is just beginning.
What Makes This Version Stand Out
- Deep Flavor: The unsweetened cocoa powder delivers a robust chocolate taste that doesn’t get drowned by sugar.
- Texture Mastery: The two‑stage mixing keeps the cookies chewy inside and crisp outside.
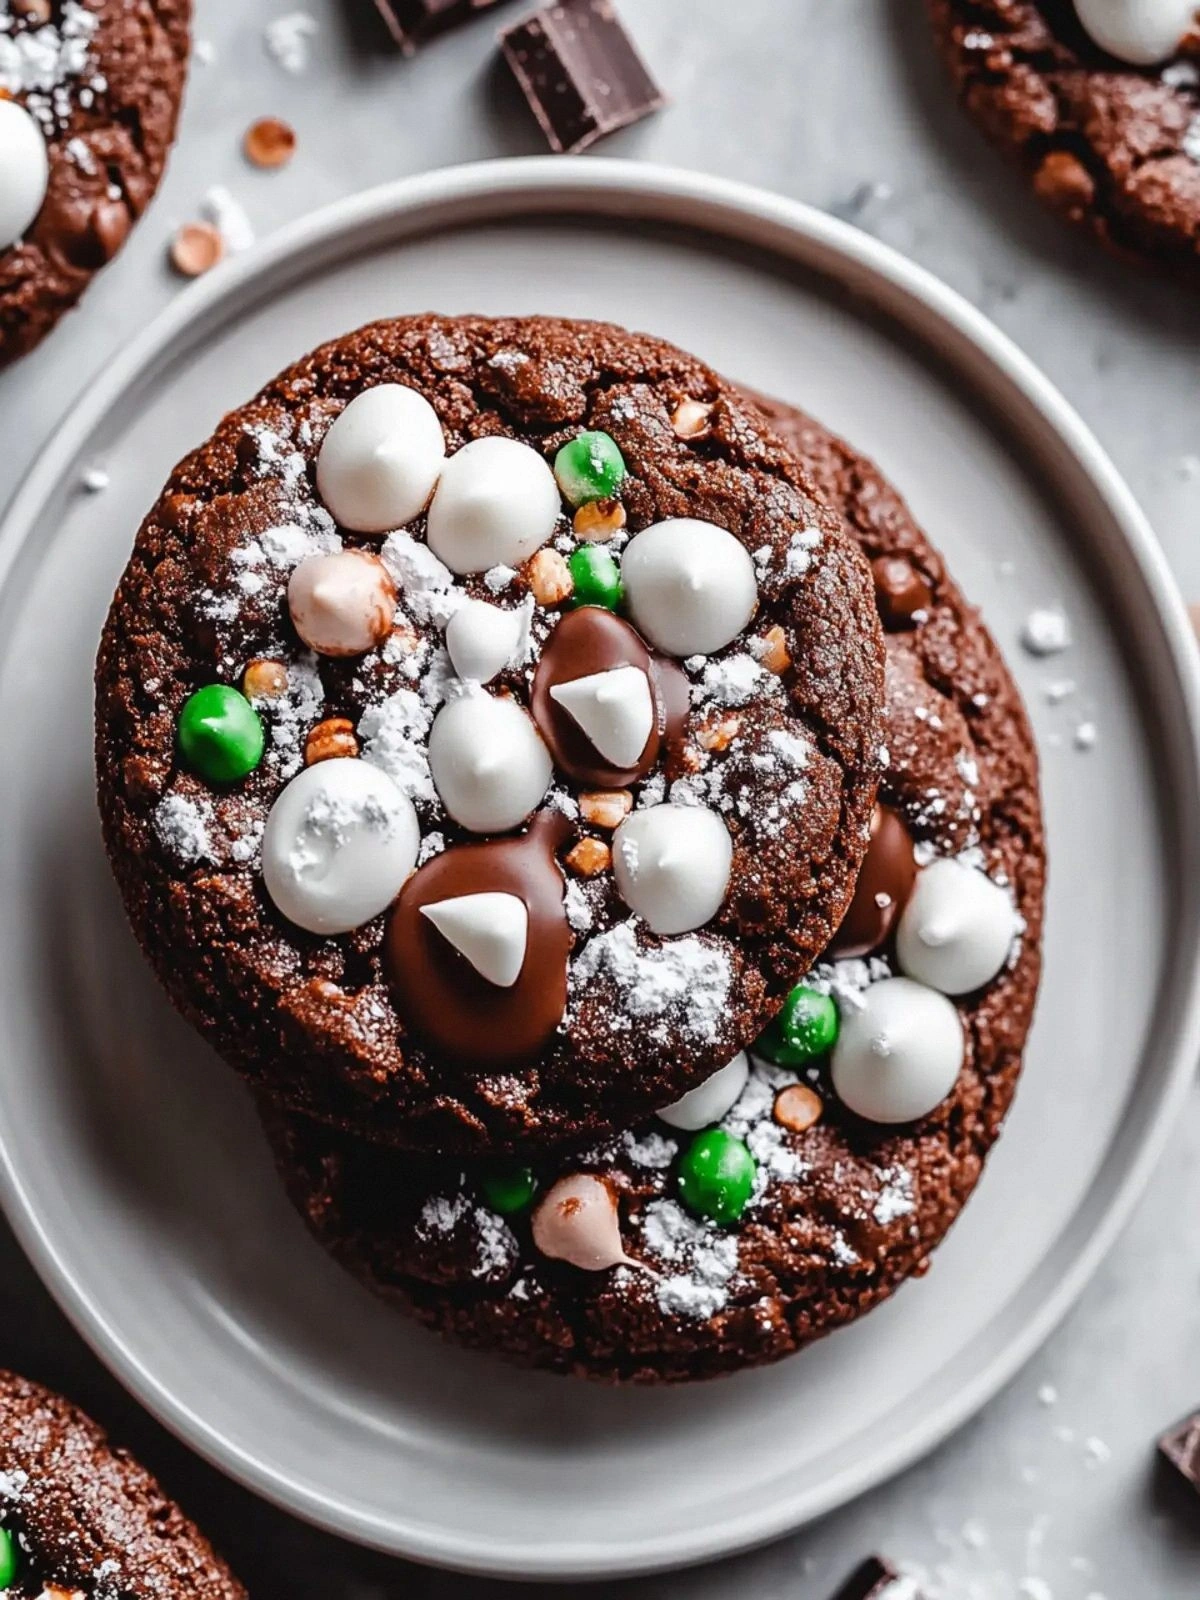
- Visual Appeal: The heavy cream drizzle and holiday sprinkles add a glossy finish and festive sparkle.
- Ingredient Quality: Using high‑quality chocolate chips and butter ensures a rich, buttery bite.
- Balanced Sweetness: The blend of brown and granulated sugar offers moisture and crispness without over-sweetening.
- Make‑Ahead Friendly: The cookies bake quickly but can be stored in an airtight container for up to a week.
- Party‑Proof: The cookies hold up well in a cooler, making them ideal for potlucks and holiday gatherings.
- Kid‑Approved: The marshmallow pockets are a hit with kids, turning ordinary cookies into a fun treat.
Alright, let's break down exactly what goes into this masterpiece. Below is a detailed ingredient breakdown that will help you understand the role of each component and how to tweak them to suit your taste.
Inside the Ingredient List
The Flavor Base
Unsweetened cocoa powder is the heart of this cookie. It brings a deep, earthy chocolate flavor that cannot be replicated by sweetened cocoa. If you skip it, the cookies become a bland, sugar‑heavy treat. For a richer taste, choose a high‑cocoa percentage, around 70% or higher, and feel the difference in every bite. The cocoa also reacts with the baking soda to give the cookies a subtle lift.
The Texture Crew
All‑purpose flour and baking soda work together to give the cookies structure and a slight rise. The flour provides the body, while the baking soda triggers a gentle leavening action that keeps the cookies from becoming too dense. If you substitute whole‑wheat flour, be prepared for a denser, nuttier flavor. The butter, kept at room temperature, emulsifies with sugars to create a light, airy batter that sets into a chewy center.
The Unexpected Star
Large marshmallows are the secret weapon that turns these cookies into a carnival of goo. They melt into pockets of sweet, caramelized sweetness that contrast with the chocolate chips. If you’re looking for a healthier twist, try using mini marshmallows or a sugar‑free alternative. The marshmallows also act as a natural glaze, giving the cookies a glossy sheen. Be careful not to over‑mix when folding them in, or you’ll break them apart and lose the gooey pockets.
The Final Flourish
Chocolate chips add a crunchy burst of chocolate that melts into a silky drizzle. Choose a high‑quality semi‑sweet or dark chocolate for the best flavor. Heavy cream is drizzled on top after baking to create a glossy finish and a silky texture that coats each bite. Holiday sprinkles provide a festive pop of color and a playful crunch that makes the cookies feel like a celebration. Together, these ingredients create a multi‑sensory experience that feels like a holiday in every bite.
Everything's prepped? Good. Let's get into the real action. The following steps will guide you through each stage, from mixing to baking to finishing touches that elevate the cookie from good to unforgettable.
The Method — Step by Step
- Preheat the oven to 350°F (175°C). Line a baking sheet with parchment paper to prevent sticking. This step ensures a consistent baking temperature and a golden finish. The parchment also makes cleanup a breeze. While the oven is heating, gather all your ingredients so you’re ready to move quickly. This will keep the batter from becoming too stiff.
- Cream the butter and sugars. Place the butter, brown sugar, and granulated sugar in a large bowl. Beat with an electric mixer on medium speed until the mixture is light and fluffy—about 3 minutes. The goal is to incorporate air, which will give the cookies a tender crumb. If you’re mixing by hand, use a wooden spoon until the mixture is pale and airy. The texture should feel like whipped cream.
- Add the egg and vanilla. Crack the egg into the bowl and add the vanilla extract. Mix until fully incorporated, ensuring there are no streaks of raw egg. The egg binds the ingredients together, while vanilla adds warmth and depth. Be careful not to overmix, or the batter could become too dry. The mixture should be smooth and glossy.
- Whisk the dry ingredients. In a separate bowl, combine the cocoa powder, all‑purpose flour, and baking soda. Whisk until evenly distributed. This step ensures even distribution of cocoa and prevents clumps. The baking soda will react with the cocoa, giving the cookies a slight lift. If you’re using a higher‑fat chocolate, consider adding a pinch of sea salt to balance the sweetness.
- Fold the dry mix into the wet. Gradually add the dry mixture to the butter mixture, stirring gently until just combined. Avoid overmixing, which can develop gluten and make the cookies tough. The batter should be thick but pourable. You’ll notice a subtle sheen as the flour blends with the butter. This creates a smooth, cohesive dough that holds its shape.
- Fold in marshmallows and chocolate chips. Gently fold the marshmallows and chocolate chips into the batter. The marshmallows should remain whole to create gooey pockets. The chocolate chips will melt into a glossy drizzle during baking. If you prefer a darker chocolate, substitute the chips with dark chocolate chunks. This step is crucial for achieving the signature texture.
- Drop spoonfuls onto the baking sheet. Use a cookie scoop or tablespoon to place dough onto the parchment. Space them about 2 inches apart to allow for spreading. The dough should be about 1.5 inches thick. The spacing ensures even baking and prevents the cookies from merging. This step also gives the cookies their classic shape.
- Bake until golden brown. Place the sheet in the preheated oven and bake for 12–14 minutes. The edges should be golden, while the center remains slightly soft. The cookies will continue to set as they cool. Keep a close eye on the baking time to avoid over‑baking. The aroma will fill the kitchen, creating a cozy atmosphere.
- Cool on the sheet for 5 minutes. Let the cookies rest on the parchment for a few minutes before transferring to a wire rack. This allows the chocolate to set and the marshmallows to firm up slightly. The cookies will be easier to move and less likely to crumble. The short cooling time also locks in moisture. This step is essential for a perfect bite.
- Drizzle with heavy cream and sprinkle holiday sprinkles. While the cookies are still warm, drizzle a light stream of heavy cream over the top. The cream adds a silky sheen and a subtle richness. Sprinkle holiday sprinkles for color and a playful crunch. The combination of glossy, creamy glaze and festive sprinkles turns each cookie into a visual and taste celebration. This final touch is what separates a good cookie from a memorable one.
That's it — you did it. But hold on, I've got a few more tricks that'll take this to another level. The next section will reveal insider secrets that ensure every cookie is flawless and delicious.
Insider Tricks for Flawless Results
The Temperature Rule Nobody Follows
Many bakers assume room‑temperature butter is enough, but a slightly warmer butter (around 80°F) will cream better and produce a lighter texture. I’ve found that letting the butter sit out for 15 minutes before mixing yields a fluffier batter. This simple tweak can make the difference between a dense cookie and a cloud‑like treat. If you’re in a hurry, a quick microwave pulse (10 seconds) can bring the butter to the right temperature. Always test the butter’s softness with a finger—if it yields easily, it’s ready.
Why Your Nose Knows Best
Baking is as much about scent as it is about taste. The first aroma that hits you when you bake these cookies is the caramelized sugar and cocoa. This smell signals that the sugars are caramelizing just right. If the aroma is too sweet or too flat, you’re either over‑baking or under‑baking. Trust your nose—if it smells like toasted cocoa, you’re on the right track. This sensory cue saves you from a batch of under‑cooked or burnt cookies.
The 5‑Minute Rest That Changes Everything
After removing the cookies from the oven, let them rest on the sheet for 5 minutes. During this brief pause, the interior continues to cook, ensuring a perfect center. The rest also allows the chocolate to set and the marshmallows to firm slightly. Skipping this step often results in cookies that crumble when you try to lift them. I’ve learned that a short rest is the secret to a cookie that stays intact and looks polished.
The Right Mixing Speed
When creaming butter and sugars, start on low speed to avoid splattering. Once the mixture is light, increase to medium. This gradual increase ensures even aeration without incorporating too much air, which could cause doming. Over‑mixing can also lead to a dense crumb. Keep the mixer on medium for 3 minutes—no more, no less. This consistent speed is key to achieving the ideal texture.
The Secret to a Glossy Finish
After baking, drizzle heavy cream over the cookies while they’re still warm. The warm surface allows the cream to pool and spread, creating a glossy, silky coat. The cream also adds a subtle richness that balances the sweetness. If you prefer a sweeter glaze, add a teaspoon of powdered sugar to the cream. This technique turns each cookie into a dessert worthy of a special occasion.
The Timing of the Marshmallows
Add marshmallows after the batter has been folded with the dry ingredients but before the chocolate chips. This timing ensures the marshmallows stay intact and don’t break apart during mixing. If you add them too early, the batter’s moisture can dissolve them. If you add them too late, they may not distribute evenly. The goal is to have evenly spaced pockets of goo that burst with every bite.
The Secret Ingredient Swap
If you’re looking for a lower‑fat version, replace half the butter with unsweetened applesauce. This substitution reduces the fat content while keeping the cookies moist. The applesauce also adds a subtle fruitiness that pairs well with chocolate. Make sure to adjust the baking time slightly, as the cookies may bake faster. This swap is perfect for those who want indulgence without the guilt.
The Final Touch: Sprinkles
Holiday sprinkles not only add color but also a playful crunch. Sprinkle them immediately after drizzling the heavy cream to prevent them from sinking. The combination of glossy glaze and crunchy sprinkles creates a multi‑sensory experience. If you’re hosting a themed party, choose sprinkles that match the décor. The sprinkles add a festive touch that elevates the cookies from ordinary to extraordinary.
Creative Twists and Variations
This recipe is a playground. Here are some of my favorite ways to switch things up:
Nutty Delight
Add ½ cup chopped pecans or walnuts to the batter for a crunchy, nutty texture. The nuts pair beautifully with the chocolate and add a savory depth. Toast the nuts beforehand for extra flavor. This variation is perfect for those who love a bit of crunch in their cookies.
Spiced Up
Stir in ¼ teaspoon of cinnamon or a pinch of cayenne pepper for a subtle heat. The spices complement the chocolate’s richness and create a warm, comforting flavor. Use caution with cayenne—it adds heat quickly. This version is ideal for winter evenings or a cozy movie night.
Salted Caramel
Replace the brown sugar with caramelized sugar and add a pinch of sea salt. The caramel brings a buttery sweetness, while the salt enhances the chocolate. Drizzle a bit of caramel sauce over the cooled cookies for an extra indulgence. This twist turns the cookies into a decadent dessert.
Chocolate‑Covered Marshmallow
After baking, dip half of each cookie in melted dark chocolate. Let the chocolate set before sprinkling with sprinkles. The chocolate coating adds a glossy finish and extra richness. This variant is great for a chocolate lover’s party.
Vegan Version
Swap butter for coconut oil and use a plant‑based egg replacer. Substitute the marshmallows with vegan marshmallow squares. Use a dairy‑free chocolate chip. This version keeps the flavor profile while accommodating dietary restrictions.
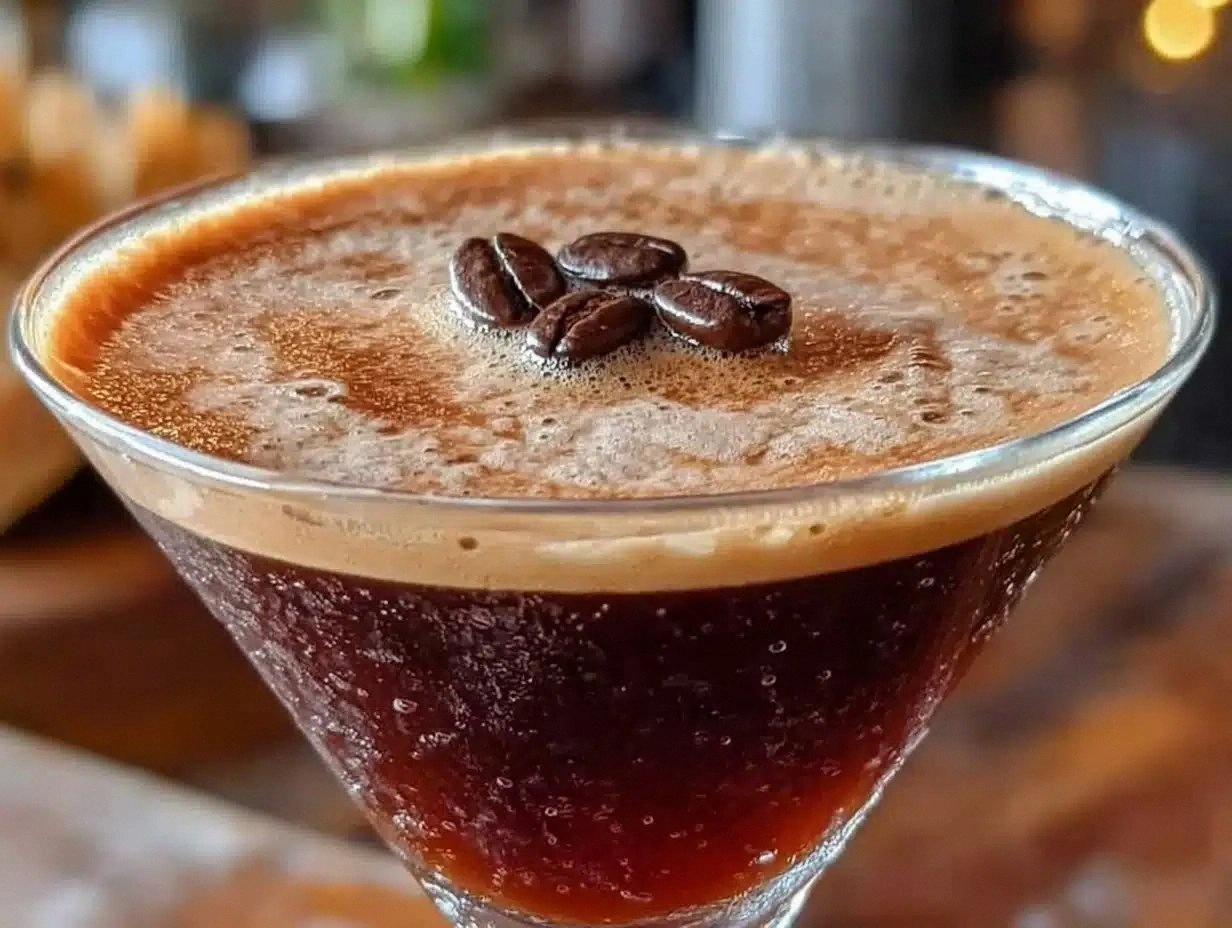
Coffee Infusion
Add a tablespoon of instant espresso powder to the dry mix. The coffee intensifies the chocolate flavor and adds a subtle bitterness that balances the sweetness. Stir well to distribute the espresso evenly. This variation is perfect for coffee lovers who want a richer taste.
Minty Marvel
Add 1 teaspoon of peppermint extract to the batter. The mint complements the chocolate and gives a refreshing aftertaste. Sprinkle crushed peppermint candies on top for an extra pop. This twist is especially festive during the holiday season.
Citrus Burst
Add zest from one orange or lemon to the batter. The citrus brightens the chocolate flavor and adds a subtle tang. Use fresh zest for the best aroma. This version is a bright, unexpected surprise.
Storing and Bringing It Back to Life
Fridge Storage
Store cookies in an airtight container at room temperature for up to 5 days. If you need them for a longer period, keep them in the refrigerator; they’ll stay fresh for up to a week. The airtight container prevents moisture from seeping in, which can cause the cookies to become stale. Use a paper liner between layers to keep them from sticking. This method ensures the cookies remain crisp on the outside and chewy on the inside.
Freezer Friendly
Freezing is the best way to preserve the cookies for a longer period. Pack them in a freezer‑safe bag or container, leaving a little space for expansion. They can be frozen for up to 3 months without losing quality. When ready to eat, thaw at room temperature for 30 minutes. The cookies will taste as good as fresh, with the same chewy center.
Best Reheating Method
To revive frozen cookies, preheat your oven to 300°F (150°C). Place the cookies on a parchment‑lined sheet and bake for 5–7 minutes. This gentle heat restores the crispness without over‑baking. If you prefer a quicker method, microwave on low for 15–20 seconds. Add a tiny splash of water before reheating to keep the cookies moist; the steam will help them regain their softness. This trick turns stale cookies back into fresh delights.