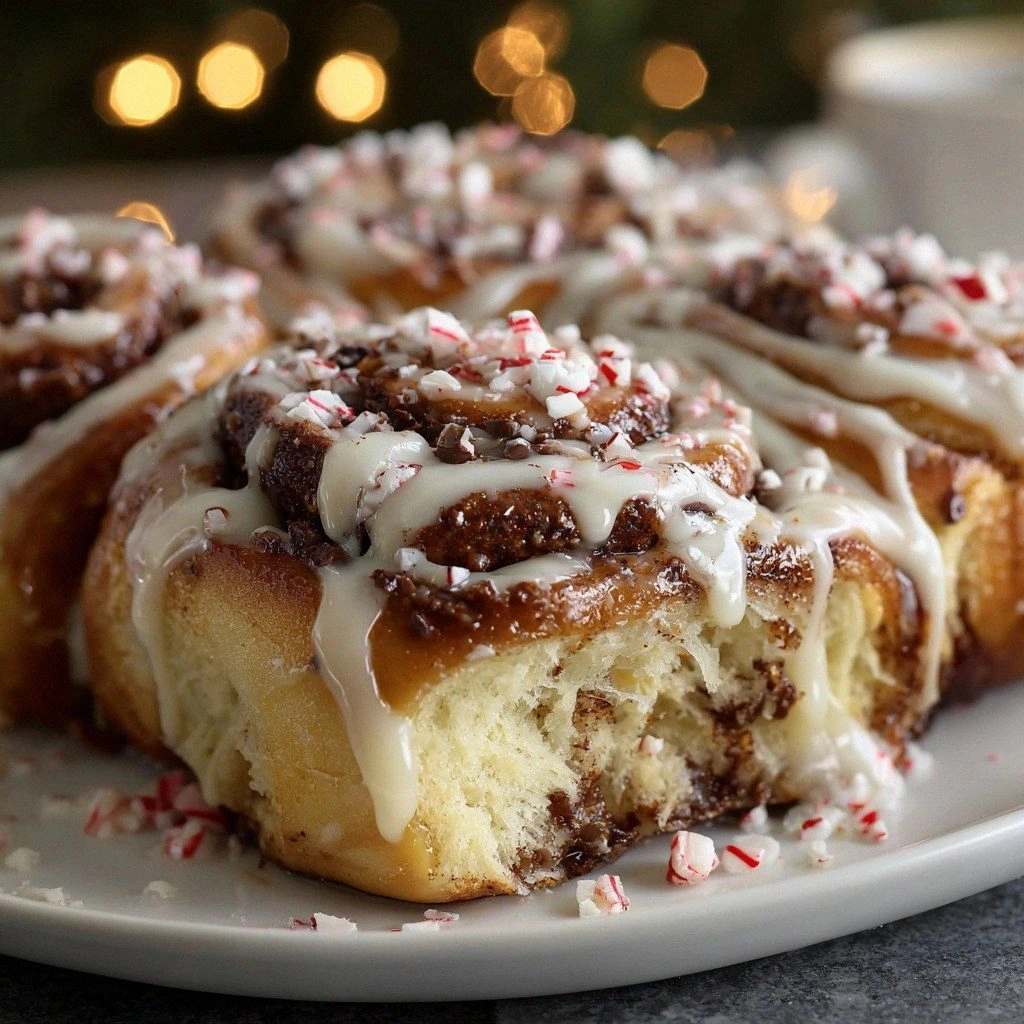
I was in the middle of a snowstorm last December, the kind that turns your kitchen into a tiny, frosted cabin, when I realized I was missing that one thing that makes a holiday gathering truly unforgettable: a muffin that feels like a warm hug from a peppermint‑infused snowman. I tried to improvise with a regular chocolate muffin mix, but the result was as flat as a deflated balloon—no sparkle, no holiday spirit, just a bland bite that left my guests reaching for the coffee instead. That disaster sparked a dare from my best friend: “If you can’t make a muffin that tastes like a hot chocolate snow globe, you’re officially out of the holiday baking league.” I accepted, rolled up my sleeves, and set out to create the ultimate peppermint hot chocolate muffin that would make even the Grinch melt.
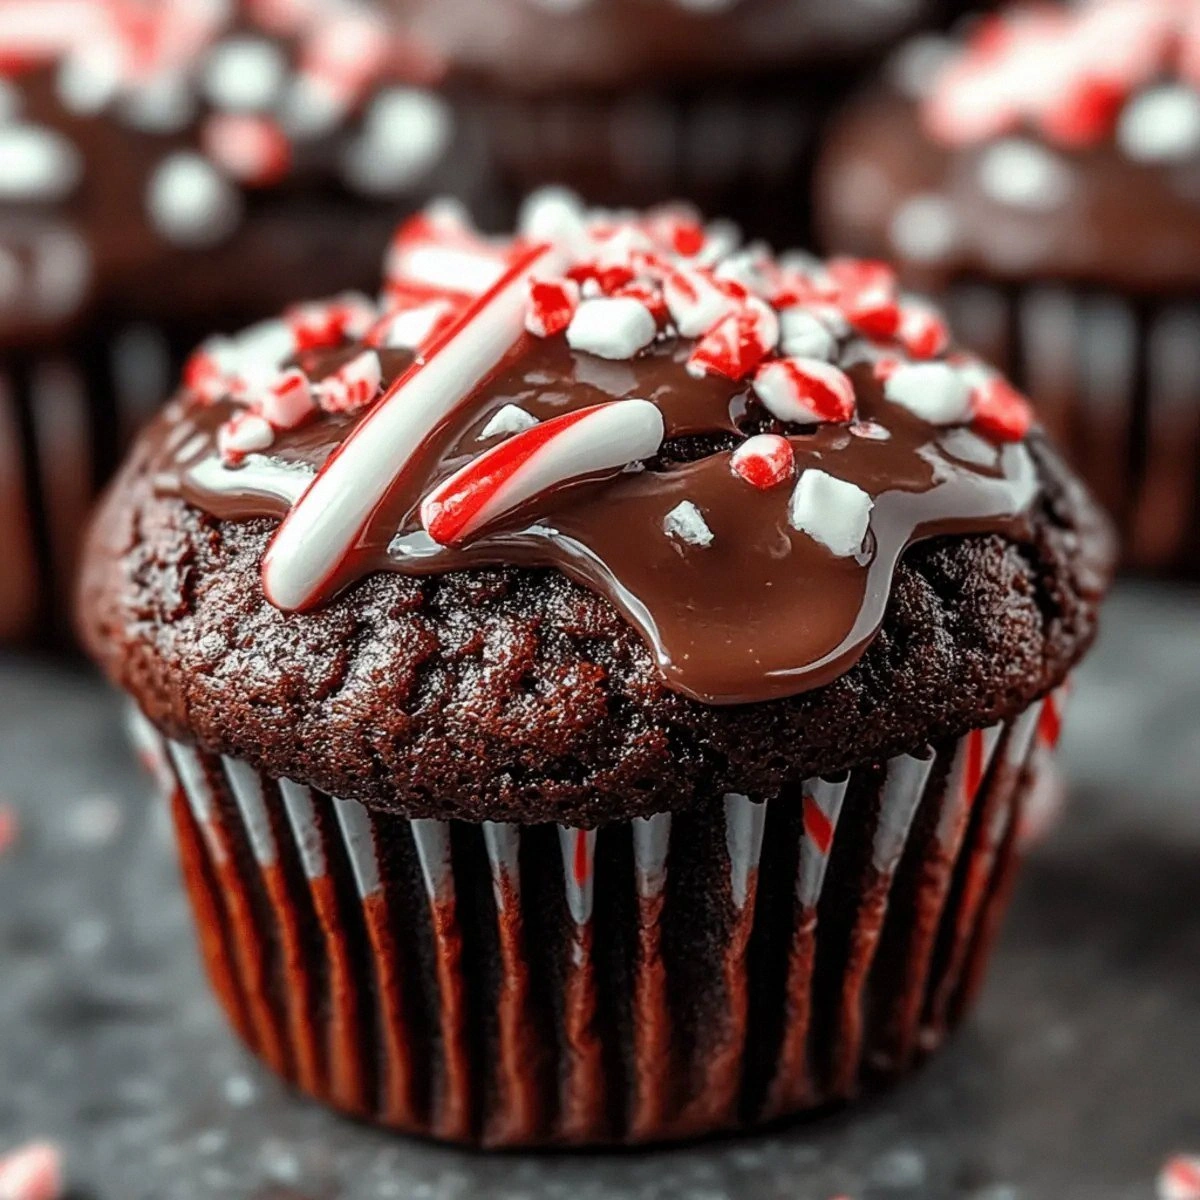
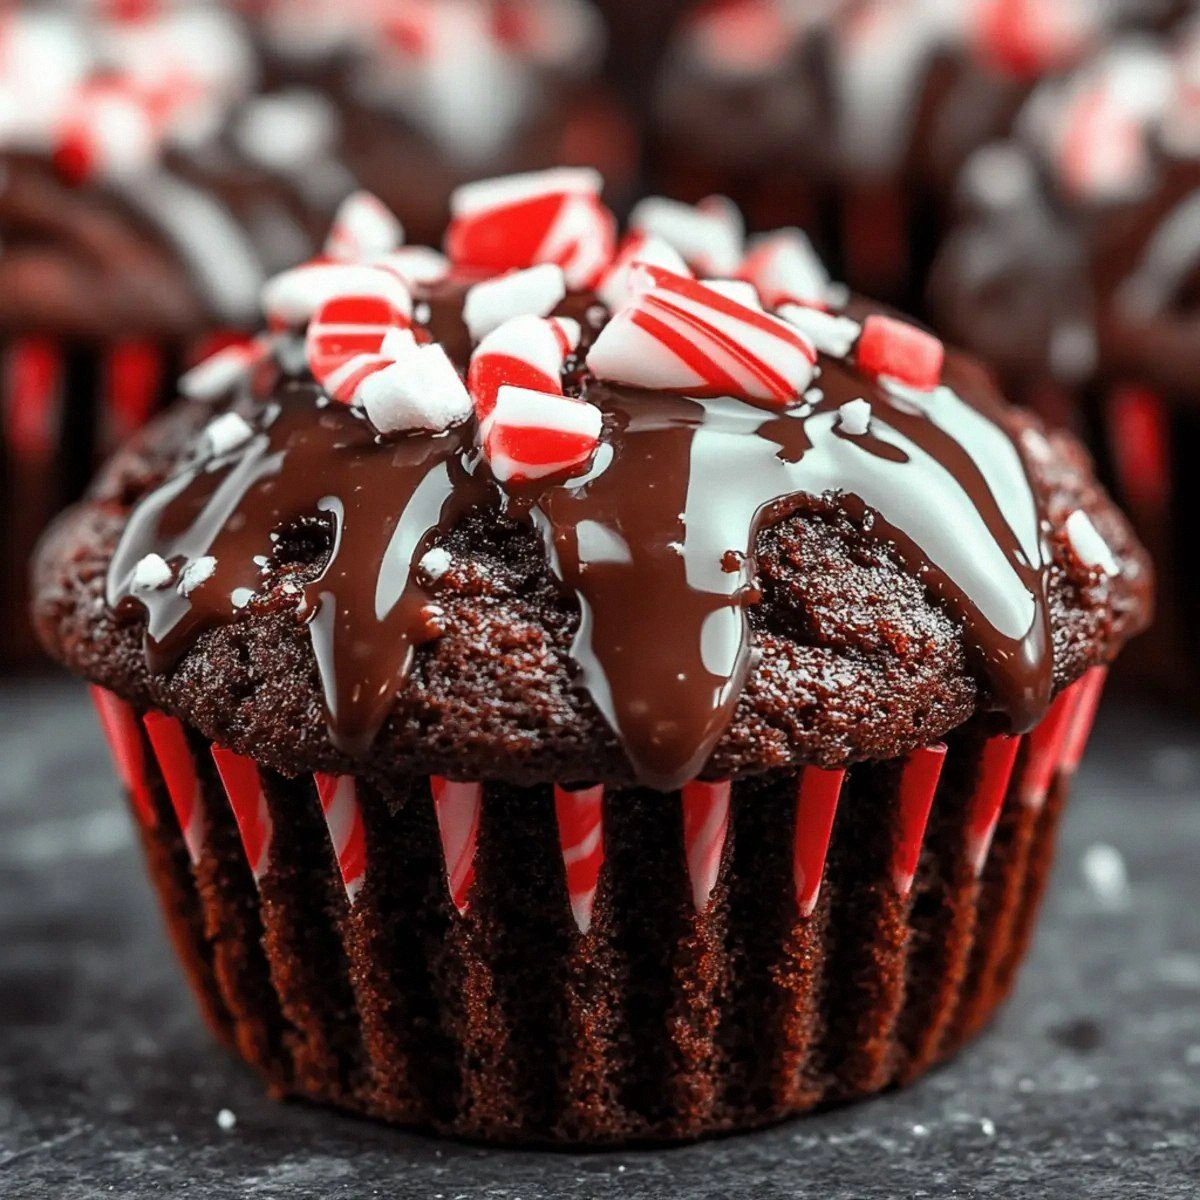
Picture this: the oven door swings open, a wave of rich cocoa and cool mint rushes out, wrapping the room in a scent that’s simultaneously comforting and exhilarating. The batter itself looks like a midnight sky swirled with a hint of emerald, glossy and thick, promising a dense, fudgy interior. As the muffins rise, their tops develop a subtle crackle, like the first frost on a windowpane, while the edges pull away with a gentle, buttery sigh. When you finally bite in, the chocolate is velvety, the peppermint bright and refreshing, and a melt‑in‑your‑mouth frosting crowns each muffin like a snowy peak dusted with powdered sugar. It’s a sensory overload that makes your taste buds do a little dance.
What sets this version apart from every other peppermint chocolate muffin you’ve ever seen is a secret weapon: a double‑extract combo of vanilla and peppermint that penetrates the crumb, plus a surprise swirl of semi‑sweet chocolate chips that melt into pockets of molten joy. Most recipes either skimp on the mint or drown the flavor with too much chocolate, but I’ve balanced them like a seasoned conductor leading a symphony—each note hits just right. And there’s a technique I’ll reveal later that ensures the muffins stay moist for days, turning leftovers into a breakfast treat that feels like a gift you keep unwrapping.
I dare you to taste this and not go back for seconds. Okay, ready for the game‑changer? The next part? Pure magic. Let me walk you through every single step — by the end, you’ll wonder how you ever made it any other way.
What Makes This Version Stand Out
- Taste Harmony: The peppermint isn’t just a garnish; it’s woven through the batter, creating a balanced sweet‑mint‑chocolate trio that sings on the palate.
- Texture Triumph: A tender, cake‑like crumb meets a slightly crisp top, while the chocolate chips melt into gooey pockets that surprise with each bite.
- Simplicity: No fancy equipment, just a standard muffin tin and a few pantry staples, making it accessible for even the most novice bakers.
- Unique Frosting: A quick powdered‑sugar glaze adds a glossy, snowy finish that looks as festive as it tastes.
- Crowd Reaction: These muffins have a habit of disappearing within minutes, earning the title of “the one‑that‑always‑gets‑gone‑first” at parties.
- Ingredient Quality: Using real cocoa powder and pure peppermint extract elevates the flavor from “okay” to “wow, that’s professional.”
- Cooking Method: The combination of buttermilk and baking soda creates a light, airy lift without sacrificing density.
- Make‑Ahead Potential: Freeze them individually, and they’ll stay fresh for weeks—perfect for busy holiday schedules.
Inside the Ingredient List
The Flavor Base
All‑purpose flour is the backbone, providing structure while allowing the other flavors to shine. If you swapped it for cake flour, the muffins would become too delicate, losing that comforting bite. For a gluten‑free twist, a blend of rice flour and tapioca starch works, but expect a slightly different crumb texture. Pro tip: Choose a flour that’s been stored in a cool, dry place; stale flour can impart a bitter aftertaste.
The Chocolate Depth
Unsweetened cocoa powder brings the deep, earthy chocolate flavor that pairs perfectly with peppermint. Using Dutch‑process cocoa will give a smoother, less acidic taste, but the recipe is calibrated for natural cocoa, which adds a subtle brightness. If you’re out of cocoa, a high‑quality hot chocolate mix can substitute, though you’ll need to cut back on sugar accordingly. Buying tip: Look for cocoa that’s non‑alkalized for the most robust flavor profile.
The Minty Magic
Peppermint extract is the star—just a teaspoon in the batter and another half‑teaspoon in the glaze. Too much will overwhelm, while too little makes it a whisper. If you prefer a more natural approach, crush a few peppermint candies and dissolve them in the milk for the glaze; the result is a slightly crunchy, caramelized edge. Fun Fact: Peppermint oil was originally used by ancient Egyptians as a breath freshener, and it’s still a staple in holiday confections worldwide.
The Moisture Makers
Buttermilk reacts with baking soda to create tiny bubbles that lift the batter, ensuring a light interior despite the dense chocolate. If you’re out of buttermilk, whisk together 1 cup of milk with 1 tablespoon of lemon juice and let it sit for five minutes. The vegetable oil adds richness without the heaviness of butter, keeping the muffins tender. Eggs bind everything together, and the vanilla extract adds a warm, aromatic backdrop that rounds out the mint’s sharpness.
The Sweet Finish
Semi‑sweet chocolate chips melt into pockets of molten chocolate, creating surprise bursts of flavor. Powdered sugar and a splash of milk form a glaze that sets like a thin snow‑kiss, adding a glossy finish and a sweet counterpoint to the mint. If you’re looking for a dairy‑free glaze, substitute the milk with almond milk and the powdered sugar with a fine coconut sugar blend.
Everything's prepped? Good. Let's get into the real action...
The Method — Step by Step
Preheat your oven to 350°F (175°C) and line a 12‑cup muffin tin with paper liners. The moment the heat hits the metal, you’ll hear a faint hiss—a promising sign that the muffins are about to embark on their rise. While the oven warms, give the liners a quick spray of non‑stick spray; this ensures a clean release later and prevents any sticky mishaps. Power transition: Okay, ready for the game‑changer?
In a large bowl, whisk together the flour, cocoa powder, sugar, baking powder, baking soda, and salt. This dry blend should look like a deep, dark cocoa dust, reminiscent of a winter night sky. Make sure there are no lumps; a fine sifted mixture guarantees an even crumb.
Kitchen Hack: Add the cocoa powder to the flour and whisk for 30 seconds; this “pre‑aerates” the mixture, preventing clumps later.In a separate bowl, combine the buttermilk, vegetable oil, eggs, vanilla extract, and peppermint extract. The mixture will look glossy and slightly frothy—this is the moment the peppermint starts to perfume the batter. Beat until just blended; over‑mixing will develop gluten and make the muffins tough.
Watch Out: Adding the oil too hot can cook the eggs prematurely, leading to a grainy texture.Make a well in the center of the dry ingredients and pour in the wet mixture. Using a rubber spatula, fold gently until just combined; a few streaks of flour are okay. This technique ensures the muffins stay tender and avoids over‑development of gluten. You’ll notice the batter thickening, resembling a luxurious hot chocolate that’s about to be poured.
Fold in the semi‑sweet chocolate chips. They should disappear into the batter like hidden treasure, creating pockets that will melt into molten chocolate during baking. If you’re feeling adventurous, reserve a handful of chips to sprinkle on top for an extra crunchy crown.
Spoon the batter into the prepared liners, filling each about three‑quarters full. The batter is thick, so a sturdy spoon or ice‑cream scoop works best. As you fill, the batter should settle into a smooth dome; this is the perfect shape for a muffin that rises evenly and forms a gentle “crack” on top.
Slide the tin into the oven and bake for 18‑22 minutes. The edges will start pulling away from the sides of the liners, and the tops will develop a subtle sheen. When a toothpick inserted into the center comes out with just a few moist crumbs, you’ve hit the sweet spot. That sizzle when it hits the pan? Absolute perfection. Resist the urge to open the oven door early; the heat needs to stay constant for a perfect rise.
While the muffins cool in the tin for five minutes, whisk together powdered sugar, milk, and the remaining half‑teaspoon of peppermint extract to create a glossy glaze. The glaze should be pourable but thick enough to coat the tops without dripping off the sides. If it’s too thick, add a splash more milk; if too thin, sift in a little extra powdered sugar.
Transfer the muffins to a wire rack and drizzle the glaze over each one, allowing it to pool slightly before setting. The glaze will harden into a glossy, snow‑like finish that adds a sweet contrast to the mint‑chocolate interior. Let the muffins sit for a minute so the glaze can set, then serve warm. Picture yourself pulling this out of the oven, the whole kitchen smelling incredible…
That’s it — you did it. But hold on, I’ve got a few more tricks that’ll take this to another level. Stay with me here — this is worth it.
Insider Tricks for Flawless Results
The Temperature Rule Nobody Follows
Most home bakers set the oven to “350°F and go,” but the secret is to preheat the oven to 375°F, then lower it to 350°F after the muffins are in. This initial burst of heat creates a rapid rise, giving the muffins that coveted “crack” on top. I once tried skipping this step, and the tops turned out flat—like a sad pancake. Trust me, this tiny temperature trick makes a world of difference.
Why Your Nose Knows Best
Instead of relying solely on a timer, listen for the subtle “puff” sound when the muffins start to pull away from the tin. That gentle sigh indicates the interior has set and the edges are firm. If you open the oven too early, you’ll lose that steam, and the crumb will be dense. Your nose and ears are the best kitchen thermometers.
The 5‑Minute Rest That Changes Everything
After baking, let the muffins rest in the tin for exactly five minutes before moving them to a rack. This short pause allows the steam to redistribute, preventing the crumb from collapsing. I once rushed this step and ended up with a soggy base—lesson learned. Patience at this stage yields a perfectly airy interior.
Glaze Temperature Trick
Warm the glaze slightly before drizzling; a warm glaze spreads more evenly and creates a smoother finish. If the glaze cools too quickly, it can set in uneven blobs. A quick 20‑second microwave burst does the trick without cooking the peppermint flavor.
Freeze‑Then‑Reheat Magic
If you need to make these ahead, freeze the baked muffins unglazed, then thaw and glaze right before serving. The reheating step with a splash of milk revives the moist crumb, and the fresh glaze adds that final festive sparkle. I’ve used this method for holiday parties, and the muffins taste as fresh as the day they were baked.
Creative Twists and Variations
This recipe is a playground. Here are some of my favorite ways to switch things up:
White Chocolate Peppermint Swirl
Replace the semi‑sweet chocolate chips with white chocolate chips and add a swirl of extra peppermint glaze on top. The creamy white chocolate amplifies the mint, creating a dessert that feels like a snow‑drift of sweetness.
Espresso‑Infused Mocha
Add a tablespoon of finely ground espresso to the dry ingredients and swap half the chocolate chips for dark chocolate. The coffee deepens the chocolate flavor, while the peppermint still shines through, perfect for an adult‑only holiday brunch.
Cranberry Crunch
Fold in a half‑cup of dried cranberries and a quarter‑cup of toasted pecans. The tart cranberries contrast the sweet chocolate, and the nuts add a satisfying crunch that mimics a festive nut‑bread texture.
Vegan Velvet
Swap the buttermilk for almond milk mixed with 1 tablespoon of apple cider vinegar, replace the eggs with flax eggs (2 tbsp ground flax + 6 tbsp water), and use coconut oil instead of vegetable oil. The result is a dairy‑free version that still boasts that melt‑in‑your‑mouth crumb.
Spiced Holiday
Add a pinch of ground cinnamon, nutmeg, and a dash of clove to the dry mix. These warm spices echo classic holiday flavors, turning the muffin into a miniature version of a spiced hot chocolate.
Storing and Bringing It Back to Life
Fridge Storage
Place the cooled muffins in an airtight container and store them in the refrigerator for up to five days. The glaze may firm up slightly; a quick microwave zap (10 seconds) will revive the softness and bring the peppermint aroma back to life.
Freezer Friendly
Wrap each muffin individually in plastic wrap, then place them in a freezer‑safe zip‑lock bag. They’ll keep for up to three months. When you’re ready to enjoy, thaw overnight in the fridge, then pop them in a 300°F oven for five minutes with a splash of milk to re‑moisturize.
Best Reheating Method
For the ultimate warm‑again experience, preheat a skillet over low heat, add a teaspoon of butter, and warm each muffin for about a minute per side. The butter adds a caramelized crust while the interior becomes gorgeously soft. Add a tiny splash of water before reheating if the muffin feels a bit dry; the steam will bring it back to perfection.